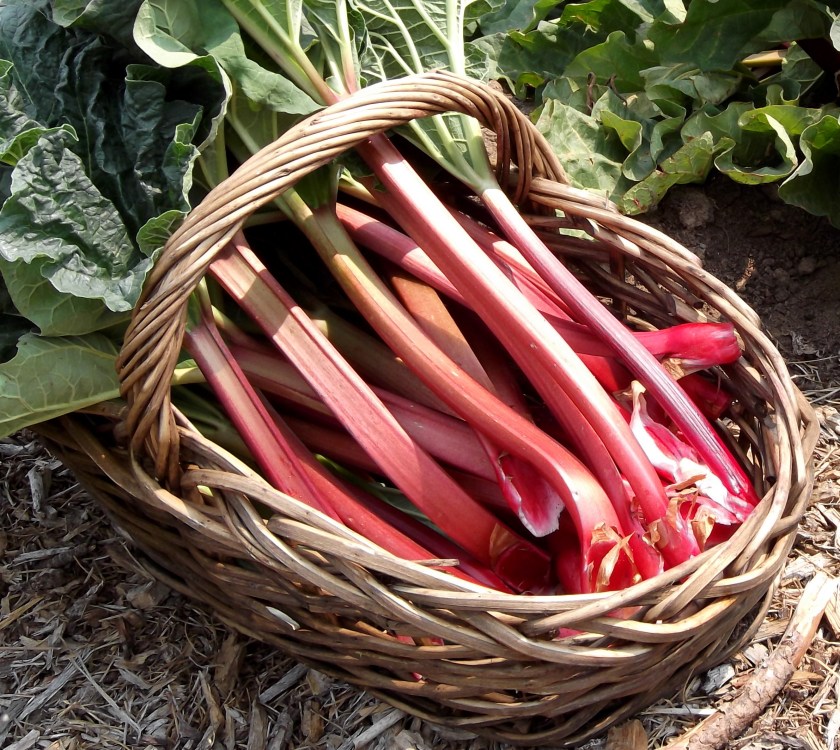
I get excited when my rhubarb plants are ready in my garden. One of my favorite ways to use rhubarb is to make a delicious sauce. The main ingredients are rhubarb stalks, sugar and spices. It is very easy to make. You just have to let the stalks sit in sugar until it exudes its liquid, add some spices to offset its sourness and cook gently on low heat for a short time. That is it! I like to serve it with pancakes.
Rhubarb is the first fruit here, oops I meant to say vegetable. Yes, people often think it is a fruit because of its fruity, sour taste; however, it is in fact a vegetable. While it is not a fruit, it can be prepared with sugar to kind of pretend that it is a fruit. Nevertheless, rhubarb sauce goes well with pancakes and other desserts or you can just eat it alone.
Yes, the rhubarb is sour so we need to add a few things. Sugar is a must for sure! Also, chefs like to add some chopped ginger and cinnamon to offset the sourness. In addition, I added berries to help make this sauce even tastier.
No water needs to be added. I let the stalks sit in sugar before cooking them. They will release enough liquid so no water needs to be added.
Also, rhubarb has favorable health effects. It has been used in the culinary world all over the world as it helps digestion and has an interesting flavor. It suits the spring season as it is cooling and detoxifying to the liver.
The leaves are not edible as they contain oxalic acid and should be discarded. Do not eat them! But the stalks are edible and delicious. Just on the side, if you eat one leaf by mistake, no worries, nothing will happen! I was fine, just be aware that they are not edible.
When selecting the stalks, choose firm stalks that are not wilted. This should not be a problem if stalks are freshly picked.
RECIPE
INGREDIENTS
- 1 lb rhubarb stalks, chopped
- 1 cup berries, optional
- ¼ – ½ cup sugar
- 1/4 tsp salt
- 2 tsp fresh ginger root (finally chopped) or 1 tsp dried ginger
- 1 tbsp lemon peel or orange peel (optional)
- 1 tsp apple spice powder or cinnamon powder
METHOD
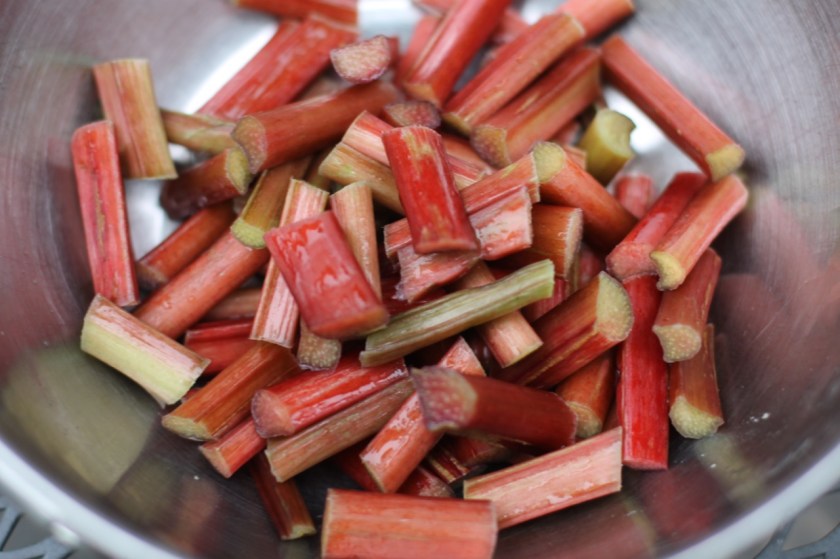
- Wash and trim the top greens off. Discard the green parts.
- Cut the red stalks into 1 inch pieces.
- Put rhubarb and sugar in a smaller pot for about 15 minutes or until the rhubarb exudes some juice. No need to add water!
- Add the strawberries.
- Bring the mixture to a boil over medium-high heat. Stir.
- Cover and simmer on low medium heat, stirring occasionally until the rhubarb stalks soften for about 30 minutes. There should be no hard, large lumps remaining. Add the ginger and lemon or orange peels in the last 10 minutes.
- If you want some chunkier pieces in your sauce, take a small amount of the soft larger pieces out with a slotted spoon. Set aside. Let the rest of the sauce cook until the stalks fall apart and the liquid thickens.
- Add the pieces back to the pot that were removed earlier.
- Turn the heat off. Add cinnamon. Stir.
- Let it cool for 15 minutes, the sauce will thicken as it cools.
- Serve with pancakes or yogurt.
- Store in the refrigerator in a closed jar for up to 1 month.

Text and photos by twincitiesherbs.