Parsnip sweet potato latkes can be a great addition to your autumn meals! Grated parsnips, sweet potatoes and onions are mixed and made into patties with some eggs. They are super easy to make and are delicious too. Serve them with some sour cream and scallions!
RECIPE
6-7 servings
INGREDIENTS
- 2 cups sweet potatoes or potatoes, grated
- 1 cup parsnip, grated
- 1/2 onions, grated or 2 Tbsp dehydrated onions
- 2 eggs
- salt and freshly ground pepper to taste
- 1/3 cup flour
- oil for frying
- 3 scallions plus more for serving, sliced
INSTRUCTIONS
- If you decide to leave the skin on, soak the sweet potatoes (or potatoes, if used) and parsnips. Scrub off any dirt. Otherwise if you prefer not to have the skin on, peel them with a vegetable peeler.
- Coarsely grate them with a box grater. Try to squeeze out as much liquid as possible. Add the rest of the ingredients except the oil. Mix.
- Let the mixture rest for 1 hour if possible.
- Heat a skillet with some oil. Take out 1/3 cup of the mixture and form patties. Put them in the skillet and flatten them down with a spatula to about 1/2 – 1 inch thickness.
- On medium high heat, cook the patties for about 5 – 10 minutes on each side until crisp and brown
- Best served fresh.
- Serve with sour cream or cream fresh.
enjoy!
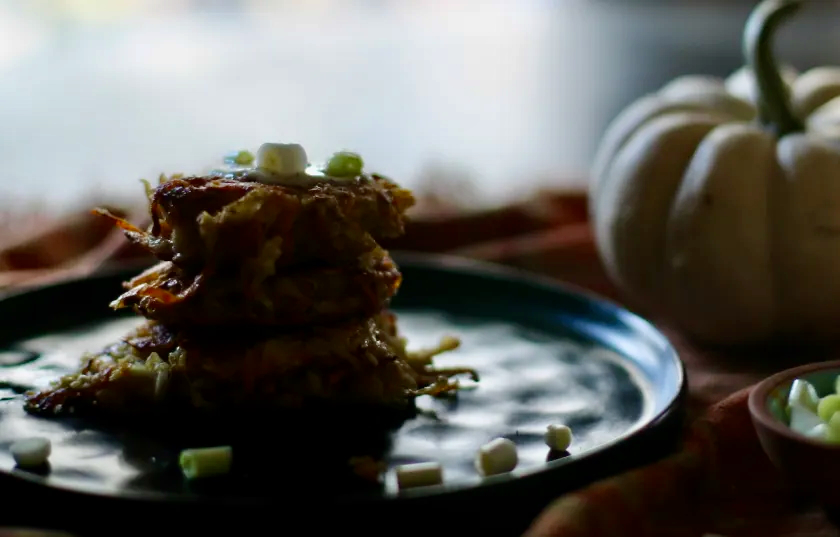
Photo and text by Twincitiesherbs.