Rice pudding was my favorite dish in elementary school. I remember when I went home, I used to tell my poor mom that the rice pudding at school was better than hers. (Yes, I still feel bad about it). All her food was fabulous but she could not make rice pudding. Then later I asked my Indian friend how to make it tasty and she said to use very little rice and lots of milk. My mom used the wrong proportions. She used 1 cup of rice to 2 cups of milk instead of 1/4 cup of rice and 4 cups of milk. It is that simple.
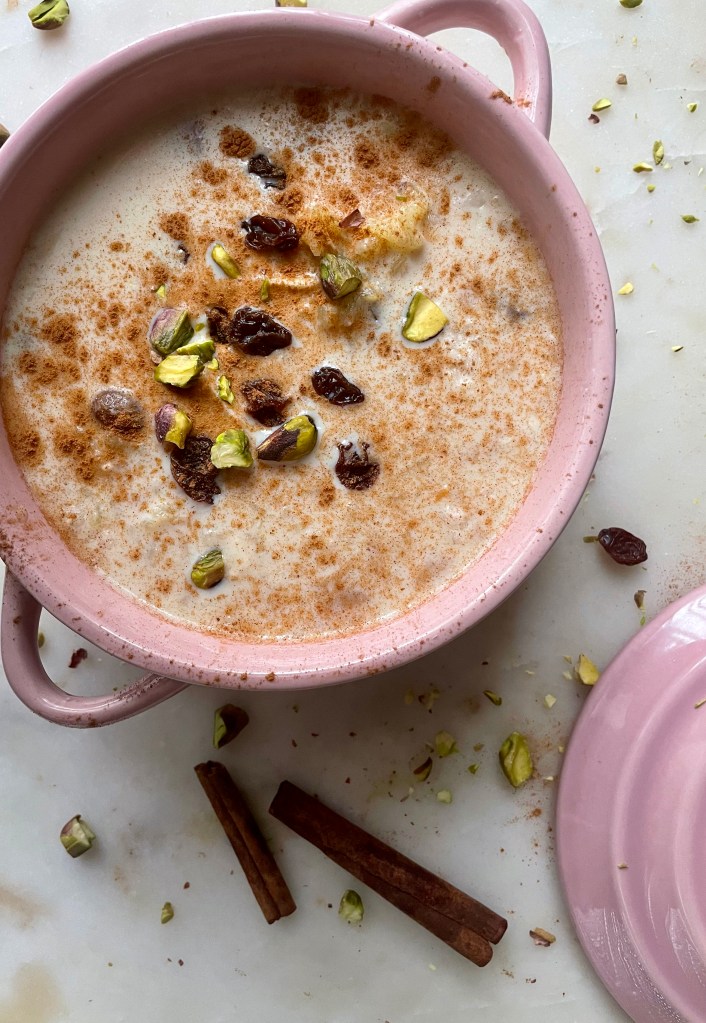
Kheer is the Indian version of rice pudding. It is a very simple dessert. Rice is cooked in milk and is infused with the aromatic cardamom along with the rose water and a little hint of saffron creating a rich and complex flavor. Indians also add nuts like pistachios, cashew nuts and dried fruits like raisins for texture. This is a basic, simple recipe, of course each region in India has its own version.
TIP
The recipe uses saffron. Yes, it is expensive. However, many stores will sell a cheaper alternative, safflower to the expensive saffron. Safflower will be cheaper and I think it still works pretty well.
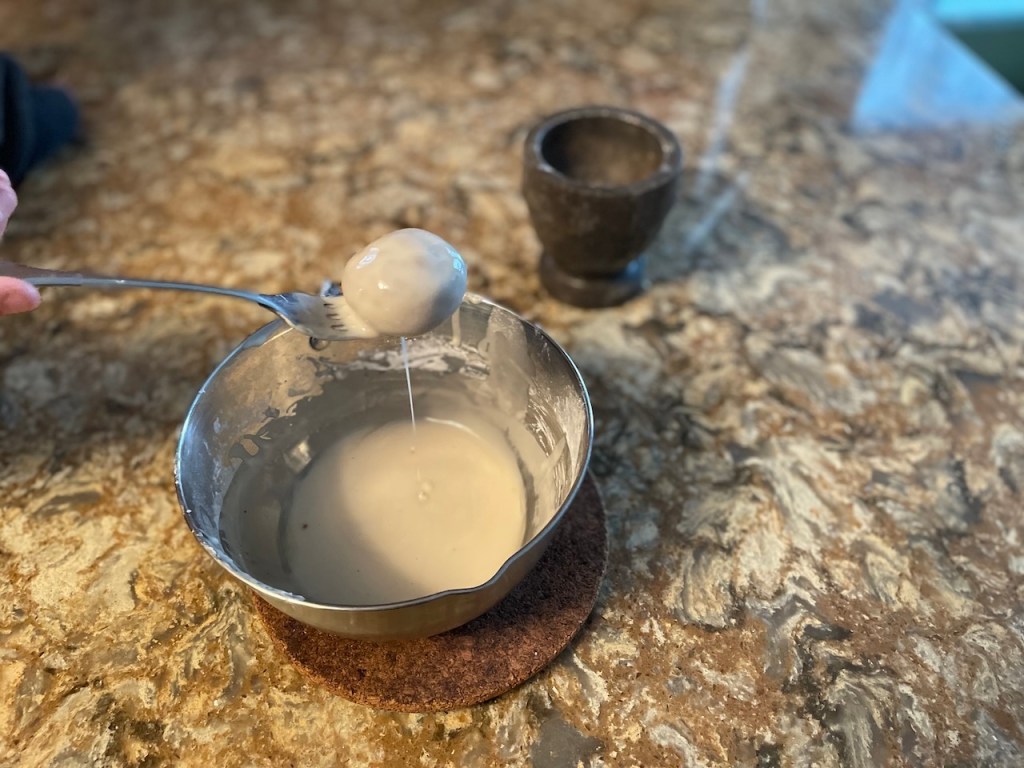
This is a little trick I learnt from my friend so you don’t have to use too much saffron. Crumple a few strands of saffron between your index finger and thumb. Put the crumpled saffron strands in a small dish (I used a 1/4 measuring cup) with a little warm milk and work it into the milk with a small spoon for about 5 minutes until the liquid turns into a nice orange redish color. Her mom used this technique to save money because saffron is expensive in India too.
RECIPE
Servings: 4
INGREDIENTS
- ¼ cup rice, short grain or basmati chopped in the blender
- 4 cups full fat whole milk or coconut milk
- 1 cup water
- 1/4-1 cup sugar- adjust to taste
- 5-8 strands saffron
- 1/4 tsp crushed cardamom (cardamom from 2 pods)
- 2 cinnamon sticks
- handful cashew nut or pistachios, chopped
- 1 Tbsp ghee or butter or coconut oil
- 1 tsp rose water, optional
- handful raisins
- egg yolk (optional)
- pinch salt
INSTRUCTIONS
- Wash the rice in cold water changing the water until it looks clear.
- If you have time, soak the rice in water for 1 hour.
- Drain and discard the water.
- In a medium size pot with a heavy bottom, heat the ghee with the cardamom seeds until you smell the aroma. Add the milk, water, rice, sugar and raisins. Bring to a gentle boil. Continue cooking on low heat covered for about 60 minutes or until kheer becomes creamy and the liquid is reduced to about half. Make sure it doesn’t burn. Keep stirring.
- Before the pudding is done, add the cinnamon sticks and cashew nuts for the last 10 minutes.
- Meanwhile crumple the saffron between your index finger and thumb and put them in a small dish with a tablespoon of milk. Using a spoon and applying a little pressure, stir for 5-10 minutes until the liquid turns into a nice orange red color. Pour this mixture into the pot and cook for a few minutes. (Check for more information above).
- Turn the heat off, kheer will thicken as it sits.
- Add rose water and egg yolk. Stir.
- Garnish with nuts (I used pistachios) and powdered cinnamon.
- It can be served served chilled or at room temperature.
Enjoy!
Photo and text by Twincitiesherbs.