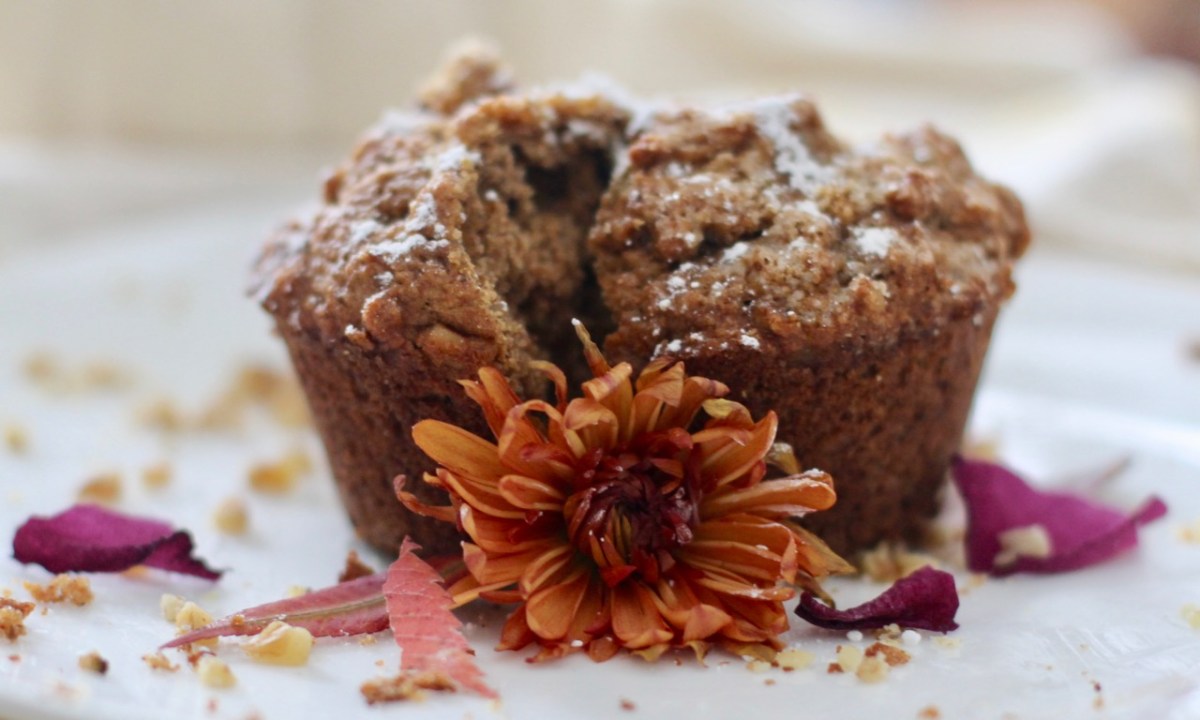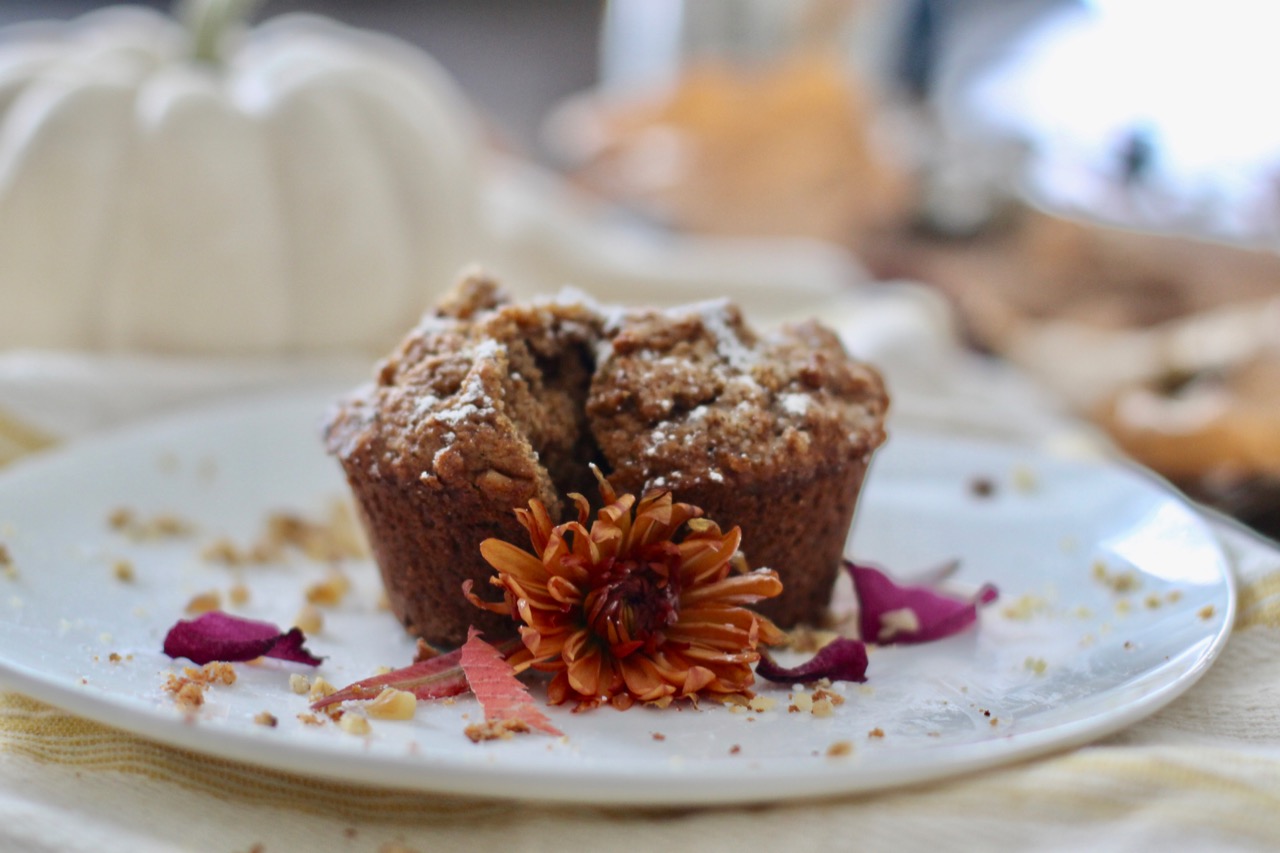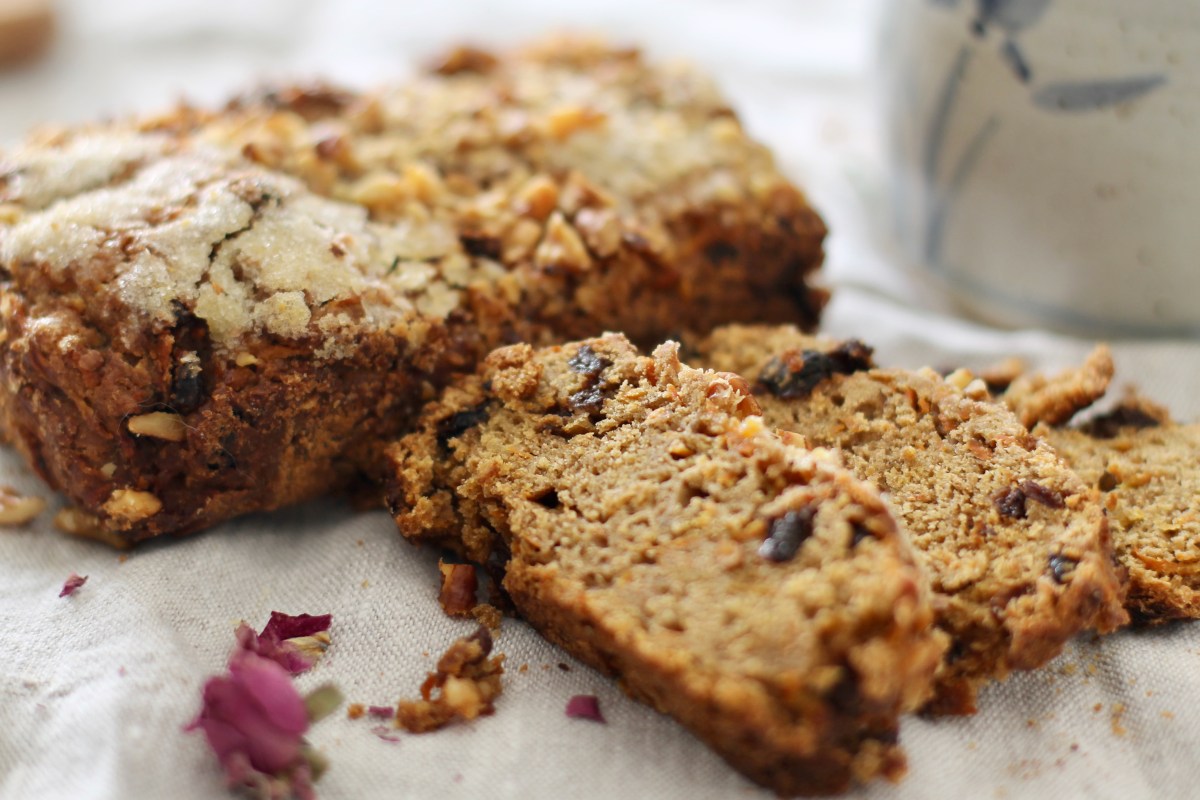
This is a classic recipe for a moist carrot bread with an amazing rich texture and flavor! It is loaded with raisins and shredded carrots, infused with vanilla and warming spices and sprinkled with walnuts and sugar on top.
I use whole wheat flour instead of all purpose flour as it is better for health. Quick breads with all purpose flour are normally baked right after assembling the dough to prevent a ‘soapy’ after taste. However, the assembled dough with whole wheat flour needs to sit for 8 hours. This allows the flour to soften and prevents it from burdening our digestion. Honestly, I don’t notice this ‘soapy’ taste … the bread will be fine, just follow the recipe … trust me!
The recipe works for 1 big loaf or 2 smaller loaves as well. Just make sure you reduce the baking time. Otherwise, there are no other changes to the original recipe.
RECIPE
Ingredients
- 1/2 lb (16 Tbsp) butter (coconut oil is fine), melted
- 1/2 – 1 cup brown sugar + handful of white sugar for the top
- 2 cups whole wheat flour, cut and sifted
- 1 tsp baking powder
- 1 tsp baking soda
- 1 Tbsp fresh ginger, finally chopped or 1/2 Tbsp dried ginger
- 2 tsp apple pie seasoning or cinnamon powder
- 1/2 tsp salt
- 1 cup raisins
- 1/2 cup walnuts, chopped
- 3 cups grated carrots
- 3 eggs, lightly beaten
METHOD
- Preheat the oven to 350 F. Take butter out of the fridge.
- Butter a 9 x 5 x 3 inch loaf pan or two smaller ones if you decide to bake dough in two pieces.
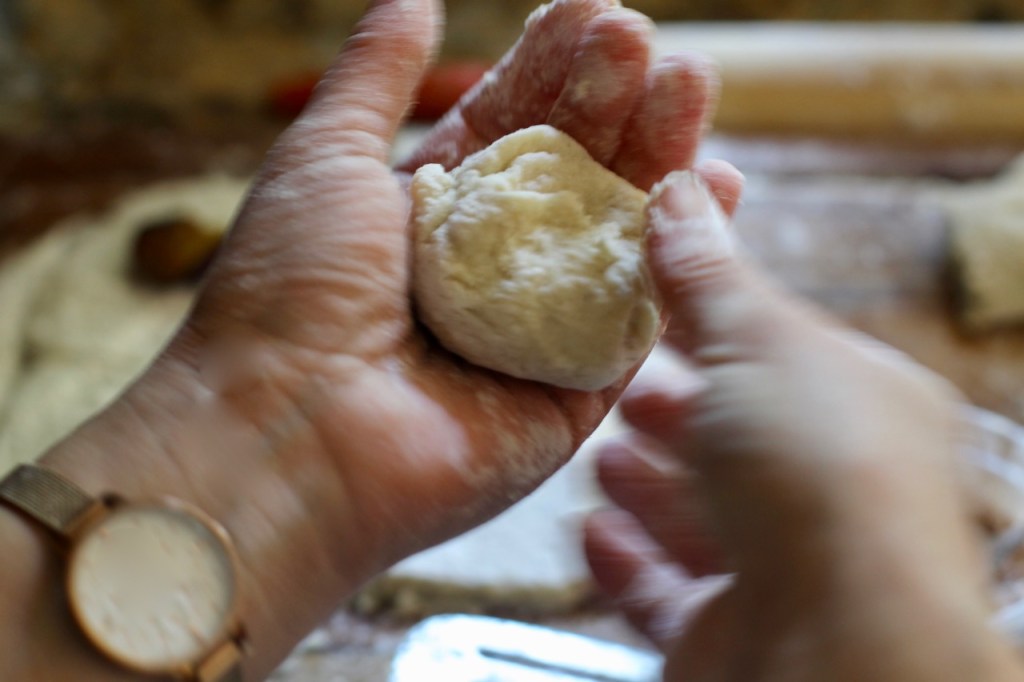
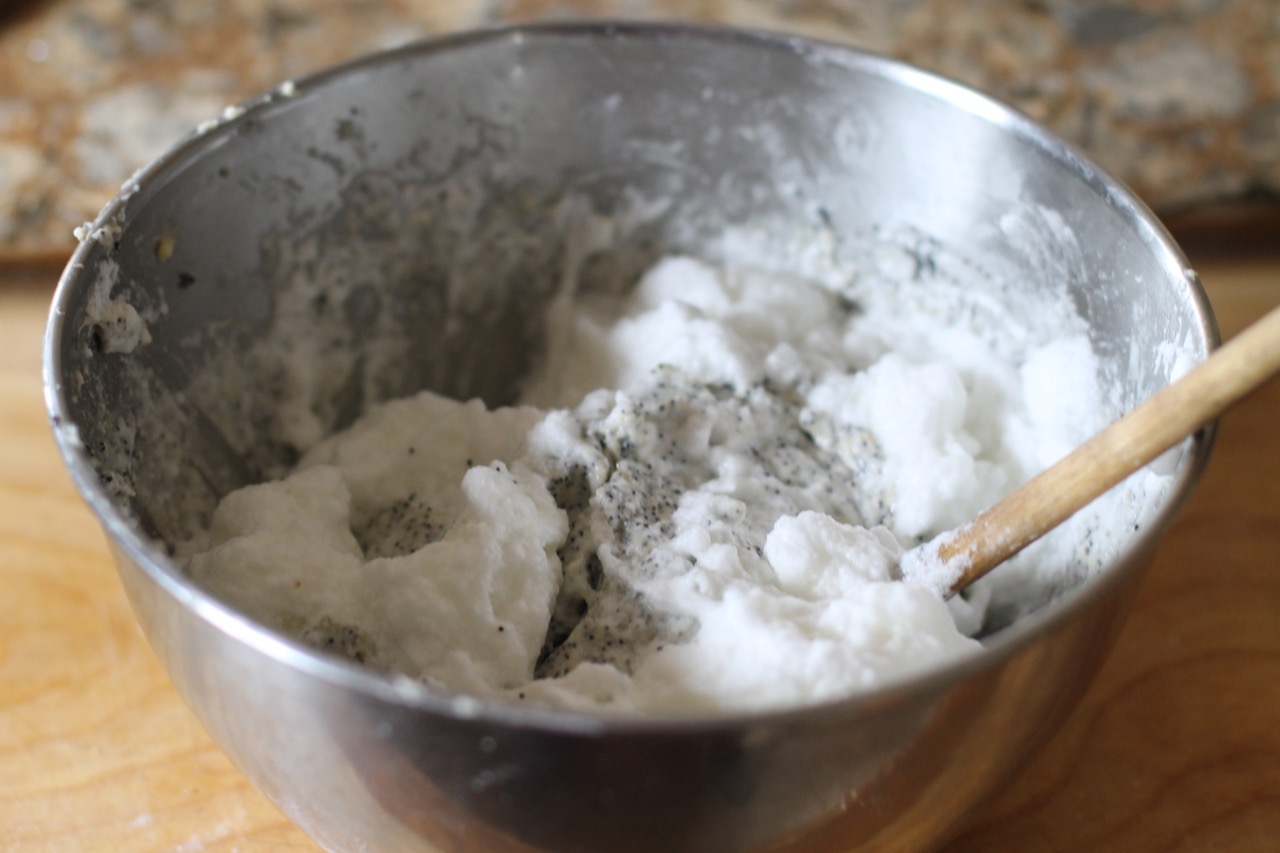
- In a medium sized bowl, cream the sugar with the butter. I do this step by hand but you can use an electric mixer. Add the eggs until they are incorporated. Set aside.
- In a large bowl, sift together the dry ingredients.
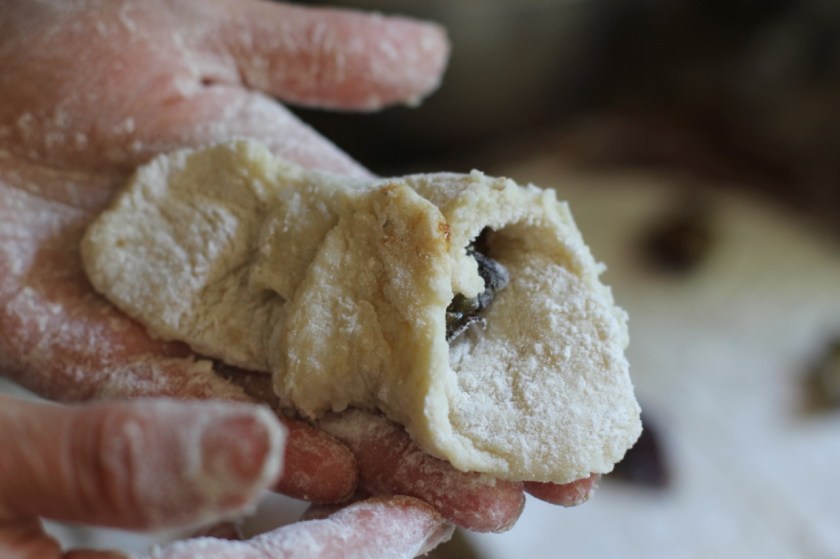
- Mix the dry ingredients with the butter mixture that was done earlier. Gently fold in the shredded carrots and the raisins. Mix. Make sure you don’t overdo this step.
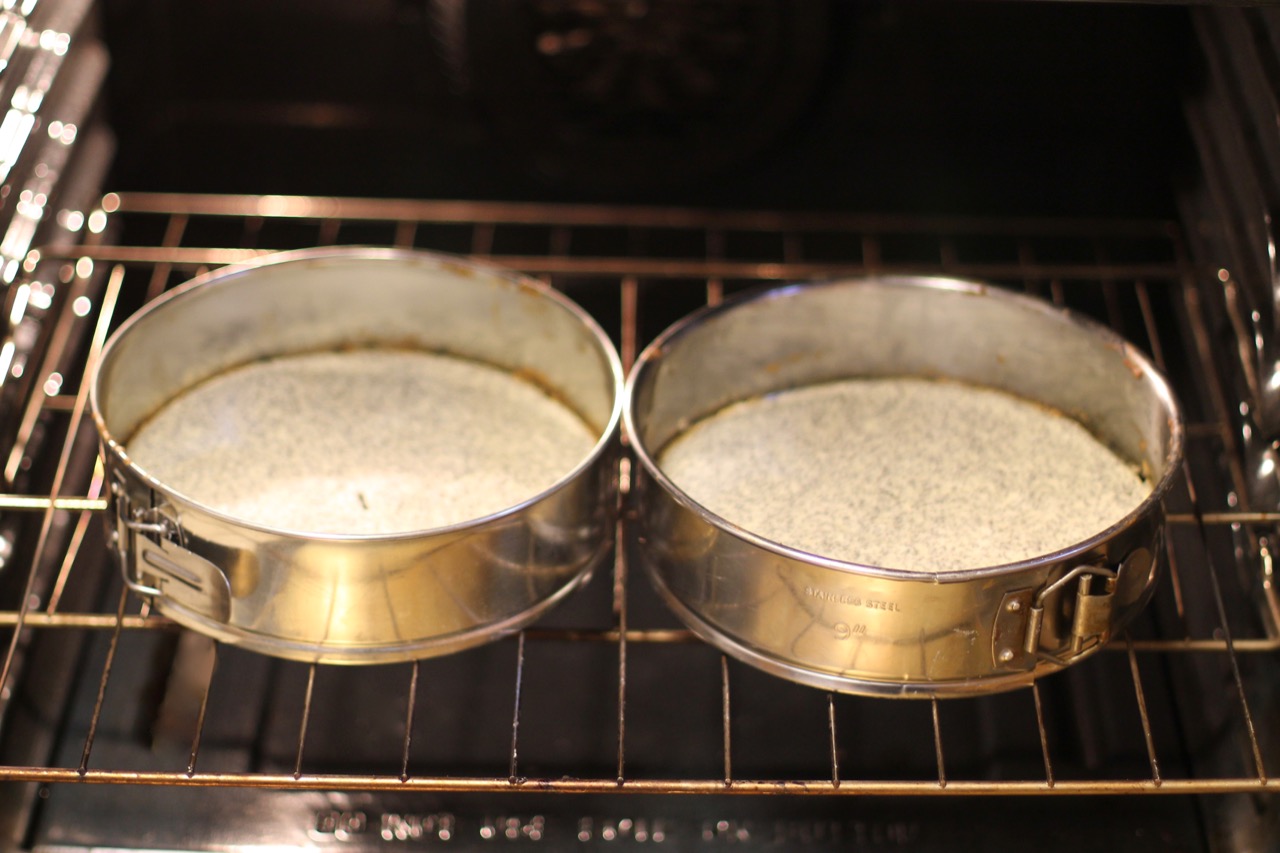
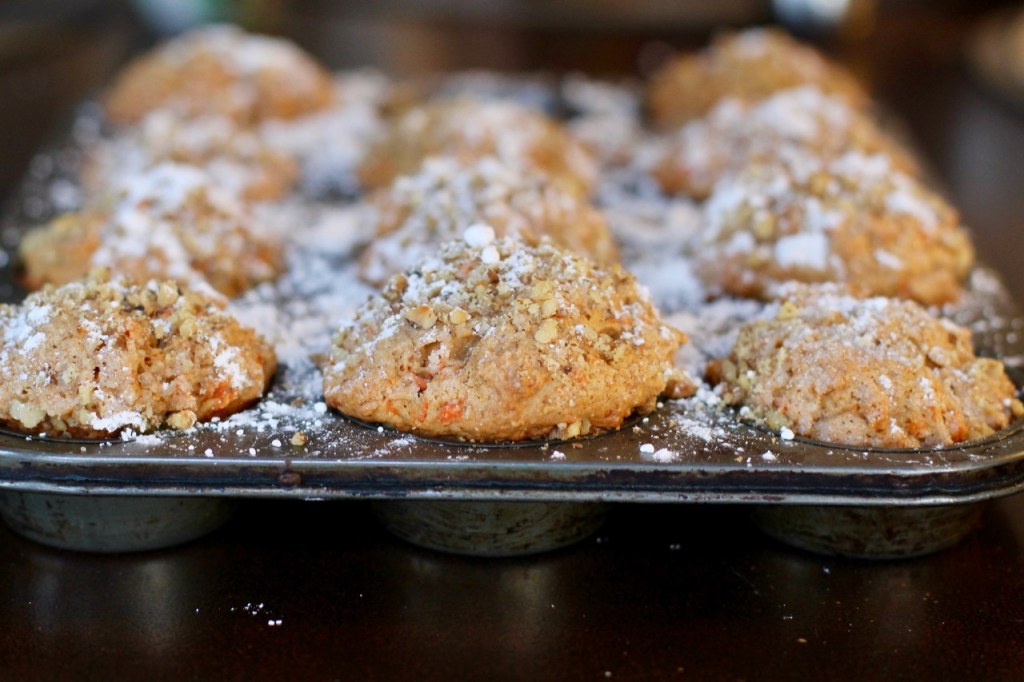
- Pour the mixture into the prepared pan or pans. Sprinkle sugar and chopped nuts on top of the bread evenly over the entire area.
- Let the mixture sit overnight covered. You can put it in the fridge just let it warm up to room temperature before baking it.
- Bake for 60 – 70 minutes or until a toothpick inserted in the middle comes out clean and the top is golden brown. (If you divide the mixture in two parts, cook for 55 – 60 minutes).
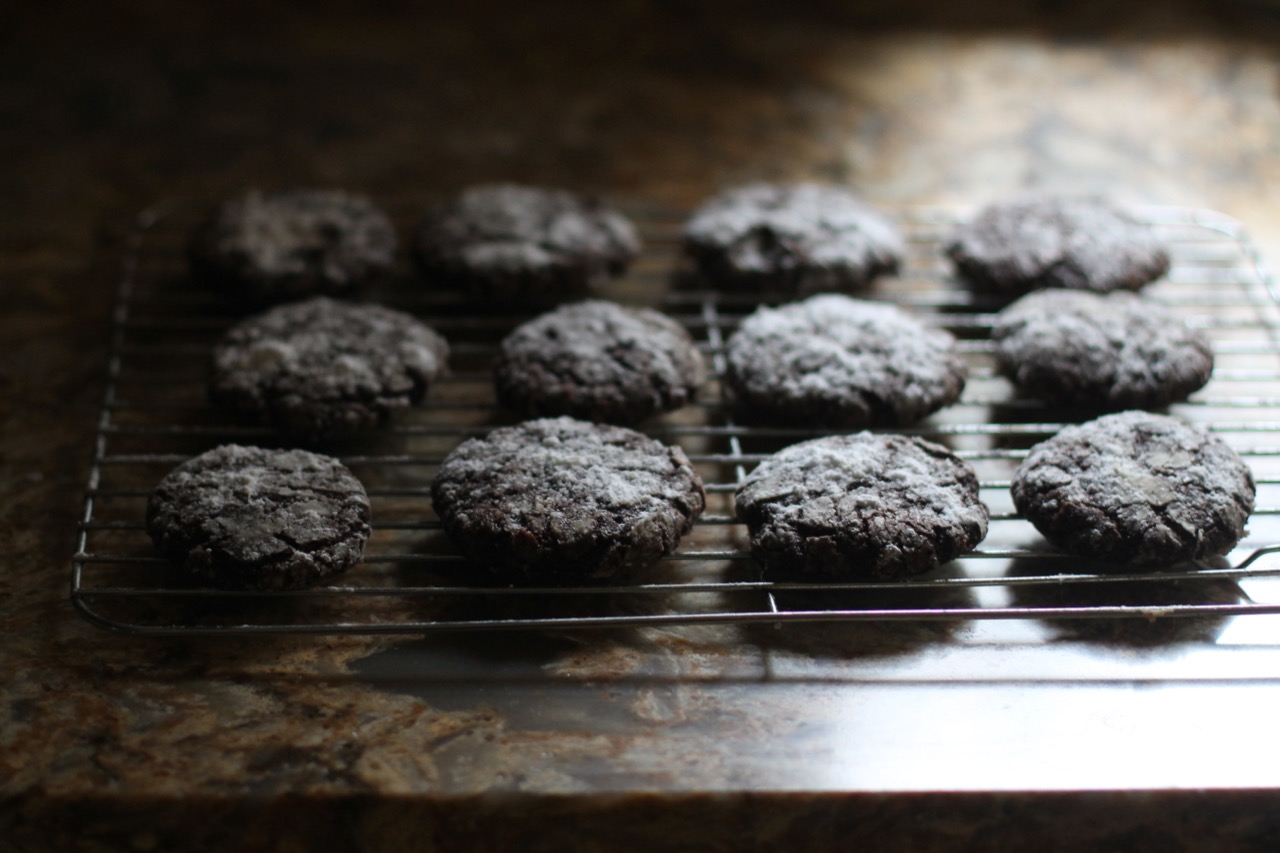
- Take the pan out of the oven and let it cool. You can slice the bread as soon as it cooled off.
- Store at room temperature covered with a kitchen cloth or place in an airtight container. Unsliced, it can last up to one week.
Enjoy!
Photo and text by Twincitiesherbs.