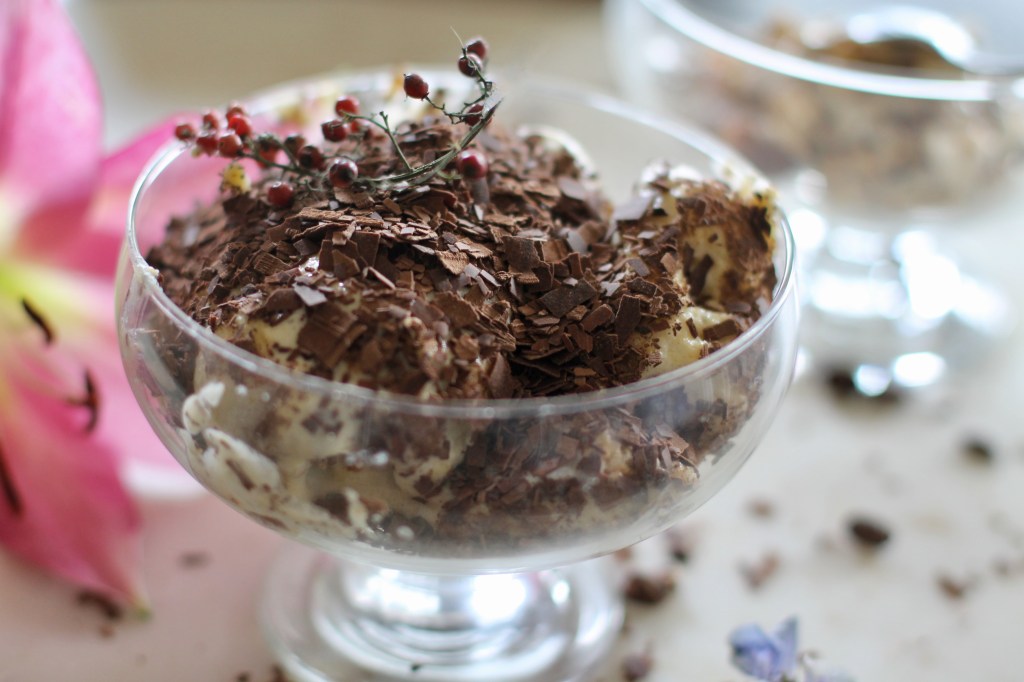
If you love coffee and desserts, you are going to love Tiramisu! It is a simple yet sophisticated Italian dessert. Like the Italians say all you need is eggs, mascarpone and lady fingers. The lady fingers are dipped in strong espresso, the mascarpone along with the eggs is infused with coffee liquor and the shredded chocolate sprinkled on the top brings all these ingredients together into a fabulous, sophisticated dessert. Wow your family, guests and they will think you are the most amazing chef …
TIPS
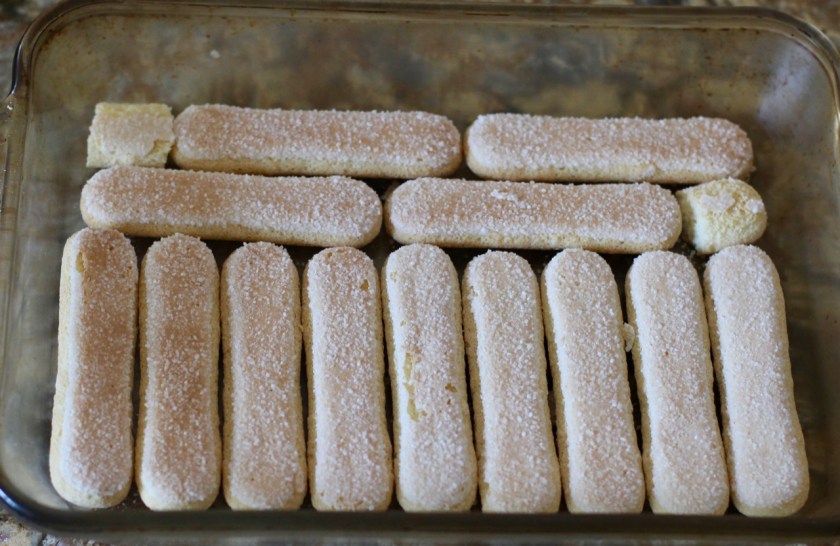
Lady fingers
You will need Italian lady fingers. I believe it is a must and you can buy it fairly easily. I get them at Cost Plus. You can even find them at Whole Foods or make it yourself.
Eggs
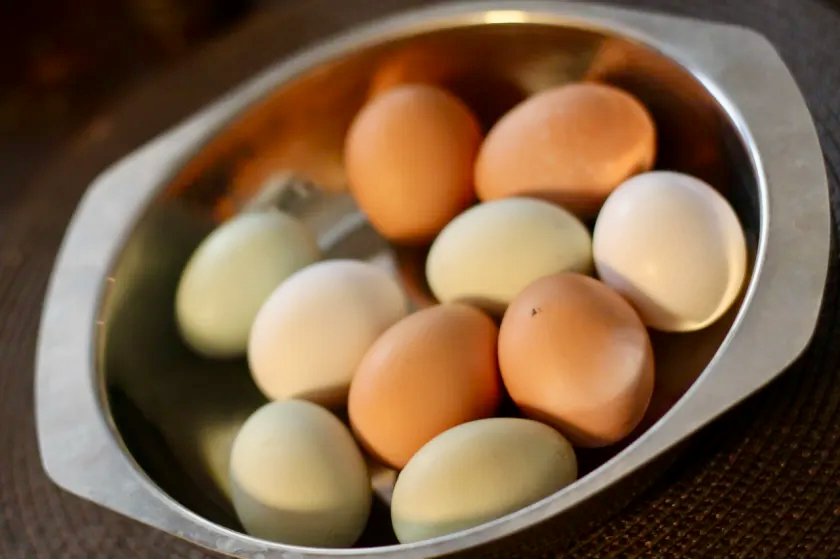
Traditionally, raw eggs are used to make tiramisu. Make sure you use fresh eggs. I get my eggs at the farmers market.
Eggs are easier to separate when cold but once they’re separated they need to be kept at room temperature.
Also, I like to put the egg whites individually into a separate smaller bowl first to make sure the egg is not addled and no yolk is mixed in. Then you can collect them in a bigger dish that is suitable for whipping the whites. Of course, the egg yolk can go into another medium sized bowl that will be used to mix egg yolks and mascarpone.
Egg test
When you immerse your egg in a pot of cold water, it should lie flat on the bottom. If it goes to the top or even one side starts moving up, do not use the egg. You can only use eggs that are fresh here.
Mascarpone
Another key ingredient is mascarpone. Yes it is expensive! … but it is an important ingredient and is worth it! So what is mascarpone anyway? It is like cream cheese but is creamier and has a higher fat content as it is obtained from cream and not from milk; cream cheese has 35% while mascarpone has 70% fat.
If you don’t have mascarpone or fresh eggs, you can still make the dessert – with a little cheating of course. My mom used to make it with vanilla pudding. Make enough vanilla pudding to cover your coffee dipped lady fingers. Just follow the instructions of the package you are using and add the shaved chocolate on the top. And add the coffee liquor too if you wish!
Alcohol
The recipe uses alcohol. I used coffee liquor (brand name: Kahlua). Amaretto works well too. If you don’t want to use alcohol, simply use vanilla.
Coffee
Coffee gives tiramisu the distinctive, interesting flavor, so yes you will need a good strong Italian espresso. The lady fingers are dipped in the espresso so make sure you make a good strong brew. 1 1/2 cup of espresso should be enough for dipping. (If you have left overs, you can drink it or pour it on your plants). For 1 1/2 cups of water, I used 1/3 cup of coffee. If you don’t have a coffee grinder, purchase the coffee already ground. If you have an espresso machine, great! If you don’t, no worries! We have a simple Italian Moka pot (Bialetti). Also, another tip is you can get your espresso at your local coffee shop. When my daughter worked at a coffee shop, she told us that they had people buying coffee to make tiramisu.
Assembling the Tiramisu
You can use different size dishes to assemble the Tiramisu. If you want to put it all in one big dish, you can use a deeper dish that is 2 Qt in size. You can use anything even circular dishes. Sometimes I use ice cream serving dishes and make tiramisu individually. Just make sure that lady fingers are tightly laid down.
This dish is definitely a make ahead dessert. It needs to be refrigerated for at least 6 hours … but honestly, I think it tastes the best after 2 days … although that might be too long to wait … Otherwise, it should be consumed within 7 days.
RECIPE
INGREDIENTS
- 1.5 cups of strong espresso at room temperature (1/3 cup of ground coffee)
- 28 lady fingers, depends on the size of your dish
- 3 Tbsp coffee liquor or amoretto (or 1 Tbsp vanilla extract is fine too)
- 6 fresh eggs (separated) Please see comment above.
- 16 oz mascarpone
- pinch of salt
- 1/2-1 cup sugar
- shaved chocolate for decoration (I got mine at Williams Sonoma)
METHODS
- Take the eggs out of the refrigerator. Separate the yolk from the whites while they are cold. Once you separate the eggs, just leave them on the counter. They need to be at room temperature when you start working with them.
- Make the espresso. Pour it into a shallow dish with a flat bottom. Coffee needs to be at room temperature.
- Immerse the lady fingers in the coffee quickly one at a time for one second. Try to do this quickly so the lady fingers don’t get soggy. Lay the dipped lady finger in a dish nice and snug.
- Making the Tiramisu sauce. In a double boiler, add 1/2 cup of sugar to the yolks with a pinch of salt and cook for 6 – 10 minute while stirring or until you get a nice creamy consistency. Keep checking, do not over-beat. You want to get a nice creamy, pudding like consistency. Here we are adding air to the yolks to increase volume. Take off heat and let cool to room temperature.
- Add the 3 Tbsp of coffee liquor and mascarpone to the egg yolks. Mix until just combined and smooth.
- Whip up the egg whites until the whites are solid. When you turn the bowl upside down, it should not fall out of the bowl. Do not over beat. Keep checking.
- Add the egg whites to the egg/mascarpone mixture. Don’t mix but gently fold it in. You just need to incorporate it into the yolk mixture keeping its fluffiness.
- Pour half of this mixture on the lady fingers that are already in the dish.
- Put another layer of the coffee dipped lady fingers on top of this mixture.
- Pour the other half of the tiramisu mixture on the lady fingers.
- Gently sprinkle some shaved chocolate on the top through a sieve.
- Cover the dish with a plastic wrap and refrigerate for 2 full days but at least 6 hours.
- The tiramisu can be stored in the refrigerator for up to 7 days.
Serve in smaller bowls.
enjoy!
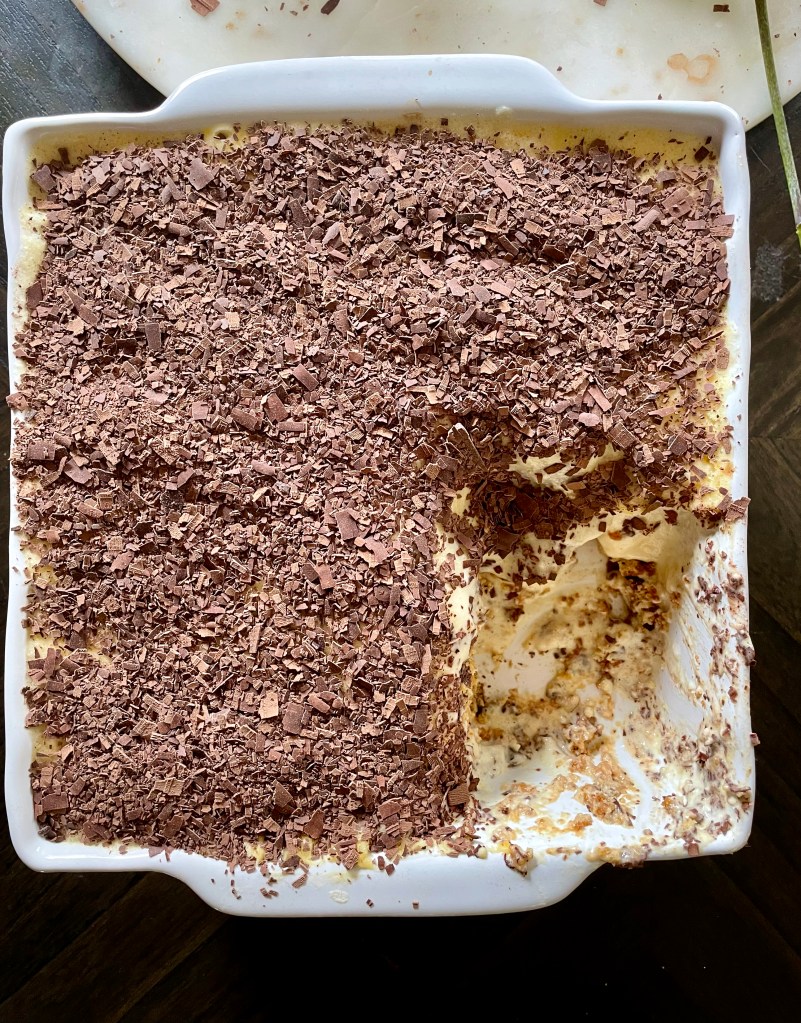
Photo and text by Twincitiesherbs.