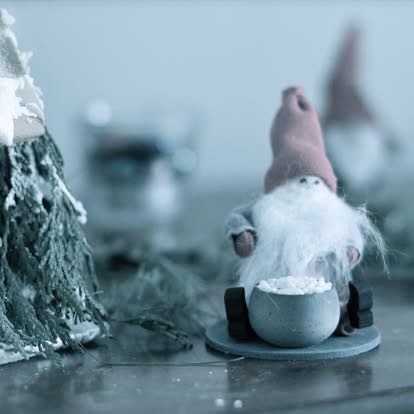
New Year’s Resolution
-An astrological approach
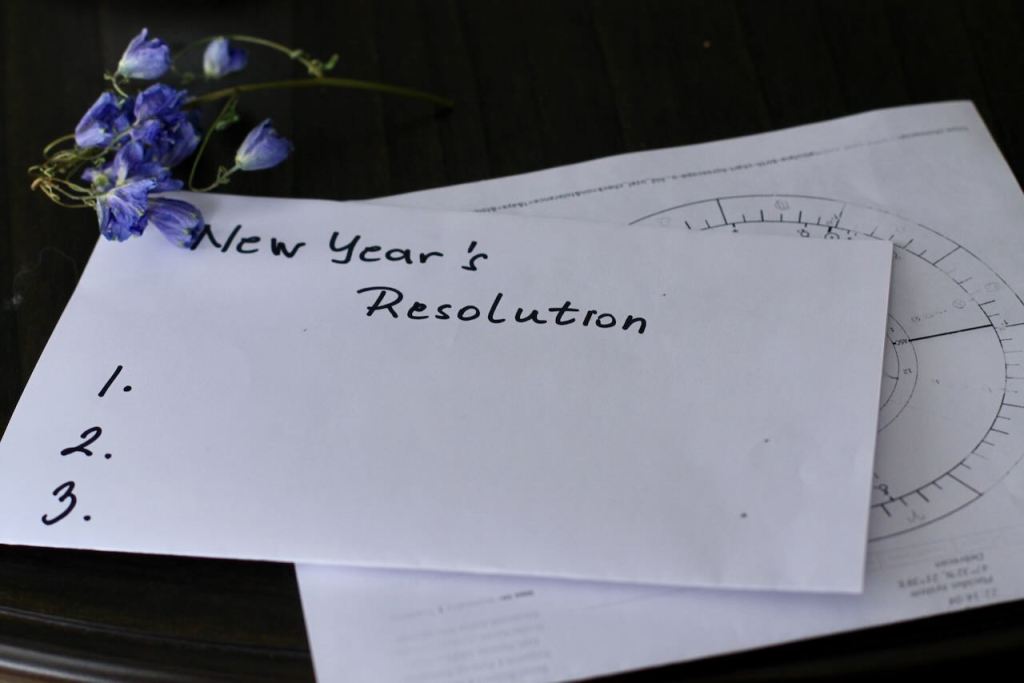
Every year, many people make New Year’s resolutions on December 31st for the following year. It is an opportunity to set personal goals to make life style changes like losing weight, starting an exercise routine or eating healthier foods. However, a survey done by the Journal of Substance Abuse reveals that most New Year’s resolutions fail by mid March. Why are so many people unsuccessful?
Let’s look at this phenomena from a more unconventional perspective, astrology. I believe it is plausible that people fail to make these changes as they are not working with the energies of nature. If we worked with these energies, we could do things easier. Let’s look closer at what I mean.
For thousands of years, different cultures have been observing how nature effects human beings. One way to observe it is using astrology. Astrologists believe that the Universe is reflected inside our body. As above so below, we are the microcosm of the macrocosm meaning the Universe is reflected in every human being. Astrology offers us a road map for opportunity and growth. It observes 12 different signs throughout the year, each sign associated with a specific time period on Earth.
SO WHEN SHOULD WE START ?
From an astrological perspective, New Year’s resolutions could be more successful if people started after March 21st instead of starting on January 1st. The time period between January up until mid March is considered cold when we tend to want to curl up by a fire place and do more quite activities like reading a book. It is a time for deep internal movement.
However, there are some things we can do before March 21st to prepare for making big changes. I would like to briefly discuss things that we can do to transition more efficiently. These first few months could be used to nourish and rejuvenate the body, mind and spirit.
It’s winter and according to Western Astrology, the new year doesn’t start until March 21st. Right now it is time to rest, slow down and nurture our body, mind and spirit!
There are three zodiac signs before March 21st, the Aries season starts. These three signs are Capricorn, Aquarius and Pisces. Let’s discuss the seasons, Capricorn, Aquarius, Pisces and Aries.
CAPRICORN SEASON
It is early January and it is cold and gets dark early. However, we are in ambitious Capricorn season and can feel its relentless discipline. This sign invites us to set goals and build strong foundations. Capricorn season runs between December 21st and January 20th. This sign is associated with hard work and a strong drive for success, so it makes sense that people get excited and start working on their goals. Maybe this time would be a great opportunity to set goals, start something small and just try to get into a routine.
AQUARIUS SEASON
Then comes the rebellious Aquarius season between January 21st and February 18th. This is an intense energy! It is a great time for making plans that you might not have thought of doing before but not so much for actions. Aquarius is more about doing good for humanity instead for the self so most people will likely not follow their original plans. I honestly feel an intense energy stuck in my head during this time and do foolish things. Instead of forcing our plans to work, we should be grounding ourselves and restoring circulation – physically, mentally and emotionally. Lavender is a great remedy.
PISCES SEASON
The sign, the dreamy Pisces season starts on February 19th. Pisces is the last zodiac sign representing endings, emotional release and deep introspection. During these weeks unprocessed stress, subconscious patterns and stored emotions begin to surface. Many people might be just dreaming about their plans and might have given up all together by now. I tend to feel tired during this time. However, I would like to point out that this could be a great time to start dealing with these stuck emotions or starting some sort of a spiritual practice like meditation.
ARIES SEASON
If you want to make successful life style changes, I’d suggest starting after March 20th and take an advantage of the Aries season. Energetic Aries is ready to get you started on anything and move you through obstacles. It is just its nature! I usually get my energy back as nature is waking up. During Aries season, the weather starts warming up and we naturally want to move more and lose weight. It’s time to shed the accumulated fats and toxins from the winter. This can explain why so many people give up before March 21st. Just make sure you pace yourself.
SUMMARY
Simply put, work with nature instead of working against it! According to Astrology, we could be more successful starting new endeavors during Aries seasons in March than early January. The period from January to mid-March is cold. During this time, we tend to want to curl up by a fire place and engage in quiet activities like reading a book. I suggest to rejuvenate the body, mind and spirit. This is also a good time to do a spiritual practice. Begin with baby steps that lead to attainable goals for the rest of the year. Then start your activity that you dreamed up after March 21st, just make sure you don’t burn yourself out with all this available energy.
Of course, these are general guidelines, and as always everybody’s situation is unique. For a more personalized plan please see an astrologist!
All the best for your endeavors! Hope this will help.
Photo and text by Twincitiesherbs.