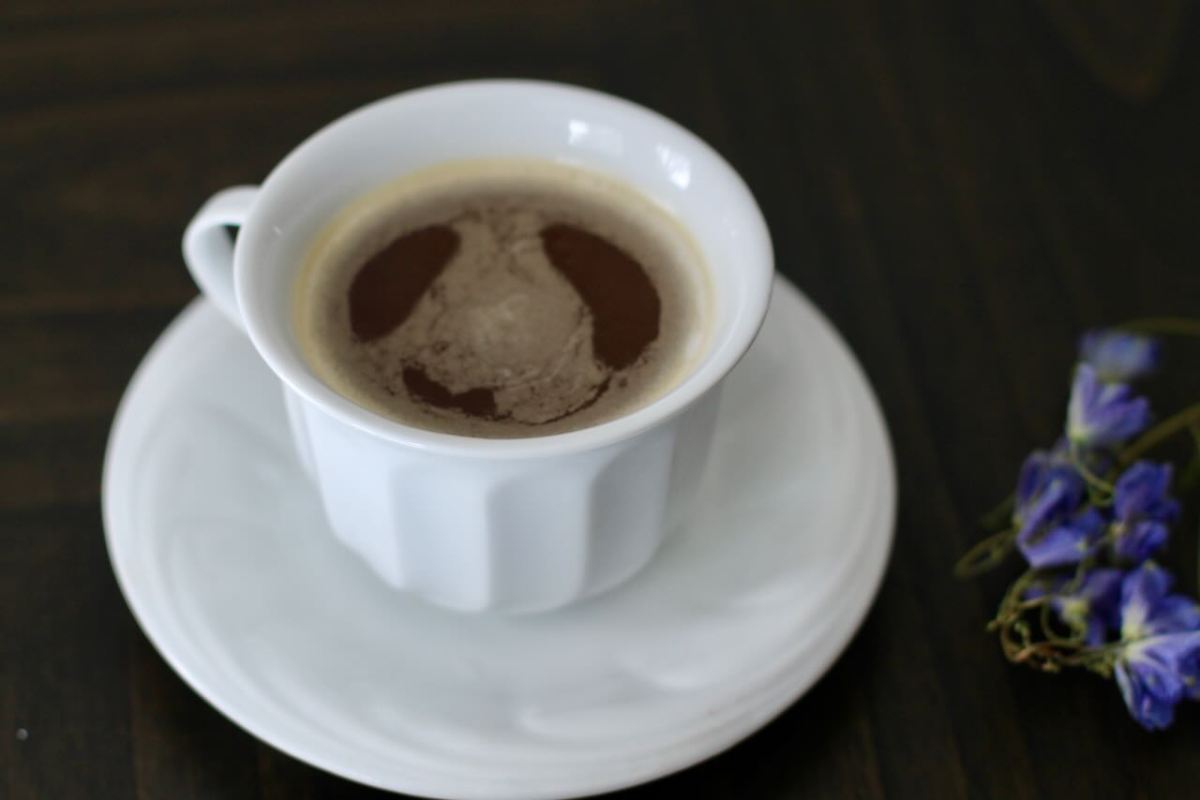
I am in a face book group where somebody asked what our favorite herb right now was. I always have a hard time answering these questions as I have many favorites … but right now I can say with ease, it is chicory!
Chicory is known as a coffee alternative but it is not just a coffee alternative! It has an earthy, rich flavor and is caffeine free! It has a coffee like flavor and has many benefits. It would be beneficial for the body after eating all the rich foods during the holidays.
Chicory can help our digestion. The bitter flavor is especially helpful in removing the dampness that is caused by the rich, heavy meals and sweet foods. The dampness can adversely affect our digestive system. (1)
Chicory also contains Inulin, a prebiotic. Inulin can help feed the beneficial bacteria in the gut, that supports digestive and immune health.
Disclaimer: If you tend to have a drier, weaker body, drink chicory with caution or omit from your diet. (1)
RECIPE
INGREDIENTS
1 tsp chicory root -cut and sifted or powder (roasted if fine too)
1 cup of water
powdered cinnamon for serving (optional)
pinch of salt (optional)
METHODS
1. Boil the water. Place the chicory in a cup and pour the boiling water over the chichory root. Let it steep for 15 minutes.
2. Strain.
3. Serve it hot with cinnamon sprinkled on top and a pinch of salt added.
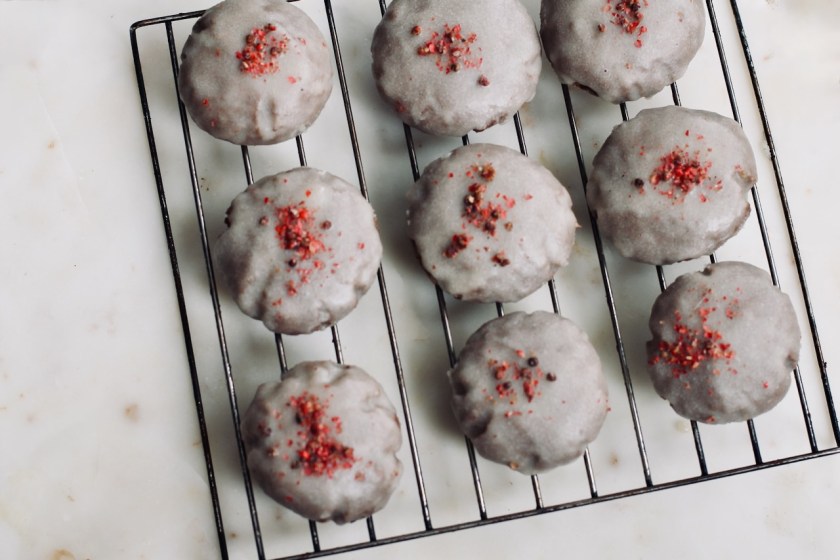
Turn on your favorite holiday music, put on your apron and start baking! The recipe comes from Martha Stewart. These cookies are a big favorite in Germany and are called Pfeffernüsse, pepper nuts in English. The small, round shaped cookies are made with gingerbread spices and molasses and then are glazed on the outside. Martha also did a little twist to the original German recipe and added cracked red peppercorns. And the smell of all these spices baking in the kitchen …
I think the red peppercorns elevated these cookies to another level. Yes, the cookies are already well flavored with many spices but these sweet red peppercorns bring everything together. Red peppers come from a flowering plant, Schinus terebinthifolius and are not peppers but belong to the cashew family. They are readily available in specialty stores. Taste it, it has a very unique, pleasant flavor.
Why are these cookies called pepper cookies? The cookies are made with spices cinnamon, nutmeg, allspice, cloves, black pepper and they are essential part of the recipe. So make sure they are high quality and fresh. I bought the whole spices and ended up grinding them in a mortar.
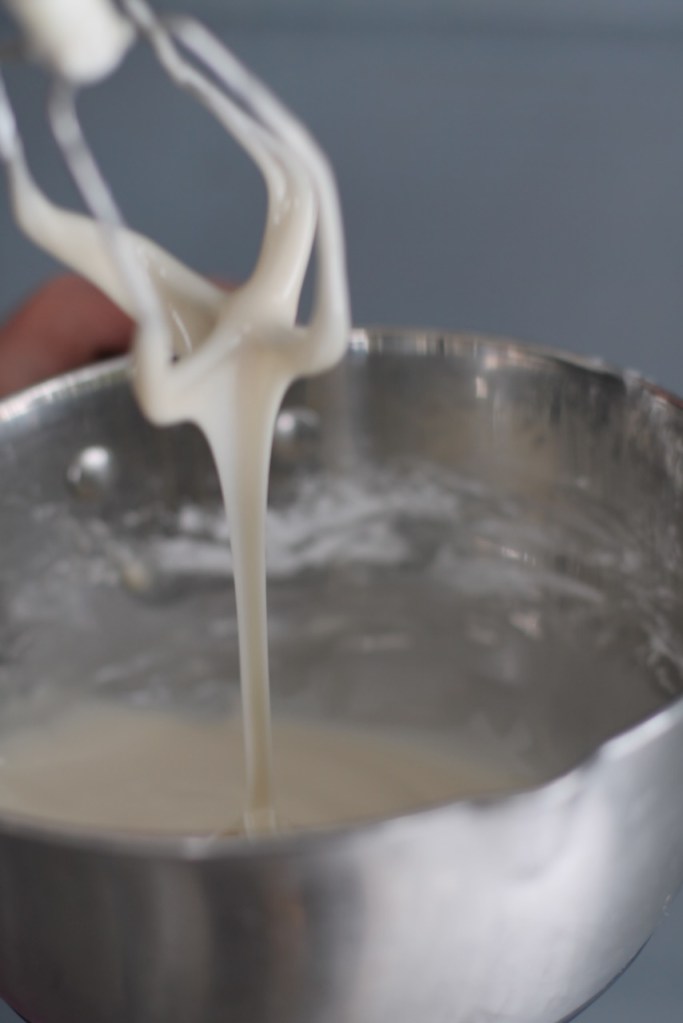
The recipe asks for confectioners’ sugar to make the glaze. Make sure you use this type of sugar instead of just the regular powdered sugar. Confectioners’ sugar is lightly powdered sugar with starch added to prevent it from caking while it sits. I didn’t have any at home so I grounded granulated sugar quickly in the grinder and added cornstarch. (I added 1 tbsp cornstarch to 1 cup of ground sugar).
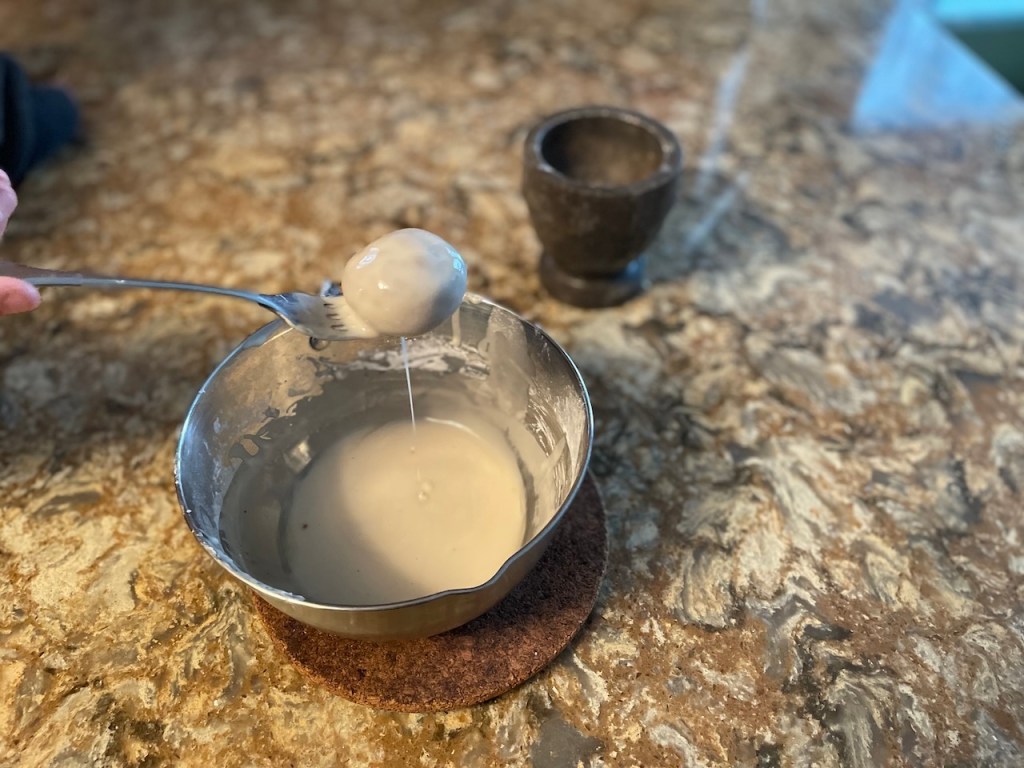
For glazing, try to use a taller, narrow dish to dip the cookies. You need vertical space to coat the cookies.
The recipe also uses alcohol called kirsch. I didn’t have any so I used Hungarian plum brandy. You can also substitute with dry vermouth, grappa, or white (aka silver) rum. It is optional of course. Just make sure you are not using any sticky-sweet red liqueur concoctions.
You can add edible glitter if you want to make the cookies more festive. I didn’t use it as I don’t have it.
Another change I made to the recipe was letting the dough sit in the refrigerator overnight. In Martha’s recipe, the cookies are baked immediately after they are assembled. However, traditionally, the cookies are put in the refrigerator for some time. It allows the flour to fully hydrate, prevents spreading and allows the complex spice flavors to meld and deepen.
I also tried letting the cookies sit overnight on the counter instead of putting them in the refrigerator. I prepared the cookies, put them on the cookie sheets and baked them the next day. This method worked fine too. The cookies tasted the same. The only difference was that the cookies will expand and be bigger in size instead of being ball shaped cookies.
Like any gingerbread dough, you can eat these cookies immediately but will taste even better in a week. They just need a little time to soften and the spices to settle. Otherwise these are fabulous cookies, well worth the time and effort. They taste just like the cookies from Germany that I get at Cost Plus.
RECIPE
Please read comments above.
INGREDIENTS
Cake
2 1/4 cups unbleached all-purpose flour
1/4 teaspoon baking soda
3/4 teaspoon fresh ground cinnamon
1/2 teaspoon fresh ground allspice
1/4 teaspoon fresh ground cloves
1/4 teaspoon fresh ground nutmeg
1/4 teaspoon fresh ground pepper
1/2 cup (1 stick) unsalted butter, room temperature
3/4 cup firmly packed light-brown sugar
1/4 cup unsulfured molasses
1 large egg, lightly beaten
1/2 teaspoon pure vanilla extract
Glaze
3 cups confectioners’ sugar
1/4 cup milk or water
1 teaspoon kirsch or other cherry-flavored liqueur (dry vermouth, grappa, or white (aka silver) rum, Hungarian pálinka) – optional
To decorate (optional)
Coarsely ground pink peppercorns
1 tsp edible glitter (optional)
DIRECTIONS
1. Preheat oven to 350 degrees. Grease 2 baking sheets. Take the butter out of the refrigerator.
2. In a medium bowl, sift together flour, baking soda and spices. Set aside.
3. In a medium sized bowl, cream eggs, brown sugar and molasses or until fluffy. Add in egg and vanilla, flour mixture; mix until just combined. Wrap the dough in a plastic bag and refrigerate overnight but at least for 3 hours.
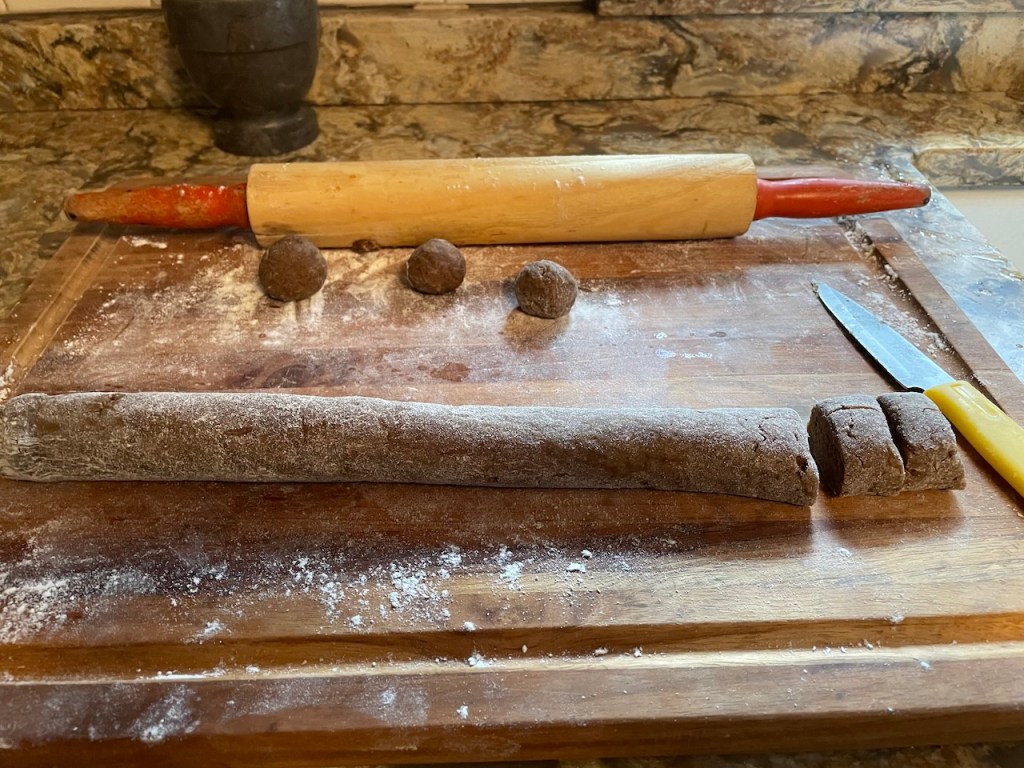
4. Work in a cool space, maybe open the window. Remove the dough from the plastic wrap and immediately roll it into two strands, each 3/4 inch thick. Slice the rolls into 3/4 inch thick rounds and roll each round into a ball (each ball be about 3/4 inch large). Note: You can make them any size. Place the balls on the prepared baking sheet. Repeat process with remaining dough, spacing balls 1 1/2 inches apart. (Try to do this step as fast as possible so the dough doesn’t get too warm).
5. Baking. Bake, rotating sheets halfway through, until cookies are golden and firm to the touch with slight cracking, for about 10-15 minutes, depending on the size of the cookies. Transfer sheet to a wire rack to cool completely.
6. Glaze: Fit a rimmed baking sheet with a wire rack. In a medium bowl (tall and narrow), whisk together confectioners’ sugar, water and kirsch( if desired). Using a fork, dip each cookie in the glaze to coat. A quick dip and gentle shake off are all you need. Place on wire rack to dry. Repeat with remaining cookies.
7. To decorate (if desired): While the glaze is still wet, top cookies with a small pinch of peppercorns and the edible glitter.
8. Storage. Cookies can be stored in an airtight container at room temperature for up to 4 weeks (below 75 F).
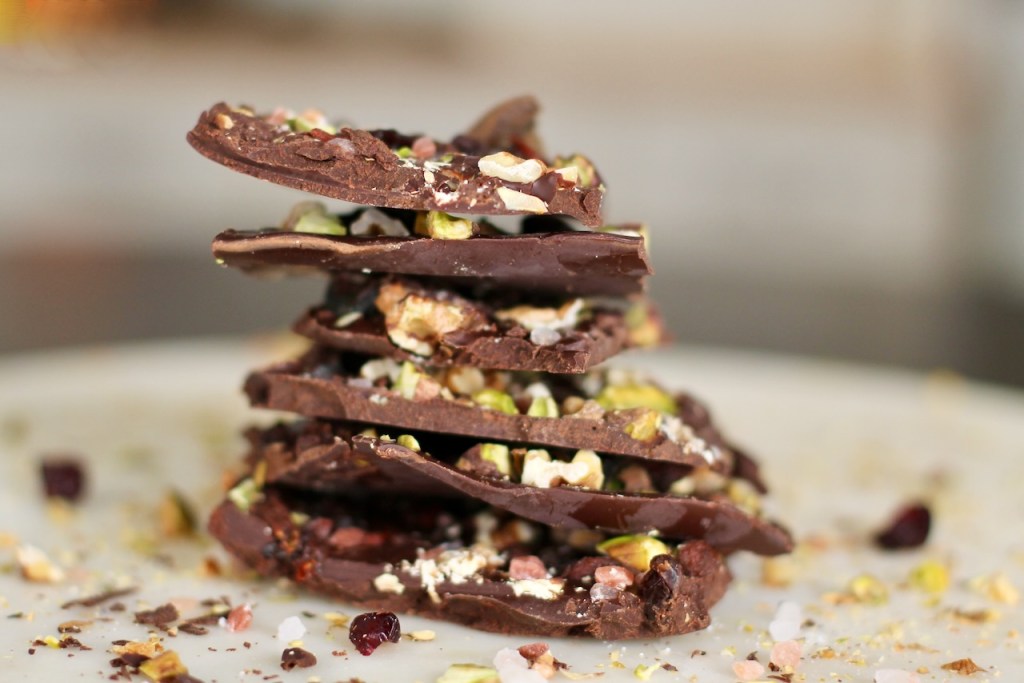
This festive chocolate bark is great for the holidays! Give it as a gift or treat yourself! It reminds me of the trail mix that I take with me when I go hiking … just a bit fancier of course.
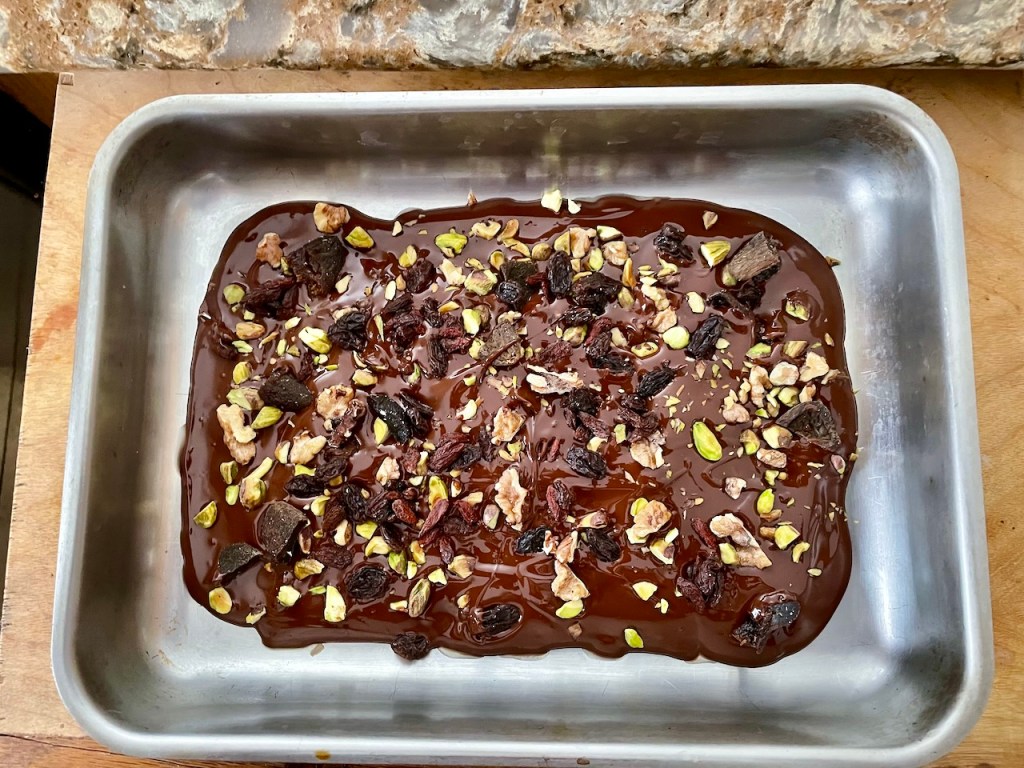
It is super easy to make and is delicious! For the topping, you can use any nuts and dried fruits that you like. It is your choice and the combinations are endless! I used pistachio nuts and cranberries. Oh and the smell of the roasted nuts … priceless.
The perfect dessert … sweetened with only dried fruits and made crunchy with only nuts!
RECIPE
INGREDIENTS
12 oz high quality chocolate chunks or chips (I used 70% dark chocolate)
handful nuts, chopped
handful of dried fruits, chopped
1 tsp coarsely ground salt
METHOD
Preheat oven to 350 F.
On a baking sheet, toast the nuts in the preheated oven for about 6-9 min. Cut them into smaller pieces if you wish. Cut the dried fruits if you wish.
Melt the chocolate in a double boiler or a pot with a thick bottom. Spread the chocolate evenly onto a rimmed dish with a spatula. Try to get the thickness about 1/4″. The dish should be large enough to hold the melted chocolate. I used a 8 x 11 ” casserole dish.
Drop the dried fruits, toasted nuts and the salt pieces on the top.
Let it cool completely for 2-4 hours or refrigerate for 15 minutes.
When the chocolate is set, using your hand, break the chocolate into pieces.
They can be stored in an airtight container for weeks.
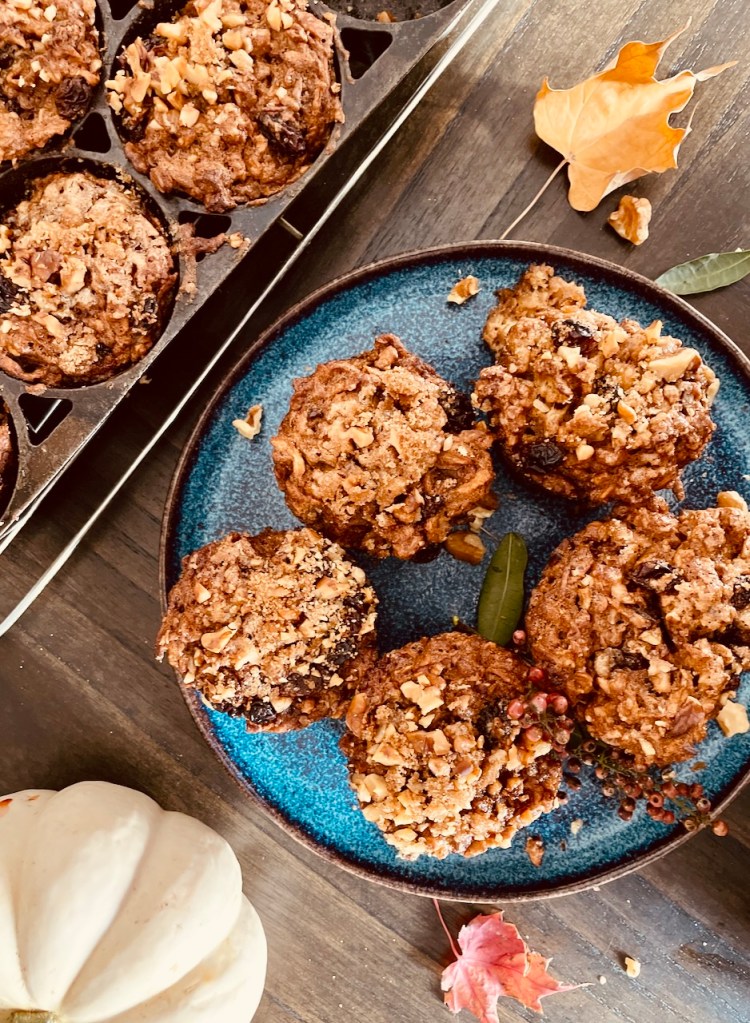
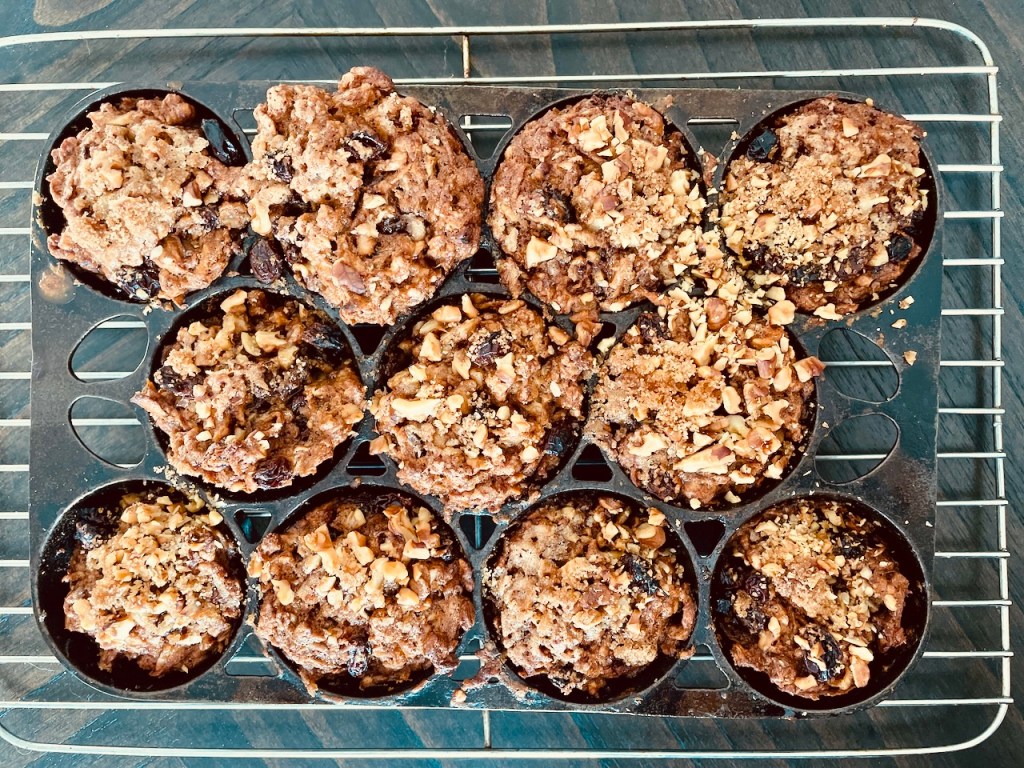
I ate my first oatmeal muffin when we visited my husband’s grandmother over 30 years ago. She made them for breakfast for us. I really liked it after I took the first bite and I have been making them ever since. I served them for breakfast when my parents came to visit us from Hungary and they were equally impressed. I remember my mom returned to Hungary with a muffin tin so she could make these delicious muffins.
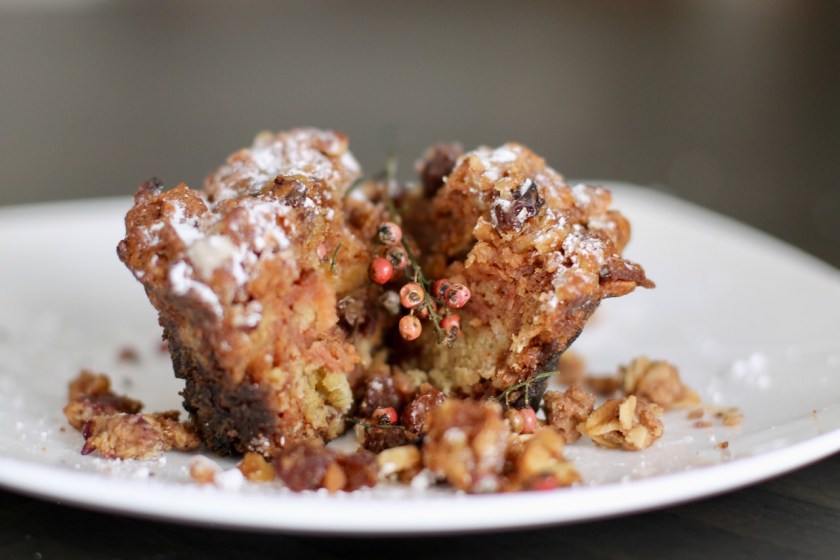
These apple oatmeal muffins are easy to make and are delicious. The oats give a nice texture and important nutrients. They are packed with raisins and nuts and are infused with apple spice. I also added some grated apples to satisfy my autumn cravings and make the muffins moist. Also, as the apples made the muffins moist, I was able to remove the milk. I forgot to squeeze the juice out of the apples and didn’t add the milk … and my new recipe was born! I believe this recipe is even better than the original!
RECIPE
Serves 11 – 12 muffins
INGREDIENTS
1 cup wheat flour
1 cup old fashioned oatmeal
2 tsp apple cinnamon spice or cinnamon
1 tsp baking soda
2 tsp baking powder
pinch of salt
1/4-1 cup sugar (plus more for the top)
8 Tbsp butter or coconut oil, melted
3 eggs, lightly whisked
1 tsp vanilla extract
1 Tbsp apple cider vinegar
1 cup raisins
1/2 cup walnuts, chopped
2 heaping cups grated apples with the liquids (any baking apples like Fuji, Granny smith, Haralson would work well), if you don’t have juicy apples add 1/2 cup milk
METHOD
Preheat oven to 350 F. Grease a muffin pan.
In a medium bowl, whisk together the flour, oatmeal, baking soda, baking powder, salt, apple cinnamon spice. Set aside.
In a separate bowl, cream vanilla extract, sugar, melted butter, apple cider vinegar and eggs. Set aside.
Grate the apples. Set aside.
In a large bowl, mix the flour and the butter mixture. Fold in the apples, nuts and raisins. Mix just until combined. Don’t over mix, otherwise the muffins will be tough not tender. (If you don’t have juicy apples add 1/2 cup milk).
Scoop the dough into a regular 11 – 12 cup muffin tin. Divide batter evenly between muffin cups. Sprinkle sugar on the top. (If there is an empty cup, fill the empty space with water).
Let the mixture sit for 1 hour if you have time.
Bake for 30 minutes.
Allow the muffins to cool for 10 minutes before taking them out of the tin. Then transfer them to a wire rack and wait for 10 minutes to completely cool.
Serve at room temperature.
Store on the counter covered with a cloth or in an airtight container.
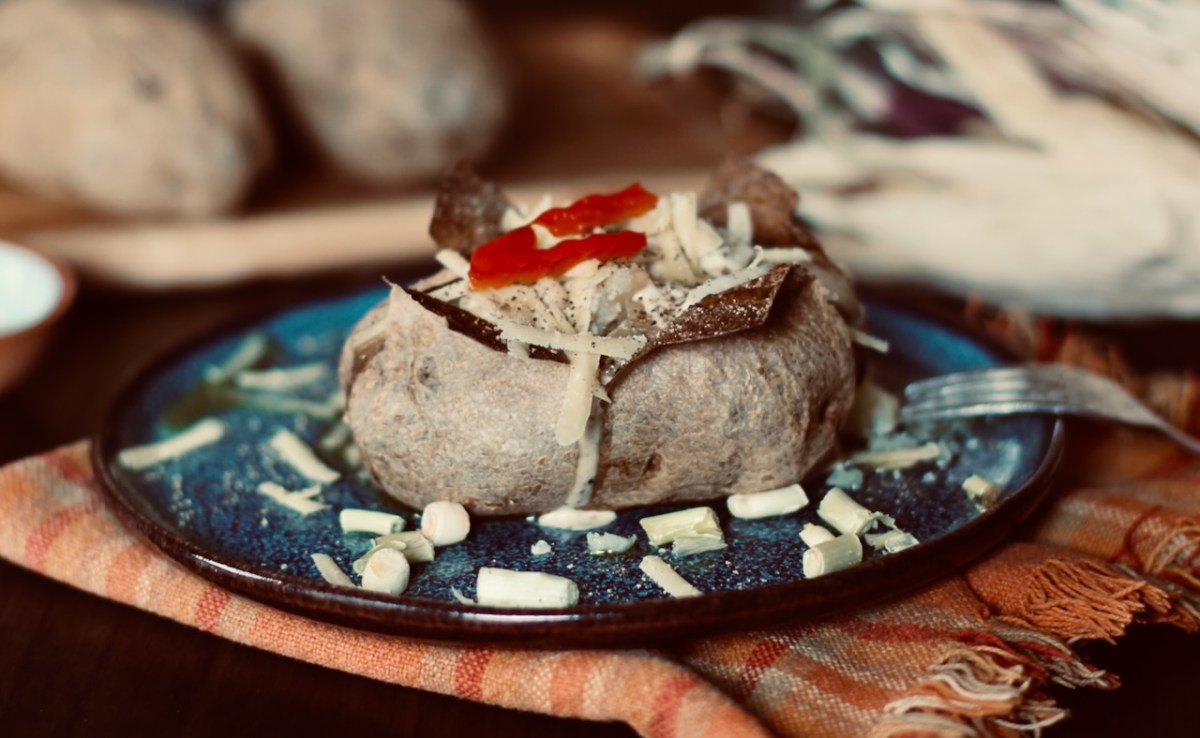
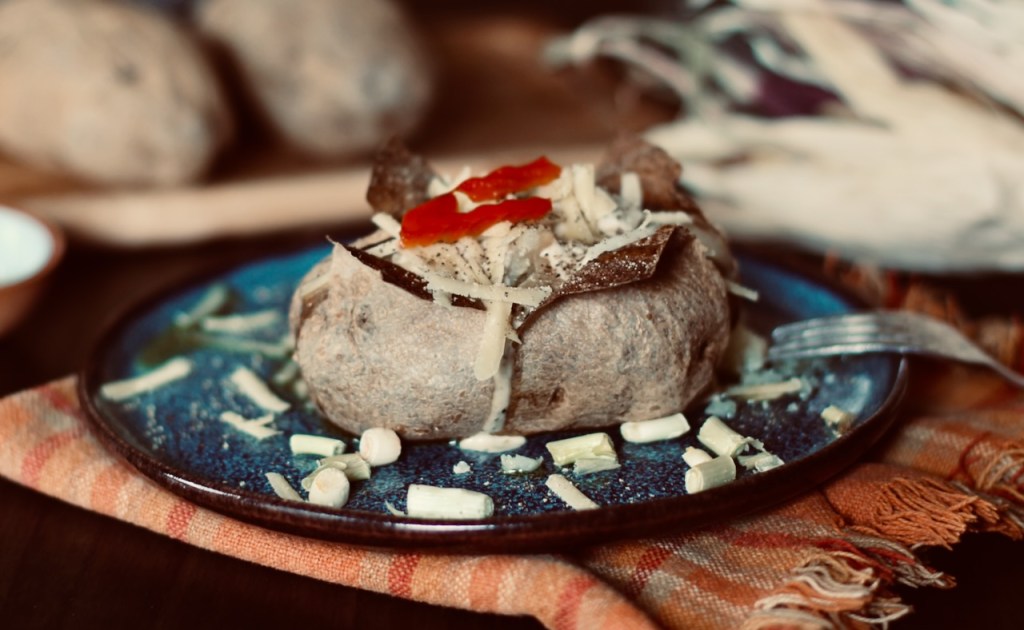
If you feel sluggish after eating all the Thanksgiving food, try oven-baked potatoes.
Our ancestors ate potatoes to stay healthy. They ate home grown potatoes without any chemicals. They made them many different ways but according to accounts, one of their secret ways to prepare them for health was to bake them in the oven with the skin on … not fry them, not steam them, not microwave them but oven-bake them. It is great as a side dish or sometimes I just have it for dinner as it is.
Potatoes can support the body’s Earth element right now. They are neutral in thermal nature and support the Spleen/Pancreas, the Stomach and Large Intestine. They could be especially helpful for our inflamed, ailing intestines from poor foods, food allergies and environmental toxins.
Potatoes (solarium tuberasum) are native to the Andes in South America and help our digestion, lubricate the intestines and are anti-inflammatory. Furthermore, potatoes neutralize acids in the body that may help against so many degenerative diseases. Also, they may give cardiovascular protection, improve bone health, protect against cancer and might also be helpful for diabetes. Potatoes also contain potassium, iron, niacin, phosphorus, calcium, zinc and magnesium.
To get the above mentioned benefits, you need to use home-grown style, organic potatoes. Unfortunately, potatoes from super markets will most likely not work. You should be able to find these potatoes at farmers’ markets or health food stores.
Bake the potatoes with the skin on if possible. The skin contains so much of the beneficial material of the potato! Just soak the potatoes in cold water and the dirt will easily scrub off.
You can serve them with whatever your heart desires. I like to use butter or olive oil as shortening with garlic powder. Also, add any seasonal vegetables like onions, pickles.
TIP
When are the potatoes done?
It can be a bit tricky to figure out when the potatoes are ready. Cooking time depends on the size of the potato. It is important how it looks, smells and feels, rather than timing the cooking. A fully cooked potato should have a slightly wrinkled skin. When you squeeze the potato, it should yield to pressure and slightly open up. You should be able to put a fork through the inside with minimal force and able to smell the nice aroma. You might even hear a slight hissing sound. If you are still not sure you can use a thermometer. The temperature of the potatoes when done should be about 210 F.
If you try this potato dish, please let me know what you think!
RECIPE
1 Serving
INGREDIENTS
1 larger organically grown, ideally a locally grown potato (Russet or Idaho)
1 Tbsp fat (olive oil, butter, sour cream etc)
salt to taste
garlic powder to taste
vegetables to serve like chives, scallions, pickles
METHOD
Preheat oven to 400 F.
Soak and wash potatoes. Scrub all the dirt off. Prick them all over with a fork.
Bake for about 35 – 60 minutes. Time depends on the size of the potatoes. Please read above notes.
To serve, prick the middle of the potato and mash the inside.
Serve warm with shortening of your choice and vegetables of your choice.
I am thrilled to announce that Twincitiesherbs is on Facebook now! Please come and check out my page! I will be posting my old and new seasonal recipes and some other helpful information! This gives you a chance to see not just my new recipes but my old recipes from earlier years. It is a private group so you just need to request to join.
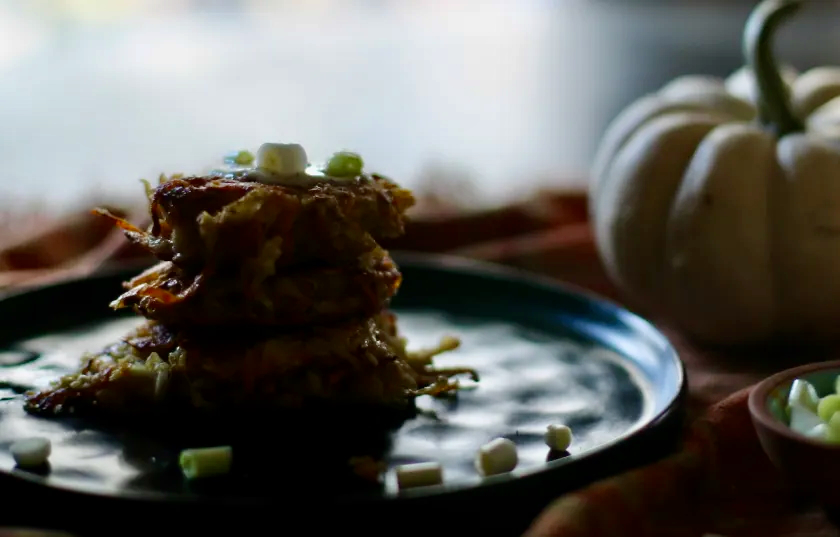
Parsnip sweet potato latkes can be a great addition to your autumn meals! Grated parsnips, sweet potatoes and onions are mixed and made into patties with some eggs. They are super easy to make and are delicious too. Serve them with some sour cream and scallions!
RECIPE
6-7 servings
INGREDIENTS
2 cups sweet potatoes or potatoes, grated
1 cup parsnip, grated
1/2 onions, grated or 2 Tbsp dehydrated onions
2 eggs
salt and freshly ground pepper to taste
1/3 cup flour
oil for frying
3 scallions plus more for serving, sliced
INSTRUCTIONS
If you decide to leave the skin on, soak the sweet potatoes (or potatoes, if used) and parsnips. Scrub off any dirt. Otherwise if you prefer not to have the skin on, peel them with a vegetable peeler.
Coarsely grate them with a box grater. Try to squeeze out as much liquid as possible. Add the rest of the ingredients except the oil. Mix.
Let the mixture rest for 1 hour if possible.
Heat a skillet with some oil. Take out 1/3 cup of the mixture and form patties. Put them in the skillet and flatten them down with a spatula to about 1/2 – 1 inch thickness.
On medium high heat, cook the patties for about 5 – 10 minutes on each side until crisp and brown
This is a very nourishing, easy to make soup based on the Hungarian egg-drop soup recipe. It is a sweet and sour soup made with eggs, carrots and sorrel and is seasoned with the wonderful synergy of the caraway seeds and paprika. Serve with bread of your choice!
This recipe uses sorrel. Unfortunately, it is harder and harder to get in stores so I decided to grow my own. We actually built a raised bed garden so I can have sorrel every year. It is such a giving plant. It is a perennial plant and it will come back year after year. You get to harvest it in late spring and early fall. I have harvested it even during the summer when it was not too hot.
Sorrel is a unique vegetable with a distinctive sour, lemony flavor. Try to find it in your grocery store, farmers market or if possible grow your own. If you don’t have sorrel, you can use mustard greens, arugula, yellow dock or even spinach. If you use these alternate vegetables, make sure you add 1 tablespoon of lemon juice.
TIP
MAKING THE ROUX I use roux in this recipe. It is made with an easy French culinary technique that gives dishes an interesting nutty taste and thickens the dish. All you have to do is add flour to some oil in the sauce pan on medium high heat and stir for a couple of minutes until it turns a nice, orange color. Then add cold or room temperature water, stir and it is ready. Just make sure the liquid you add is at cold or room temperature to avoid lumps from forming. Warm or hot liquids will make the roux lumpy, unappealing. Once the cold or room temperature water has been poured in, hot water can be added. Making the roux is not necessary. According to many Hungarians, adding roux would ‘frenchify’ the dish. Hungarians must have added this technique after people from France immigrated into Hungary. I have made the soup with it and without it and both worked great.
DRY ROASTING THE CARAWAY SEEDS I like to dry roast the caraway seeds to remove its stronger flavor and make it more pleasant tasting. Just simply roast the caraway seeds and add this finished product to the soup. I prefer the caraway seeds whole in the soup; however, if you don’t like seeds in your soup, feel free to grind the seeds and then add the powder to the soup.
Oh I can still smell that wonderful aroma that the synergy of paprika and dry roasted caraway seeds create … Enjoy this delicious unique sweet and sour soup!
RECIPE
4-6 servings
INGREDIENTS
8 cup broth (vegetarian or chicken) or water
1 tbsp lemon juice if not using sorrel
oil (vegetable or lard)
1 tbsp flour (optional)
1 bunch sorrel, washed and chopped
1 cup carrots, peeled and shredded or match sticks
1 medium onion, finally chopped
1 tsp Hungarian sweet paprika
1 bay leaf
1-2 tbsp whole caraway seeds
2 egg yolks, (you can leave the whites in if you prefer)
1 tbsp vinegar
1 tbsp dehydrated vegetable seasoning (optional)
parsley, chopped for serving
Hot pepper to taste
Salt and pepper to taste
bread or croutons for serving
METHOD
1. Have 1/4 cup of cold stock or water ready.
2. TOASTING CARAWAY SEEDS. Put the whole seeds in a dry skillet over medium low heat. Toast for 2-3 minutes, shaking the pan until they become fragrant. This simple step mellows the sharpness and unlocks a beautiful, nutty warmth. You can grind the seeds if you wish. Set aside.
3. Sauté the onion in a medium sized pot for 5 minutes. Add the shredded carrots and continue cooking them for another 5-10 minutes. This mixture gives a really nice flavor to the soup. I invite you to taste it.
4. Add 1 Tbsp flour to make the roux. Stir for 3 minutes or until it turns a beautiful orange color. (You can omit this step).
5. Add 1 tsp paprika and stir for 1 minute.
6. Add the cold water that was set aside in the first step. Stir well.
7. Add stock, bay leaves, sorrel and caraway seeds. Bring to a boil and turn down. Cook for 15 minutes covered.
8. Turn off the heat and take off the top.
9. Separate 2 eggs and lightly beat the yolks. (You can keep the whites). Add a small amount of liquid from the soup, mix and slowly add to the soup while stirring. (My mom made this soup with just the yolks but if you prefer that silky egg white texture, feel free to use the whole eggs). Mix.
10. Add vinegar and dehydrated vegetable seasoning (optional).
11. Season with salt, black pepper and hot red pepper to taste.
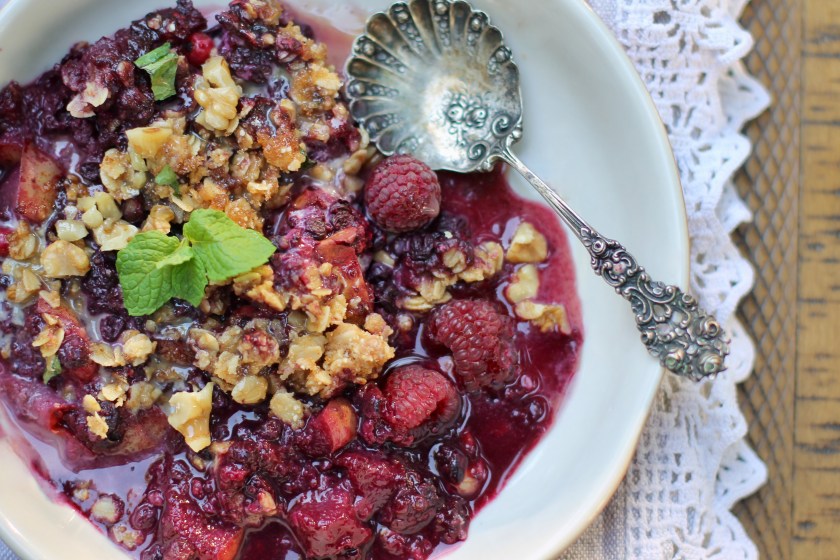
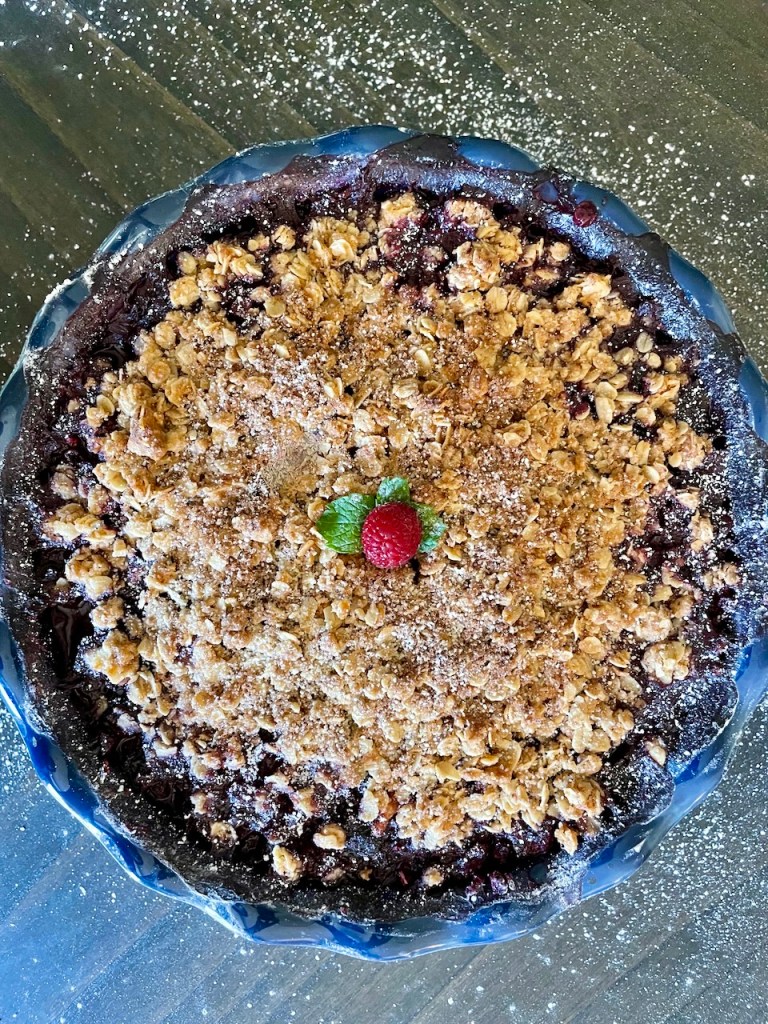
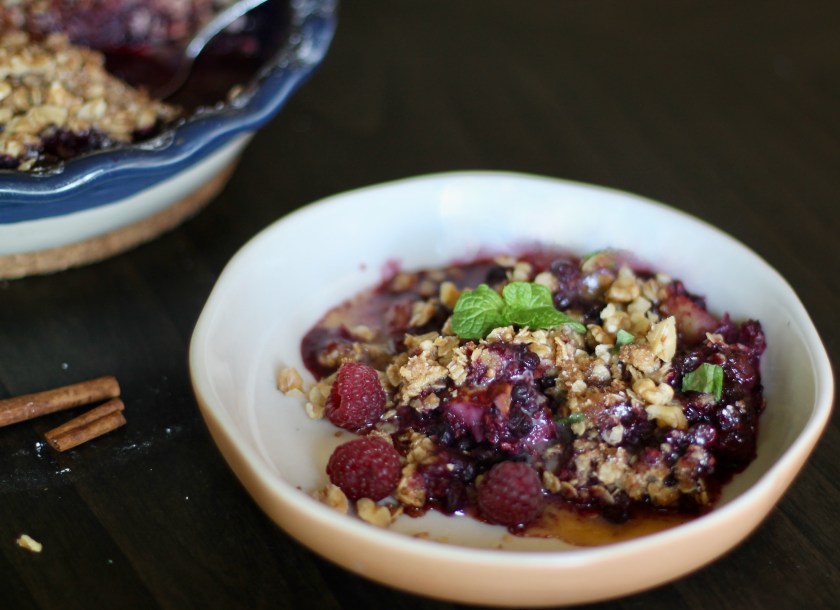
This is a lovely dish for the autumn! The buttery pears work nicely with the tangy berries … and this delicious sweet fruity mixture is covered with the nutty oatmeal topping. Serve it with caramel sauce to satisfy your autumn cravings. It can be a fancy breakfast or a simple, quick dessert
TIP
This is a sweet dish so ideally sugar should be used. I included a range for the sugar content. Please feel free to use as little sugar or as much sugar as you’d like. Of course, the amount will depend on your sweet tooth and how sweet your fruits are.
RECIPE
INGREDIENTS
INGREDIENTS FOR THE TOPPING
1 cup old fashioned rolled oats
1/2 cup white flour
1 stick (8 tbsp) butter, melted
1/4 – 1/2 cup brown sugar + 2 tbsp for the top (regular sugar is fine)
1/8 tsp salt
zest of 1 lemon (optional)
1 tsp apple pie spice or 1/2 tsp cinnamon + 1/4 tsp nutmeg + 1/4 cloves+ little mace or 1 tsp cinnamon
1/2 cup chopped pecans or walnuts + more for serving
caramel sauce for serving
INGREDIENTS FOR THE FRUITS
4 ripe (about 2 cups) but firm fresh pears, cored and chopped (I used Bartlett)
2 cups organic berries, fresh or frozen (I used raspberries and blackberries)
o – 1/2 cup of brown sugar (I didn’t use any as my fruits were sweet enough but if you have a sweet tooth or the fruits are not very sweet, feel free to add sugar)
2 tbsp flour or 1 tbsp corn starch
1 lemon’s juice (use the lemon from earlier)
1/8 tsp salt
2 tbsp grated dried orange peel (optional)
1 tsp apple pie spice or 1/2 tsp cinnamon + 1/4 tsp nutmeg + 1/4 cloves+ little mace or 1 tsp cinnamon
1 tbsp grated fresh ginger or 1.5 tsp dried ginger (cut and sifted)
2 tbsp whiskey (optional)
METHOD
1. Preheat oven to 375 F. Have baking rack in the lower third of the oven.
2. Make the topping. Cream the melted butter with the sugar. Add oats, flour, apple pie spice, salt and lemon zest. Mix well. Fold in the nuts. Let it sit for an hour.
3. Wash, core and cut up pears into small cubes. You can peel them if the skin is tough, otherwise if they are soft no need to peel them. Set aside.
4. Assemble the fruit base. In a larger bowl, mix the chopped pears, berries, sugar, 1 tsp apple spice, salt, flour or cornstarch, orange peel, ginger and whiskey (if used) together. Spread evenly in a 2 qt size baking dish.
5. Put topping on the top of the fruit base. Sprinkle the top with some sugar (optional). I also graded a little nutmeg on the top.
6. Bake for 30 minutes or until the middle portion becomes hot.
7. Serve with caramel sauce. Spinkle some extra nuts if you wish.