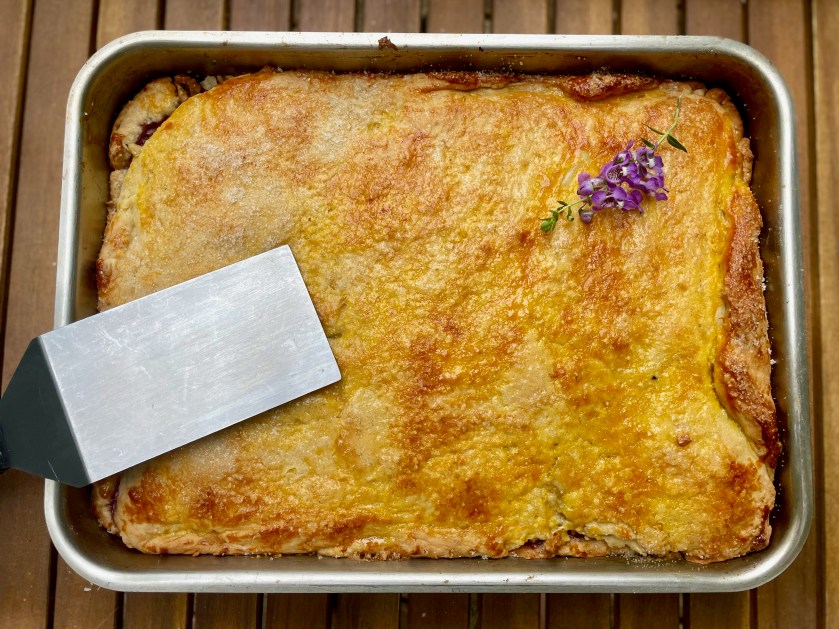
If you feel sluggish after eating all the Thanksgiving food, try oven-baked potatoes.
Our ancestors ate potatoes to stay healthy. They ate home grown potatoes without any chemicals. They made them many different ways but according to accounts, one of their secret ways to prepare them for health was to bake them in the oven with the skin on … not fry them, not steam them, not microwave them but oven-bake them. It is great as a side dish or sometimes I just have it for dinner as it is.
Potatoes can support the body’s Earth element right now. They are neutral in thermal nature and support the Spleen/Pancreas, the Stomach and Large Intestine. They could be especially helpful for our inflamed, ailing intestines from poor foods, food allergies and environmental toxins.
Potatoes (solarium tuberasum) are native to the Andes in South America and help our digestion, lubricate the intestines and are anti-inflammatory. Furthermore, potatoes neutralize acids in the body that may help against so many degenerative diseases. Also, they may give cardiovascular protection, improve bone health, protect against cancer and might also be helpful for diabetes. Potatoes also contain potassium, iron, niacin, phosphorus, calcium, zinc and magnesium.
To get the above mentioned benefits, you need to use home-grown style, organic potatoes. Unfortunately, potatoes from super markets will most likely not work. You should be able to find these potatoes at farmers’ markets or health food stores.
Bake the potatoes with the skin on if possible. The skin contains so much of the beneficial material of the potato! Just soak the potatoes in cold water and the dirt will easily scrub off.
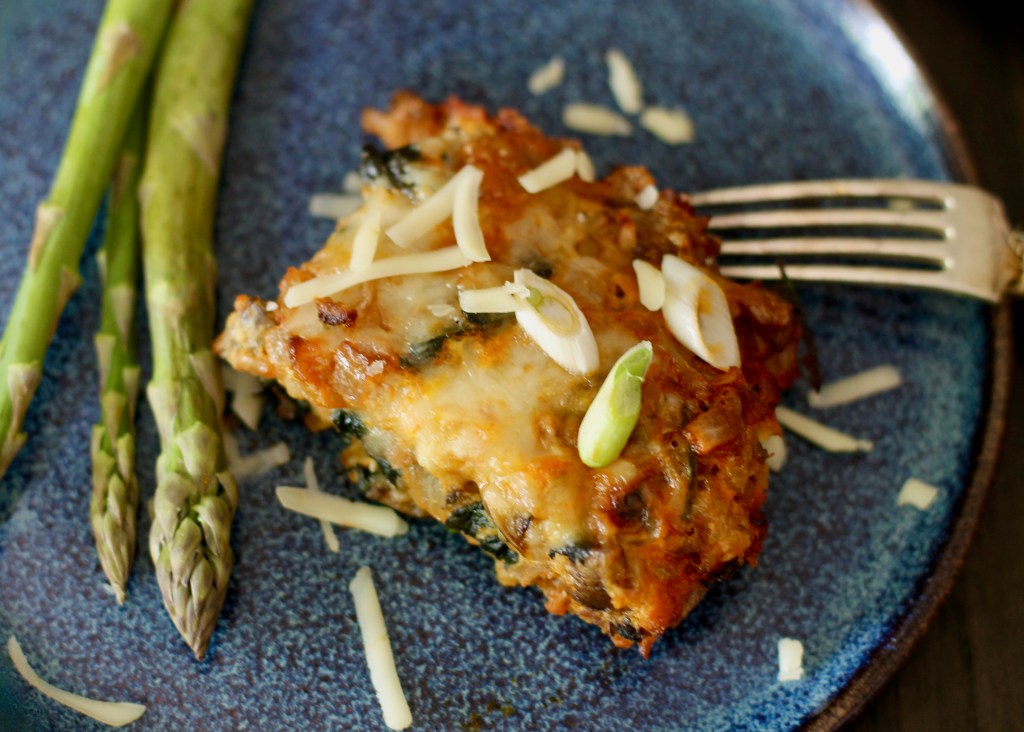
You can serve them with whatever your heart desires. I like to use butter or olive oil as shortening with garlic powder. Also, add any seasonal vegetables like onions, pickles.
TIP
When are the potatoes done?
It can be a bit tricky to figure out when the potatoes are ready. Cooking time depends on the size of the potato. It is important how it looks, smells and feels, rather than timing the cooking. A fully cooked potato should have a slightly wrinkled skin. When you squeeze the potato, it should yield to pressure and slightly open up. You should be able to put a fork through the inside with minimal force and able to smell the nice aroma. You might even hear a slight hissing sound. If you are still not sure you can use a thermometer. The temperature of the potatoes when done should be about 210 F.
If you try this potato dish, please let me know what you think!
RECIPE
1 Serving
INGREDIENTS
- 1 larger organically grown, ideally a locally grown potato (Russet or Idaho)
- 1 Tbsp fat (olive oil, butter, sour cream etc)
- salt to taste
- garlic powder to taste
- vegetables to serve like chives, scallions, pickles
METHOD
- Preheat oven to 400 F.
- Soak and wash potatoes. Scrub all the dirt off. Prick them all over with a fork.
- Bake for about 35 – 60 minutes. Time depends on the size of the potatoes. Please read above notes.
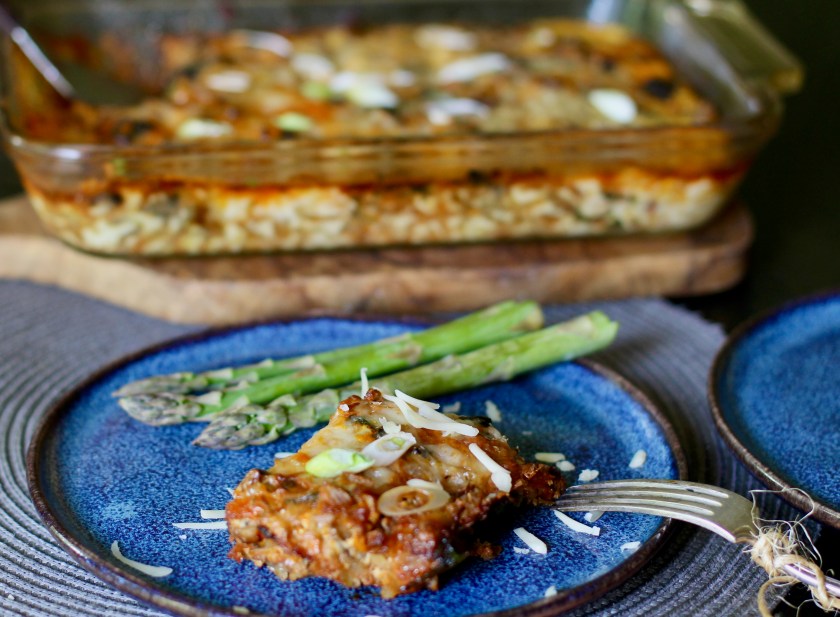
- To serve, prick the middle of the potato and mash the inside.
- Serve warm with shortening of your choice and vegetables of your choice.
Enjoy!
Recipe, photo and text by twincitiesherbs.com.
Source
Potatoes facts and health benefits
Paul Pitchford: Healing with Whole Foods