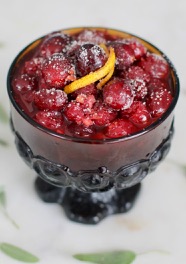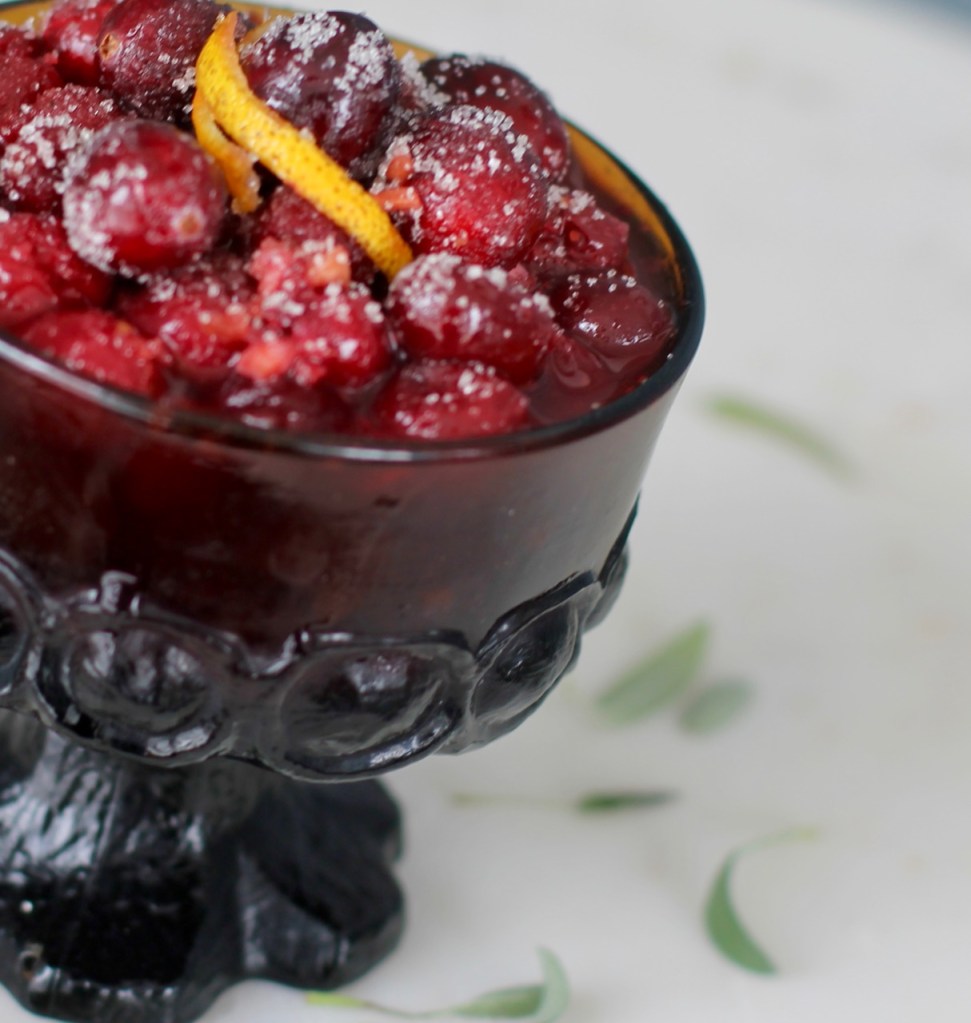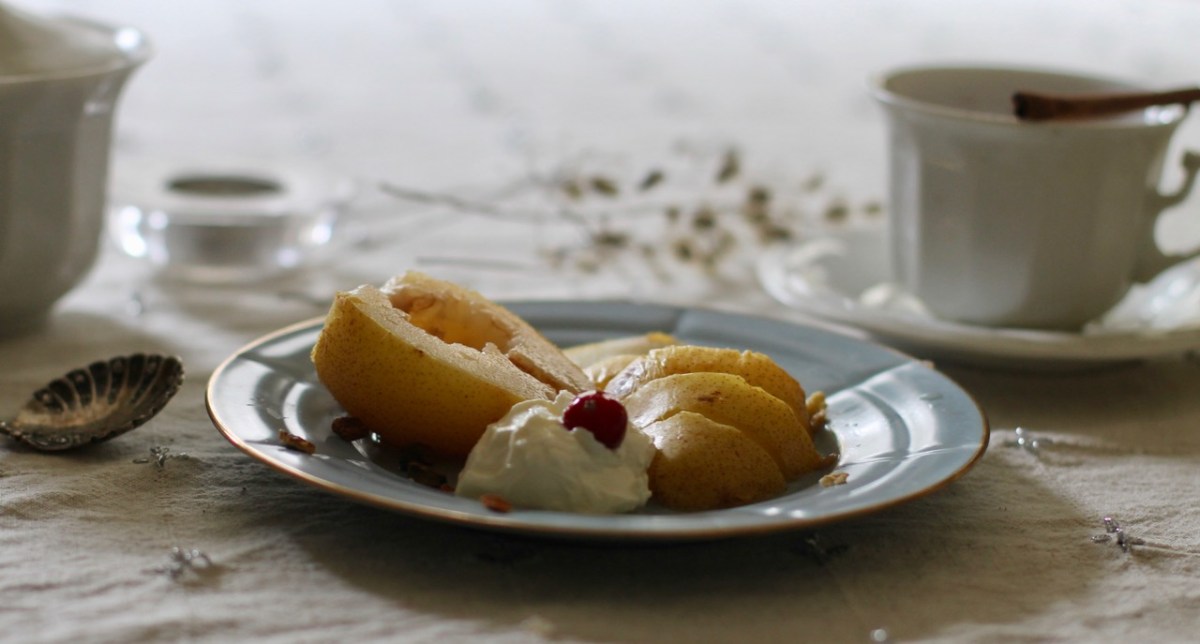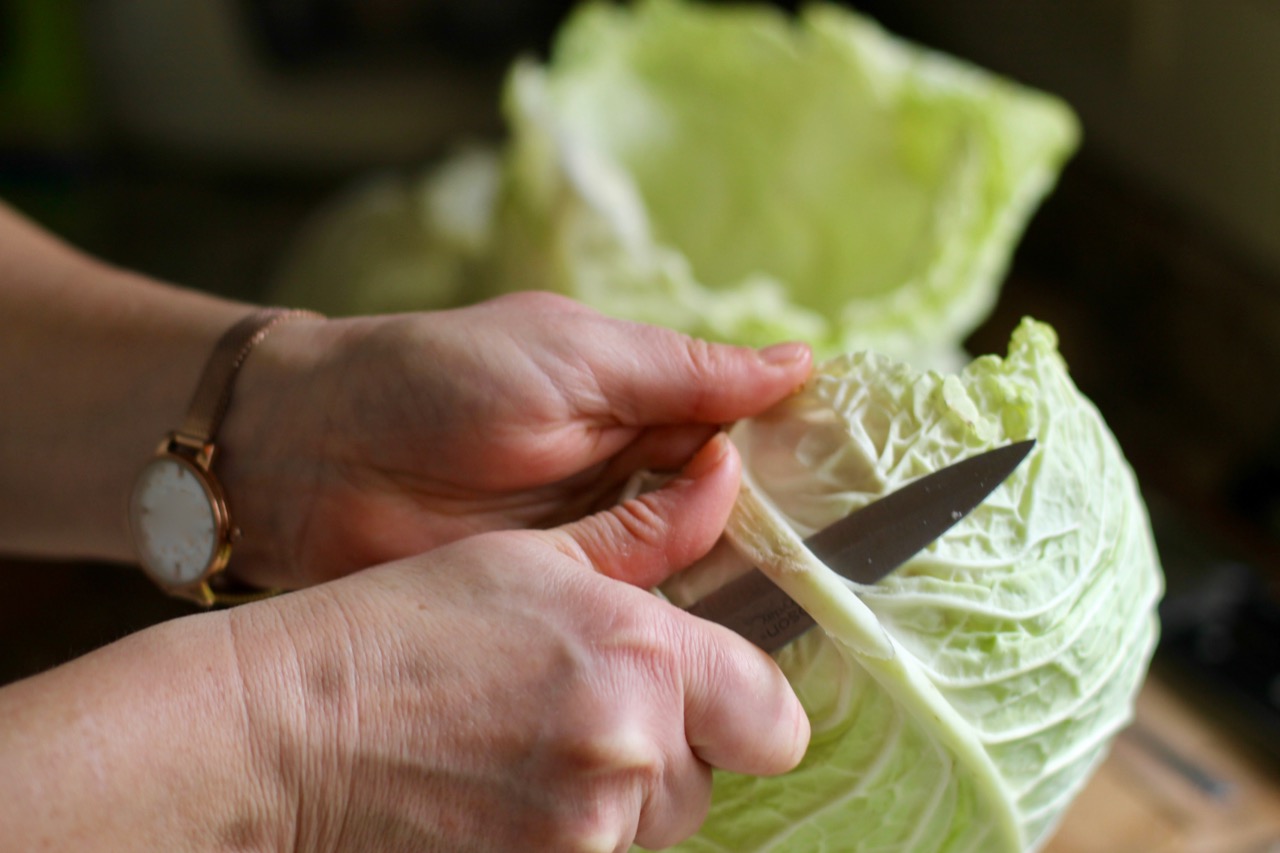
Happy New Year, Everyone!
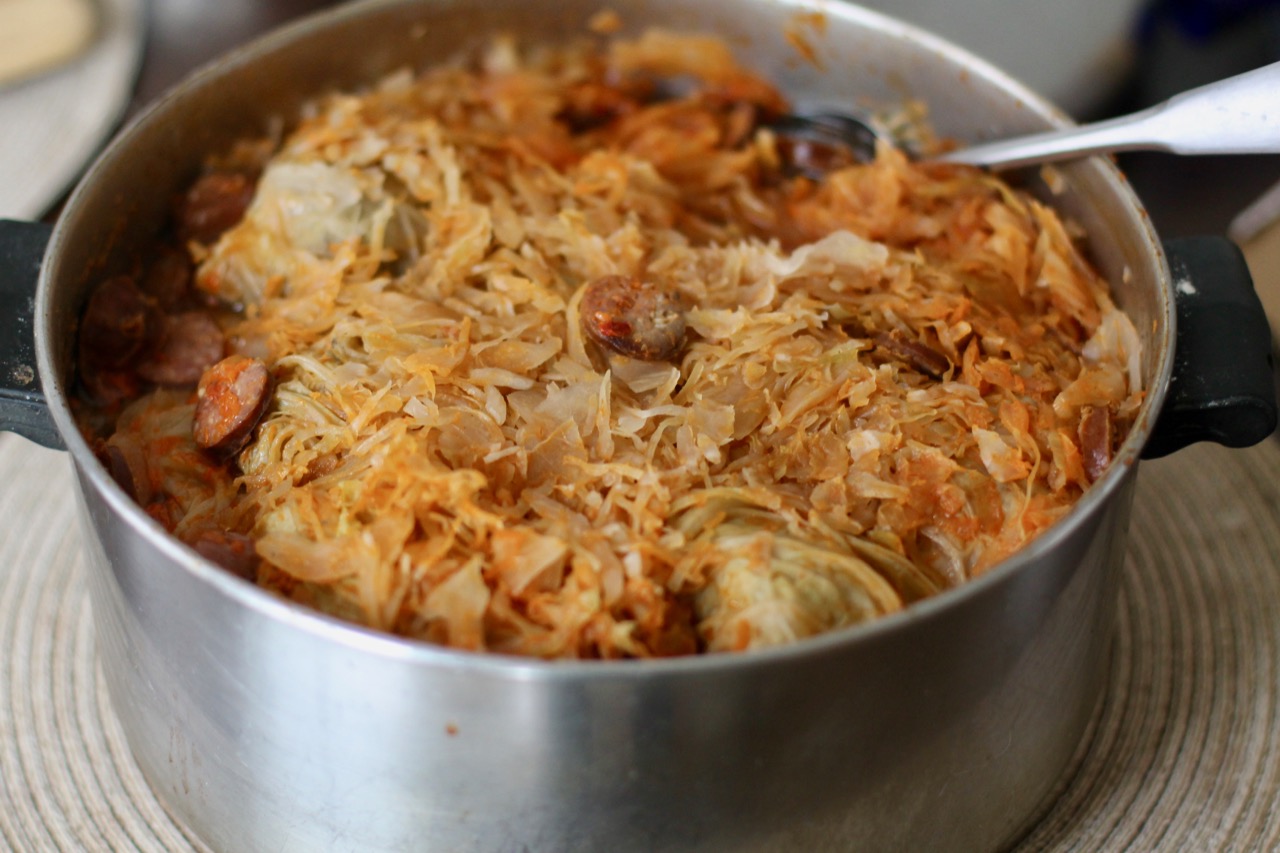
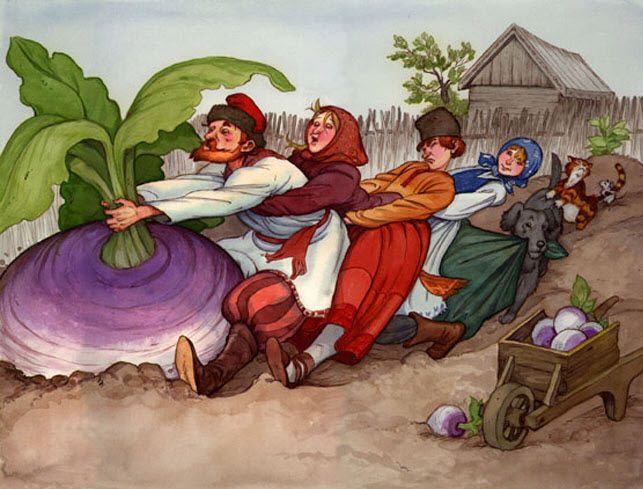
Hope you all had a lovely Holiday and got to eat lots of delicious food. Now I feel that it would be nice to eat something refreshing, more cleansing though … and turnip is a tasty vegetable that could be used. I always think of the Russian folk tale, The Giant Turnip when I hear the name, turnip. In fact, turnip is an important staple in the Northern countries like Russia. So let’s go to Russia and get their famous recipe for stuffed turnip.
This is a very simple dish at its best. The main ingredients are the nutty buckwheat, the earthy mushrooms and the pungent turnips that mainly create this special dish. There are no exotic ingredients or spices. Honestly, I only used thyme, salt and pepper to flavor.
I got this recipe from a website called http://www.Russianrecipebook.com but I made some minor changes. I cooked the buckwheat in stock instead of just water. In addition, when cooking, you need to be careful with the turnips as they cook fast. They need to be boiled for only about 10-12 minutes to get the right consistency. Otherwise, it is a very easy and quick recipe. This dish is more like the everyday people’s food.
Wonder if we had cooked tasty dishes like this in my Russian classes, I would speak Russian now …
Turnips have been used in folk medicine for thousands of years. A cold climate loving vegetable, it is native to Northern Europe and is still popular today. Turnips have many beneficial properties. They are great source of vitamins, minerals, anti-oxidants and fiber and may be used among others for indigestion, detoxification, diabetes, jaundice. In Chinese Medicine, they have a neutral thermal nature and have pungent, sweet and bitter flavor at the same time. They are considered to be useful for their dispersing abilities in lung ailments; however, this quality is only available in its raw form. They are also used for improving circulation and remove damp conditions in the body. The green top is also valuable.

RECIPE
Serves about 2-4 people. – I cooked 1 cup of raw buckwheat to have some on the side (adjust other ingredients accordingly).
Ingredients
- 4 smaller-sized turnips or less if bigger
- 8 oz fresh mushrooms, chopped (I used crimini)
- 1/4 cup uncooked buckwheat (1/2 cup of cooked buckwheat)
- 1/2 cup of bone or vegetable broth or water
- 1/8 cup shallots or half of a small onion, finely chopped
- 2 tablespoons chopped parsley
- 1/4 cup grated cheese (mozzarella, provolone, cheddar, or Parmesan for extra flavor)
- 3 tablespoons bread crumbs
- Salt and pepper to taste
- Vegetable oil and/or butter
- 1 tsp fresh or 1/2 tsp dried thyme (optional)
Directions
Preparing the buckwheat
- Clean buckwheat kernels and soak for a couple hours.
- In a medium sized pot, start boiling the stock or water. Add the buckwheat to the boiling liquid and cook for about 10 – 15 minutes or until they are soft but not mushy. Add salt and pepper to taste. Set aide.
Preparing the turnips
- Clean well and peel the turnips. Boil them for about 10 – 12 minutes or until they are just soft enough to scoop out the insides. The bigger ones will take more time. This is the most difficult part of the recipe. You really need to keep an eye on those turnips, they should be slightly cooked. Try not to overcook them. When done, take out turnips and let them cool. You can put them in cold water.
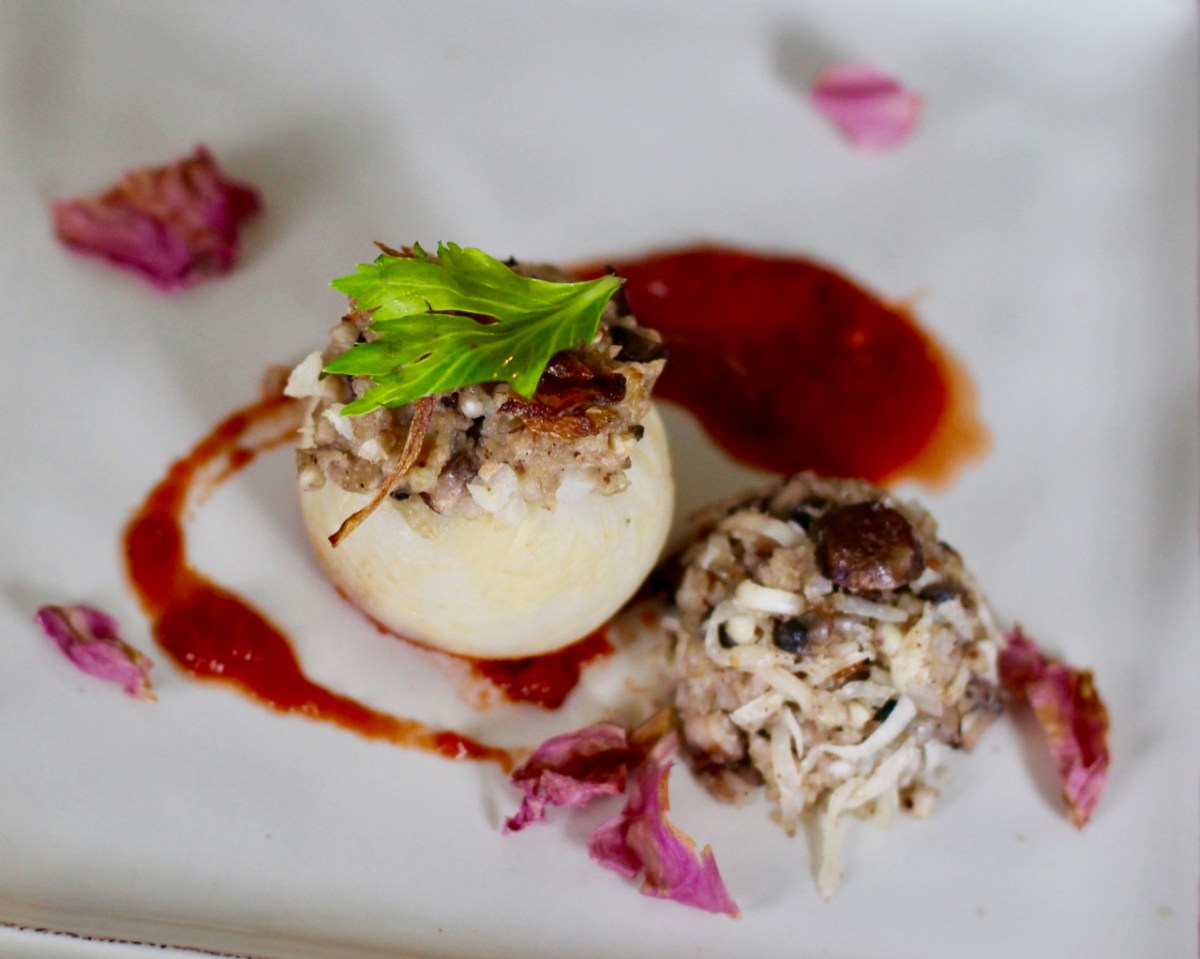
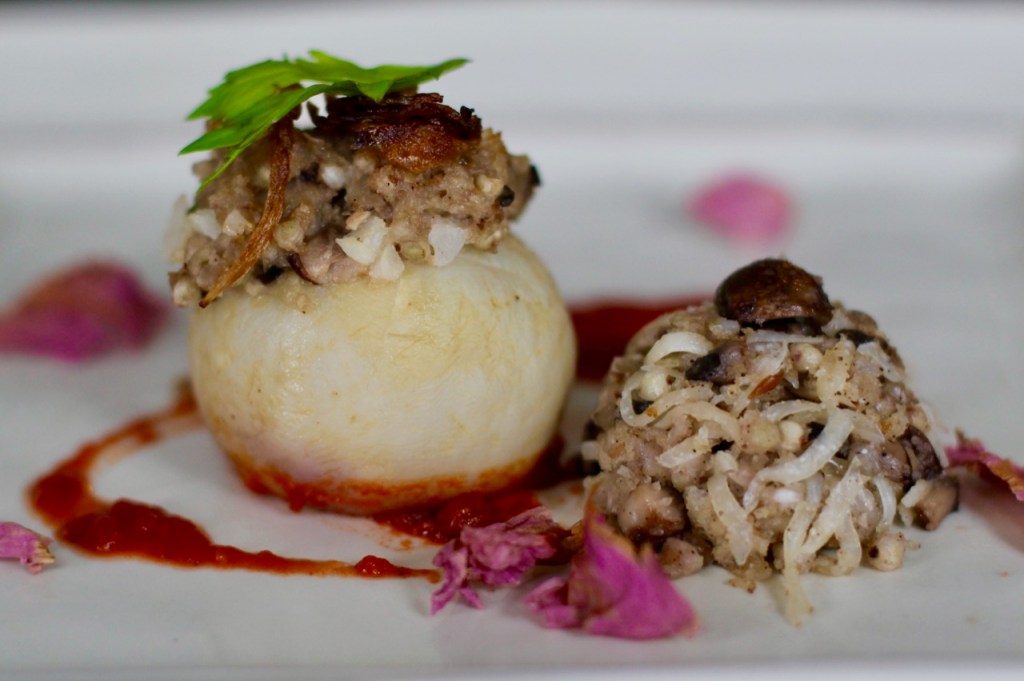
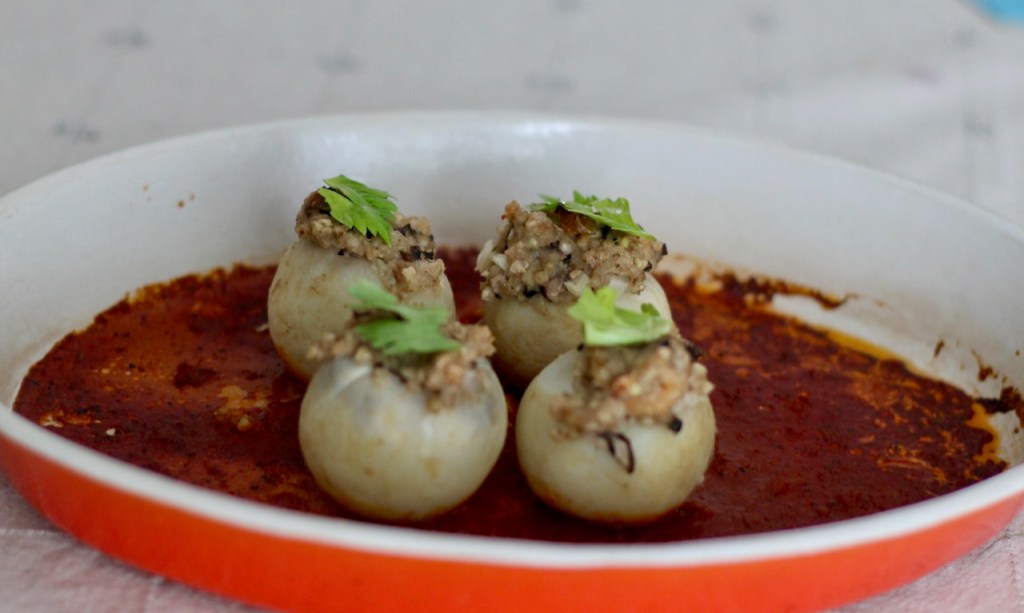
- Cut off enough of the bottoms to create a flat surface that will allow them to stand upright on a baking sheet. Save the cut portion. With a spoon and/or a small knife, scoop some of the flesh out of the top end to form a cup. Save the scooped flesh as well, they are so tasty. (You can scoop the inside of the turnip out with a watermelon scooper or a measuring spoon).
Preparing the stuffing.
- Sautee the onions or shallots in some oil for about 5 minutes. Meanwhile thoroughly clean the mushrooms and chop them up. Add them to the onions and continue to sauté them for about 10 more minutes or longer for some wild mushrooms and then let them cool.
- Add the cooked buckwheat, bread crumbs, grated cheese and the saved chopped turnip pieces. Mix well. I would like to invite you to take a bite of the stuffing, try to see if you like how it turned out.
Stuffing the turnips
- Preheat oven to 375°F.
- On a well-greased baking sheet, arrange the turnips in an upright position with the scooped-out wider portions facing up (like cups). (I used tomato sauce for the bottom of the pan). Fill the turnips with stuffing. Ideally the stuffing should be above the surface of the turnips, although this will depend on the size of the turnips, and the amount of stuffing.
- Put a small piece of butter on top of each turnip and bake in the pre-heated oven for about 20 minutes, until the turnips are heated through and crusty on top. The turnips should not be raw but nicely baked. If it is still raw, just bake it a little longer.
Mushroom sauce recipe

Ingredients
- 4 ounces of mushrooms
- 1 tsp fresh thyme or 1/2 tsp dried thyme
- 3/4 tsp dried sage or 2 fresh leaves
- 1/4 tsp of dried rosemary crushed or 1 fresh spring
- 1 Tbsp oil
- 1 cup of stock
- 1/4 cup of creme
Directions
- While the stuffed turnip is baking, prepare the mushroom sauce. In a saucepan, warm oil over medium heat, add rosemary for 1 minute. Add mushrooms and cook until they release their liquid and mushrooms are well browned. Stir frequently. Add thyme, sage and let cook for one minute. Add stock, stir, and let simmer for 10 minutes and reduce heat to low.
- Transfer half of gravy to a blender and puree until completely smooth. Add pureed mushrooms back into mushroom mixture and stir. See if you like the consistency. If not thick enough, puree a little more of the mixture.
Serve turnips hot, with sour cream and mushroom sauce. Decorate with parsley. I also made additional stuffing to serve on the side.
Enjoy!
Source
Photos and text by twincitiesherbs.com.