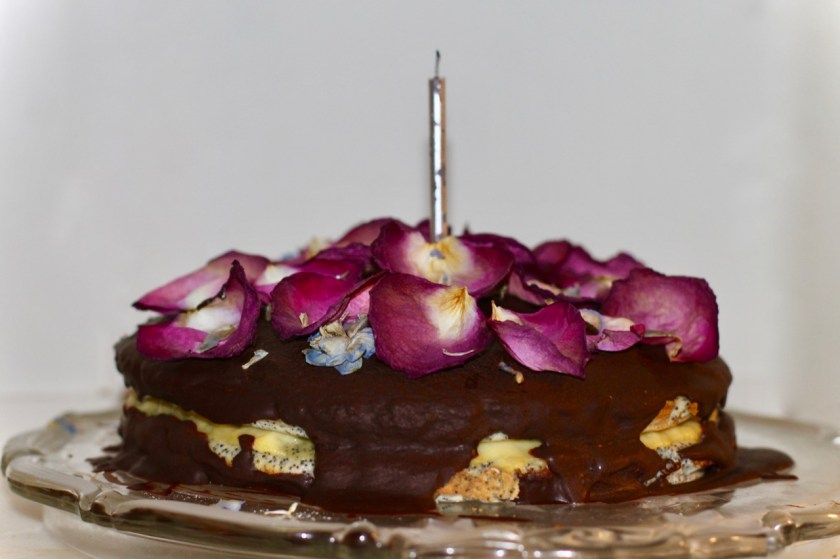
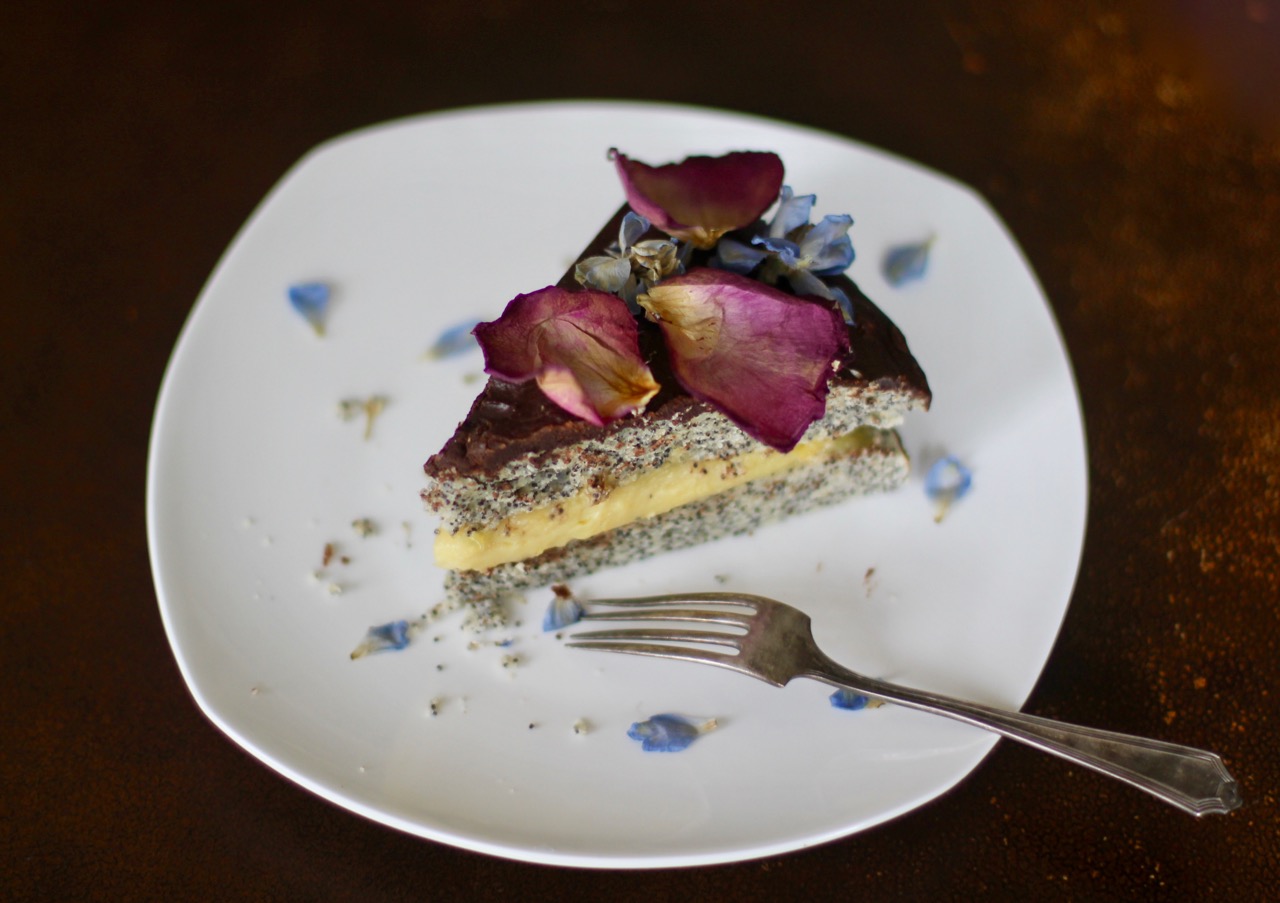
This is my husband’s favorite cake that his mom made for his birthday every year. The recipe comes from the New York Times Cookbook, even his grandmother made it. When I talked to my husband’s cousins, they all raved about this cake, the Poppy seed cake … No surprise they all think it is the best cake on Earth … it is moist, crunchy and delicious …
This cake takes some time and patience to make but is not too difficult. Make sure all ingredients are at room temperature, it should be around 65-70 F.
The recipe has three parts: the dough, the vanilla creme (creme patisserie) and the chocolate ganache. Please read the following notes on how to make the cake.
The dough requires sifted flour. Sifting flour is an easy process, cooks generally use a flour sifter. If you don’t have one no worries, you can use a strainer or a wire whisk. The idea is to get air into the flour. Then once sifted, measure out the 2 cups, using a knife to level the top. Return the extra flour into the flour bin.
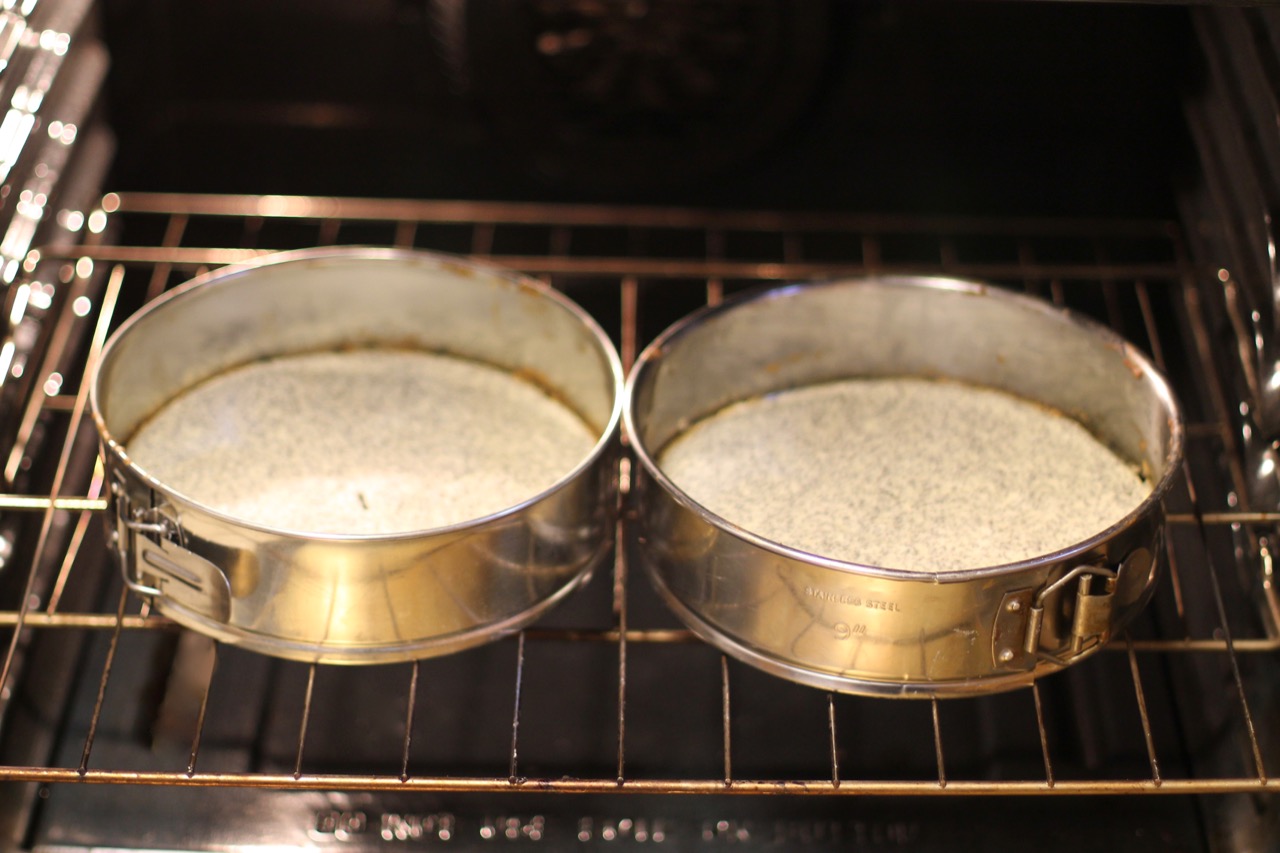
You need two 9″ round cake forms. For a long time I only had one cake form and I was fine. I just had to wait until the form cooled off after baking the first batch. I ended up buying a second one a few years ago. It is nice to have two but you can get by with only one.
The vanilla creme is pretty straight forward. I used a double boiler to cook the ingredients. If you don’t have a double boiler, you can use a metal bowl that fits on the top of the bottom pot securely but does not touch the bottom of the pot.
The chocolate ganache is what brings all the ingredients, the cake together. It should be made a little softer than generally made for cakes … should stick to the surface but not become hard. Also, the sweetness of the chocolate is a personal preference. I like the semi sweet chocolate personally but you can use whatever you prefer, of course.
RECIPE
Makes about 8 slices
Ingredients
Dough
- 2/3 cup whole poppy seed
- 1 cup milk
- 12 Tbsp butter
- 1/2 -1 cup of sugar (to taste)
- 2 cup unbleached wheat flour, CUT/SIFTED
- 2 1/2 tsp baking powder
- 1/8 tsp salt
- 1 tsp vanilla extract
- 4 egg whites (save 3 yolks for creme)
Vanilla cream
- 1 cup milk
- 3 egg yolks (saved from earlier step)
- 3 Tbsp sugar
- 3 Tbsp flour
- 1 tsp vanilla extract
Chocolate ganache
- 12 oz baking chocolate, sweet
- 1 cup heavy cream
- 1/8 tsp salt
- add sugar to your taste
- 1/2 tsp vanilla extract
Preparation
Please check notes above for more info on how to make this cake.
Making the dough
- Preheat oven to 350 F.
- Have all ingredients at room temperature (65 – 70 F).
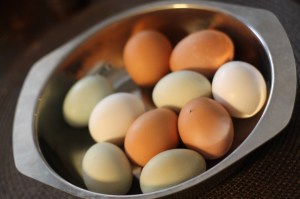
- While still cold, separate the eggs. Set aside 1 egg yolk so you get 4 egg whites and 3 egg yolks in separate bowls.
- Soak the poppy seed in 1 cup milk overnight but at least for 2 hours.
- Cream butter with sugar. Set aside.
- Cut and sift flour. Please note the amount of flour used is for cut and sifted amount. So measure out 2 cups of flour and sift. Take the measuring cup again and measure out 2 cups of the sifted flour and using a knife level the top. Return remaining four to its bin.
- Sift in baking powder and salt.
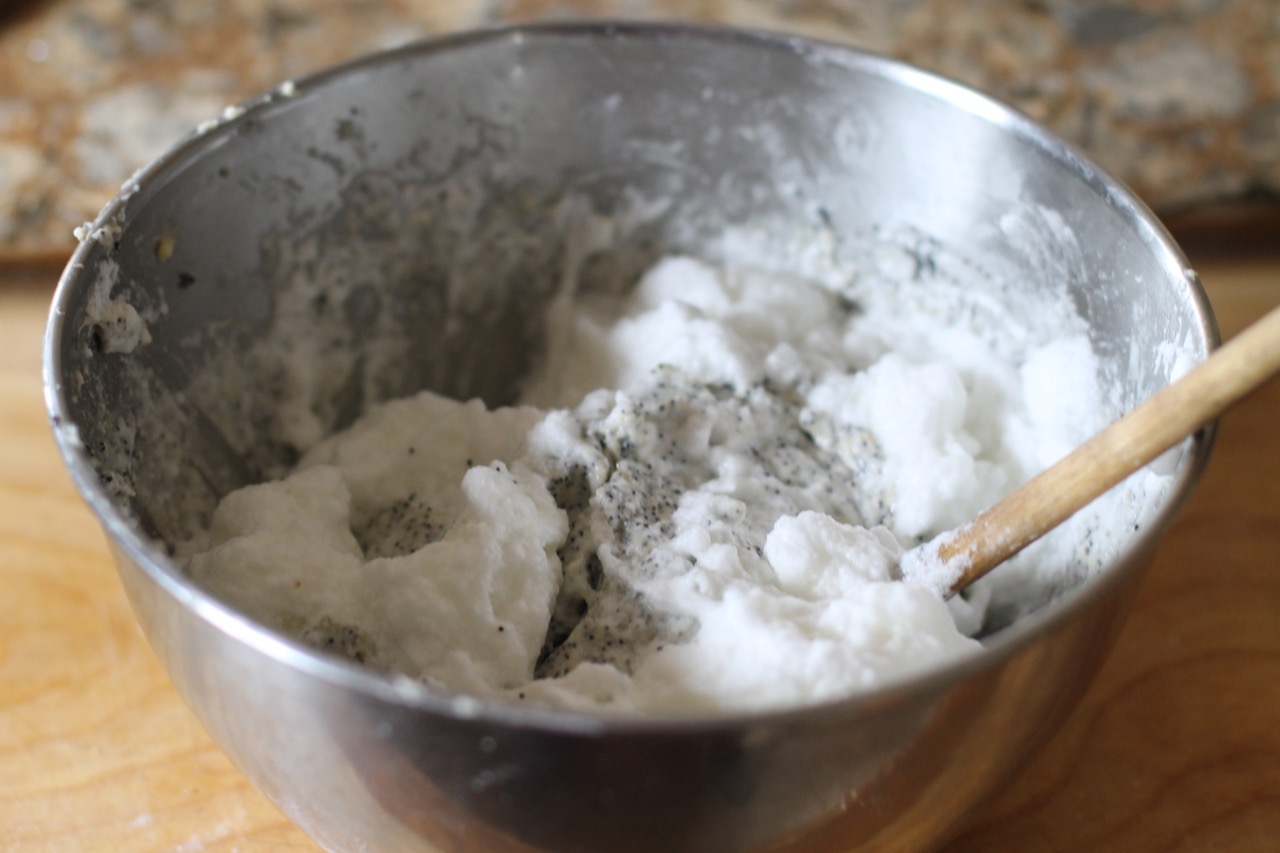
- Add the poppy seed mixture and vanilla to the flour mixture, mix gently. Add the butter/sugar mixture and keep mixing. Make sure to scrape from the bottom of the bowl to catch any hidden pockets of flour. Do not over-mix. I do the mixing by hand but you can used a food processor on a low setting. Set aside.
- Beat the 4 egg whites on high speed until stiff.
- Gently fold egg whites into the dough.
- Grease and lightly flour cake forms or just simply use parchment paper.
- Separate dough between two cake forms.
- Try to make sure the top stays flat.
- Bake for 20 – 30 minutes or until an inserted tooth pick comes out clean.
- Let the cake forms cool completely before removing the cakes.
Making the vanilla cream
- In a double boiler, bring milk to a gentle boil over medium heat.
- Meanwhile, whisk the three egg yolks, sugar together. Add flour, mix. Add warm milk gradually and mix.
- Pour mixture back into the double boiler pot and cook on high medium heat. Whisk continuously for about 5 minutes or until mixture thickens.
- Take off heat and add vanilla.
- Let it cool.
Making the chocolate ganache
You can use a clean double boiler here again. Melt the chocolate and add the heavy cream, vanilla extract and sugar. Mix.
Assembling the cake
- Place the vanilla creme in-between the two cake layers. (Use the ‘prettier’ cake for your top layer. You can also flip one of the cakes over and use the bottom for the top so you get a more even appearance). Spread chocolate ganache on the top. This ganache will be slightly liquidy when placed on the cake but will harden in the refrigerator.
- Decorate the top to your liking.
- Refrigerate the assembled cake for at least 1 hour before serving.
- Store in the refrigerator.
enjoy!
Photos and text by twincitiesherbs.com.
Source: Joy of Cooking, 1978 edition