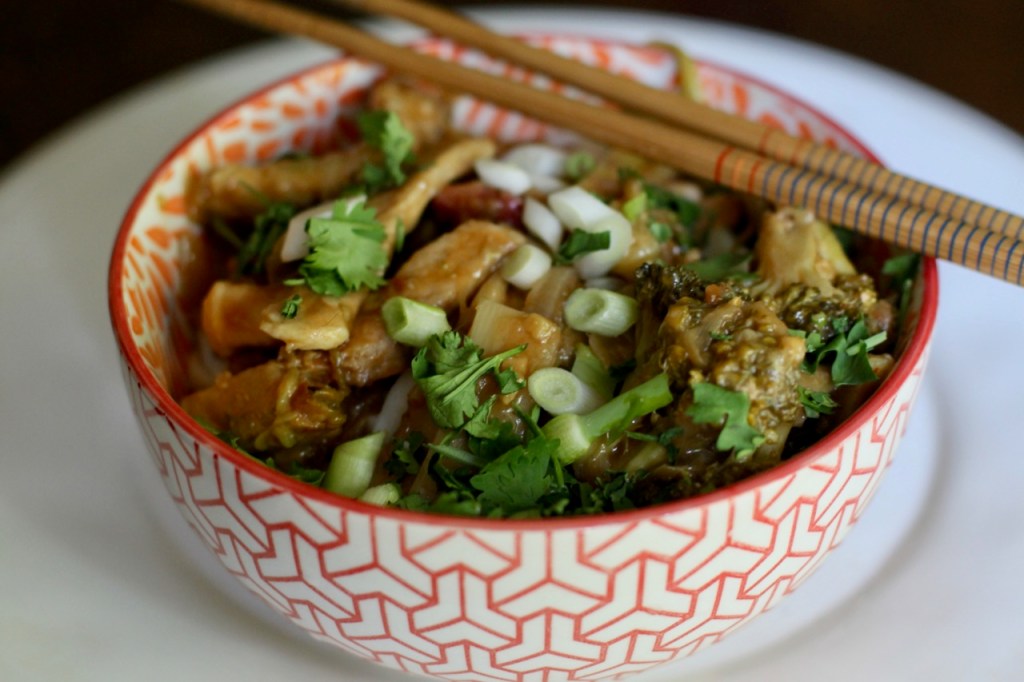
In the United States and Europe, rhubarb is known as the pie plant and in fact we tend to use it in sweet dishes. However, in Asia, it is more used in savory dishes. Today, I’m presenting a savory dish that was inspired by a blog. The rhubarb gives the sour taste that is balanced out nicely with the sweet and hot Chinese sauce and the bitter bamboo shoots. I chose broccoli as the main vegetable for the dish. If you prefer a vegetarian alternative, please check out my previous recipe that is a similarly made with tofu.
Rhubarb is everywhere here in the Midwest right now. It is almost ready in my garden but it has been available for a few weeks at the farmers’ market for sure. It is actually a healthy plant. Rhubarb has favorable health effects in the spring and the summer as it is cooling and detoxifying to the liver.
So what’s up with the ketchup? Is it Chinese? … I think of American cooking when I hear the word ketchup but in fact it originated from China. It is basically a sweet and tangy sauce made with tomatoes, sugar, vinegar and spices. It actually means fish sauce as they traditionally added fermented fish sauce to it. For this recipe, we just need the basic ketchup so go ahead and just use store-bought ketchup – unless of course you want to make it yourself.
This is a very tasty dish! I really wanted to make a dinner with rhubarb and I found this recipe. I made a few changes to suit my taste. I cut the pork into long strips instead of squares. I replaced the green peppers with broccoli or you can use both. Also, I wanted to bring in more of the bitter flavor so I added bamboo shoots to offset the sourness of the rhubarb. For garnishing, I also added peanuts to get a bit of crunchiness. I think this is a fabulous recipe with an interesting twist to the usual sweet and sour pork dish that is served in restaurants with pineapples.

RECIPE
Ingredients
- 300 g pork fillet, cut into thin long stripes or 1 inch cubes
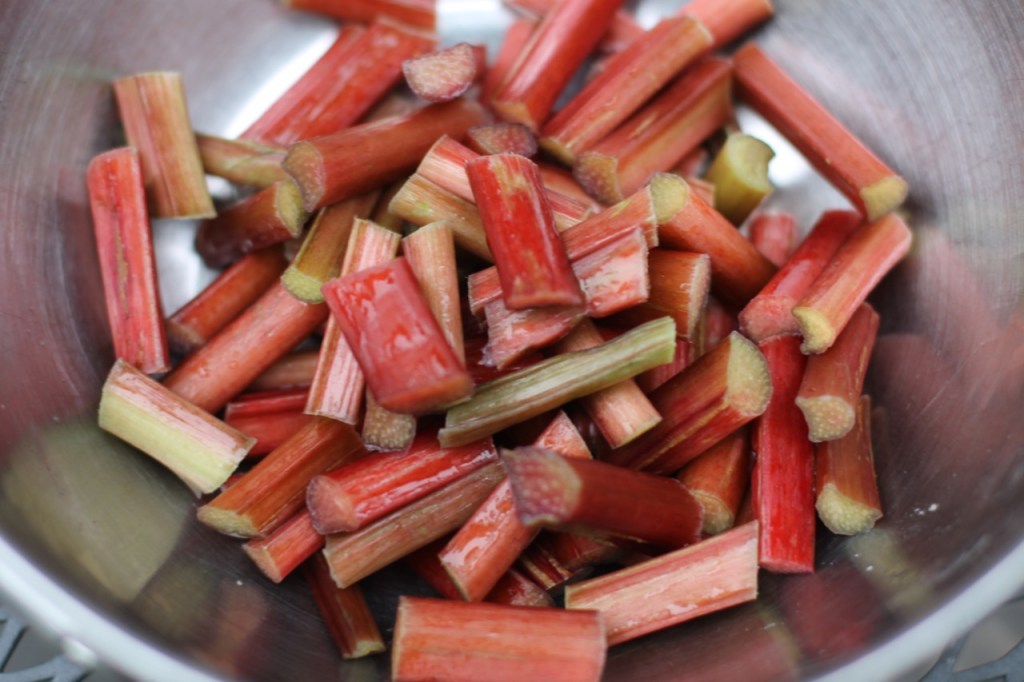
- About 3 medium stems of rhubarb (200 g) cut into 1 inch batons – please use a scale
- 1 Tbsp brown sugar
- 1 large onion, peeled, halved and cut into thin slivers
- 2 heads broccoli
- 1 thumb of ginger, peeled and chopped (1 Tbsp)
- sesame oils
- 1 small can of bamboo shoots
- rice or rice noodles
Marinade
- 1 Tbsp soy sauce
- 3 Tbsp rice vinegar
- 1 tsp honey
- 1 garlic clove, peeled and crushed
- 1 Tbsp grated ginger, peeled
- 1 Tbsp corn starch
Sauce
- 2 Tbsp tomato ketchup
- 4 tbsp rice vinegar
- 1 tsp honey
- 1 Tbsp sesame oil
- 2 Tbsp soy sauce
- 1 Tbsp cornstarch
- 1 cup water
- 5 cloves garlic, finely chopped
Garnish
- 1 spring onion, finely sliced
- 1 red chili pepper, finely chopped (optional)
- cilantro
- handful of chopped peanuts
- soy sauce
Instructions
- Prepare rice according to its instructions. I used rice noodle last time.
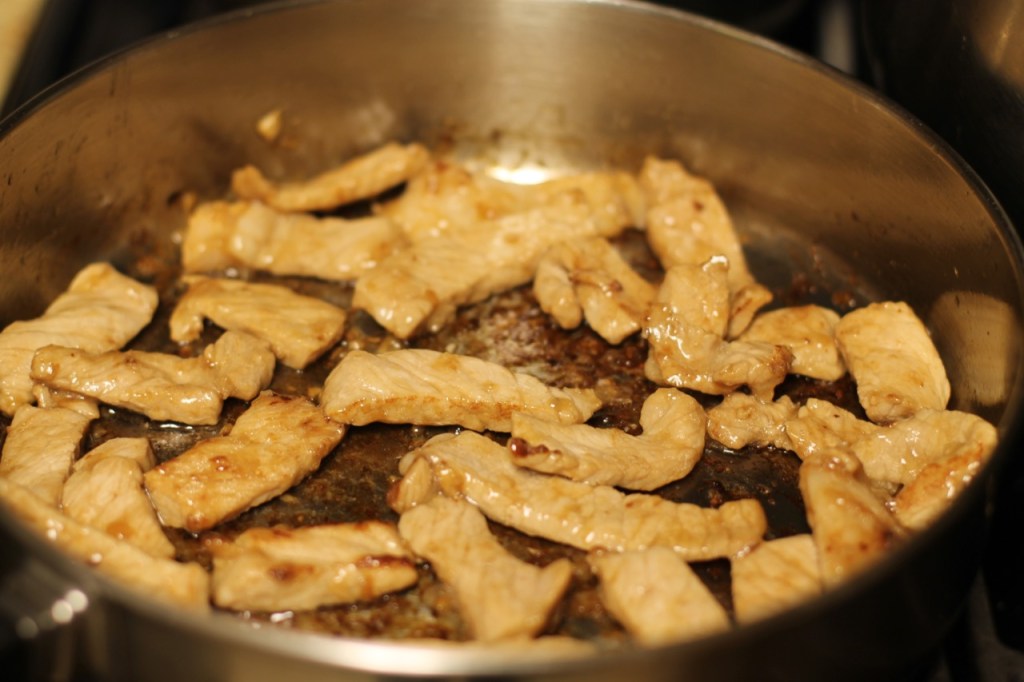
- Cut the pork pieces into longer (2 inches) thin (half inch) stripes. You can do squares too but the Chinese do long stripes traditionally.
- Whisk together the marinade ingredients, add the pork, cover well and set aside for at least a half an hour or up to a couple of hours.
- In another bowl, whisk together the sauce ingredients. Cover and put aside.
- Heat oil in a large frying pan and add the rhubarb batons in a single layer. Cook for about a minute and a half and keeping them moving. Add a heaped tablespoon of soft light brown sugar, toss and cook for about minute more. You want them to have tenderized but still to have some bite. If they start breaking up, you’ve gone too far. Whip them off the heat immediately. Scoop into a bowl and set aside.
- Take the pork out of the refrigerator, pour off the marinade and dry with a towel.
- Put a tablespoon of vegetable oil in a wok and stir-fry the pork on a medium-high heat for three or four minutes, until golden brown. Remove and keep to one side.
- Make sure you’ve prepped all the vegetables before you start cooking the main event, because they will cook fast.
- Saute the sliced onion until translucent. Add the ginger and the broccoli. Continue sauteing for about 5 minutes on medium high heat. Cook until it is crunchy. Give the sauce (from above) a quick whisk, then pour it into the pan. Add the rhubarb and the bamboo shoots and bring to a boil, reduce the heat and simmer for three or four minutes until thick. Add the pork and toss and coat well until the pork is warm.
- Add soy sauce and chili pepper if needed.
- Serve over rice, garnished with the sliced spring onion , cilantro, nuts.
enjoy!
Pictures and text by Twincitiesherbs.
Sources
Photo and text by twincitiesherbs.com.