Almond cranberry biscotti (home-made cantucci)

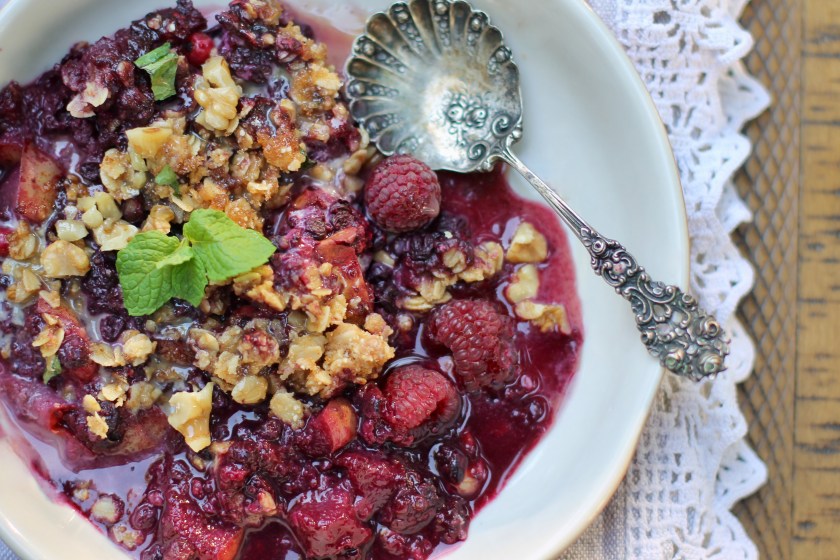
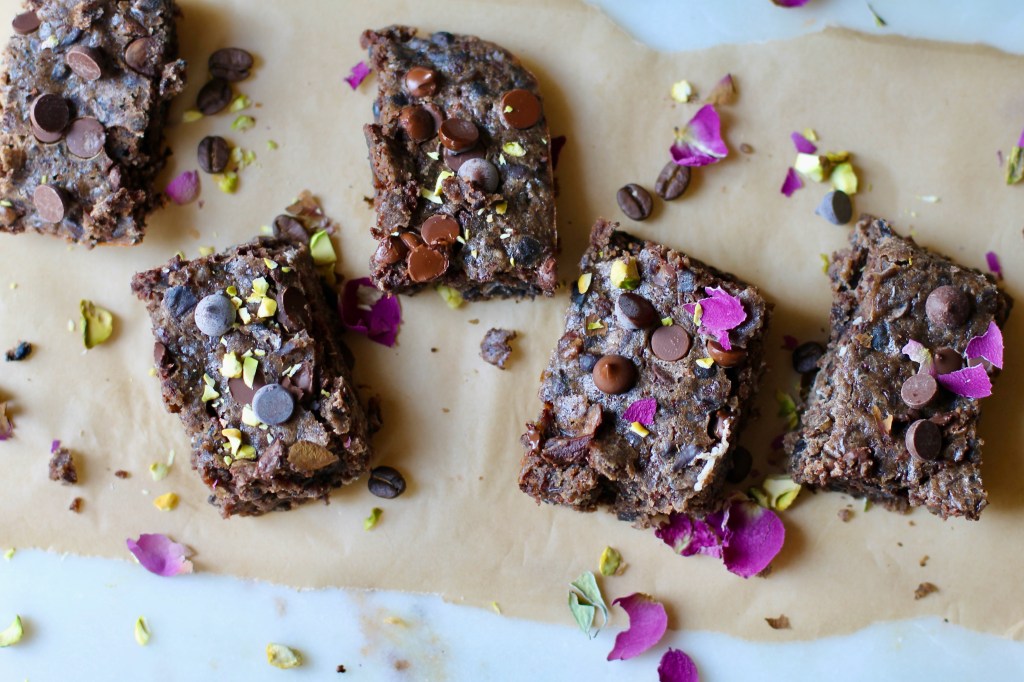
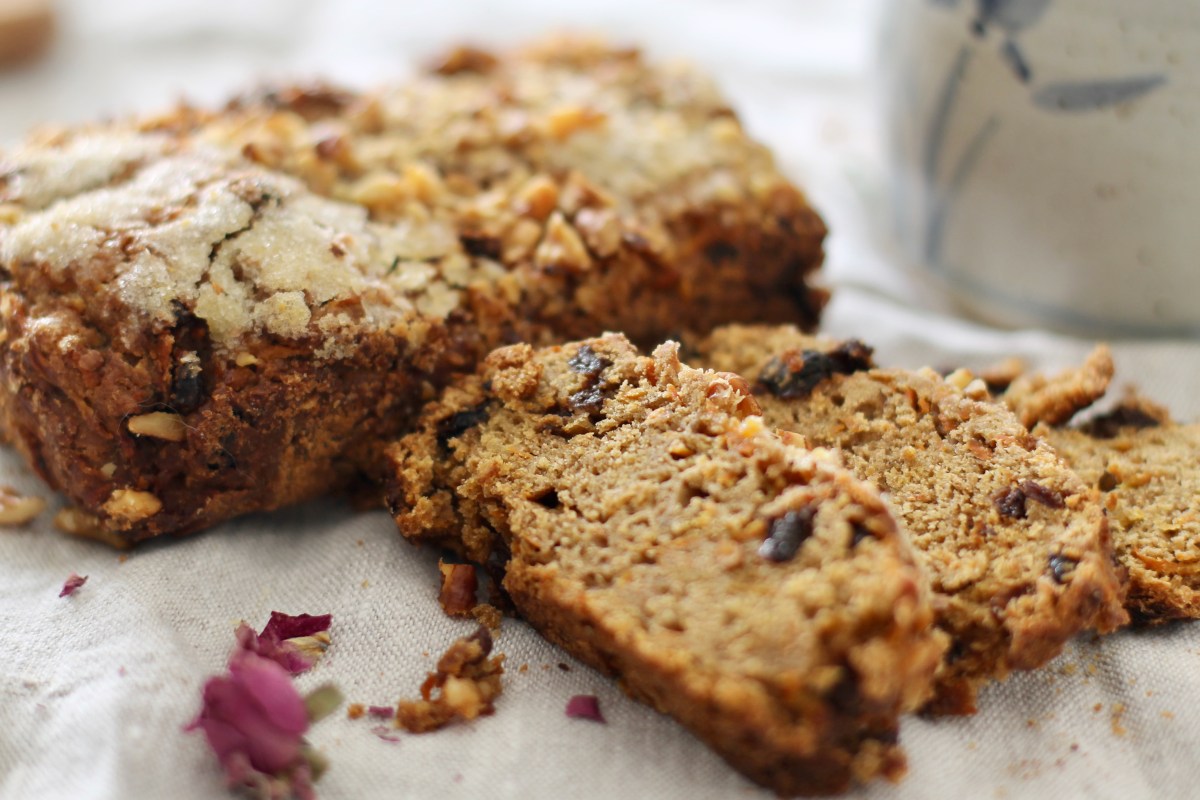
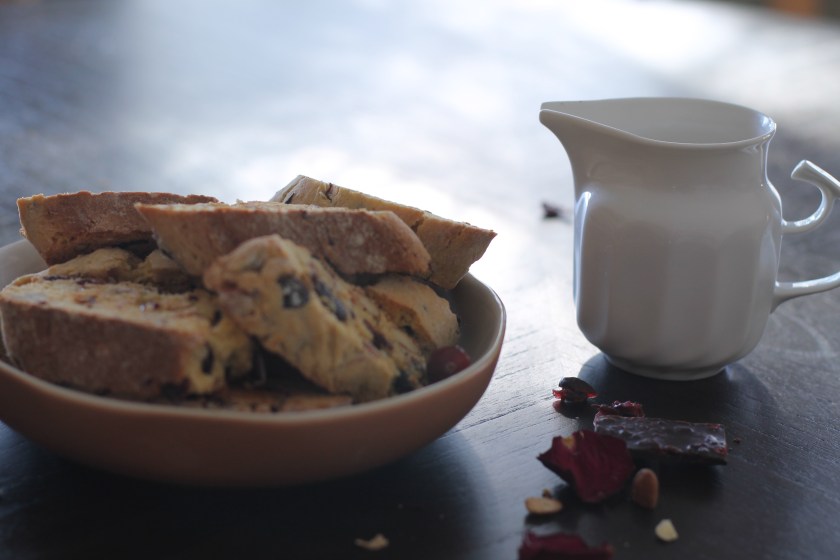
These twice baked cookies have a crisp texture and a sophisticated flavor. The basic dough is gently infused with almond extract and is filled with almonds and cranberries … and the aromas of these cookies baking in the oven can create a heart warming atmosphere for your Valentine’s Day!

Originally, biscotti was a travelers’ food that was meant to be eaten on long journeys. It was used for soldiers during the wars of the Roman Empire. After the fall of Rome, it reemerged during the Renaissance. A baker in the city of Prato, in the region of Tuscany, created a new version that was served with local wine. Originally almonds from the plentiful almond groves of Prato were used. They called this dessert Cantucci of Prato. The Italians still call this delicious dessert cantucci. Biscotti is the Italian word that refers to all twice baked cookies.

Ever since it became popular in Tuscany, chefs have created new versions of this basic recipe adding raisins, chocolate, lemon, anise, pistachio nuts, cranberries, butter and the list is endless. I guess making it with raisins and almonds would be the most common addition.

I personally like using cranberries and almonds. I love the synergy of these two ingredients, the sweet, tangy cranberries and the mildly bitter almonds creating a gently sweet dessert. One caution is the more things you add, the harder the dough will be to work with … but of course it does enhance its flavor and the texture.

RECIPE

Makes about 16 cookies

INGREDIENTS
  • 1/4 cup high quality light olive oil
  • 2 eggs
  • 1/2 -3/4 cup white granulated sugar
  • 1/2 teaspoon almond extract
  • 2 teaspoons fresh lemon or orange zest or 1 Tbsp dried lemon or orange zest
  • 2 cups all-purpose flour
  • 1/4 tsp salt
  • 1 tsp baking powder
  • 3/4 cup chopped almonds or pistachio nuts
  • 3/4 – 1 cup dried raisins or cranberries

INSTRUCTIONS
  1. Preheat oven to 325 F. Oil a cookie sheet.
  2. In a large bowl, sift flour with salt, baking powder.
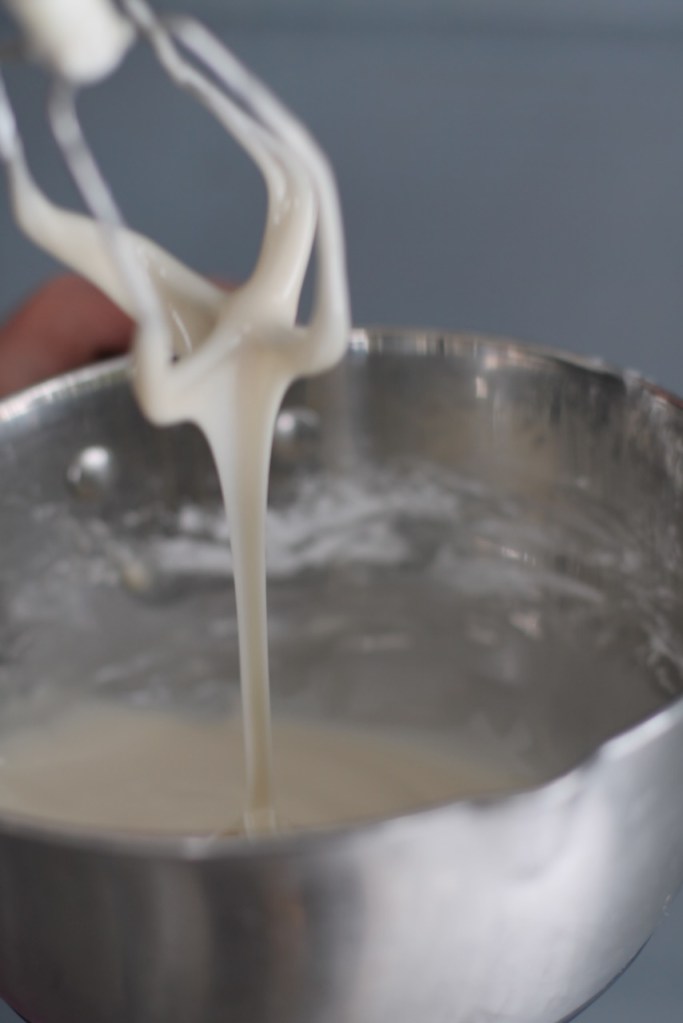
  3. In a separate bowl, cream olive oil, eggs, sugar, almond extract and lemon zest. Add to the flour mixture from earlier. Mix thoroughly.
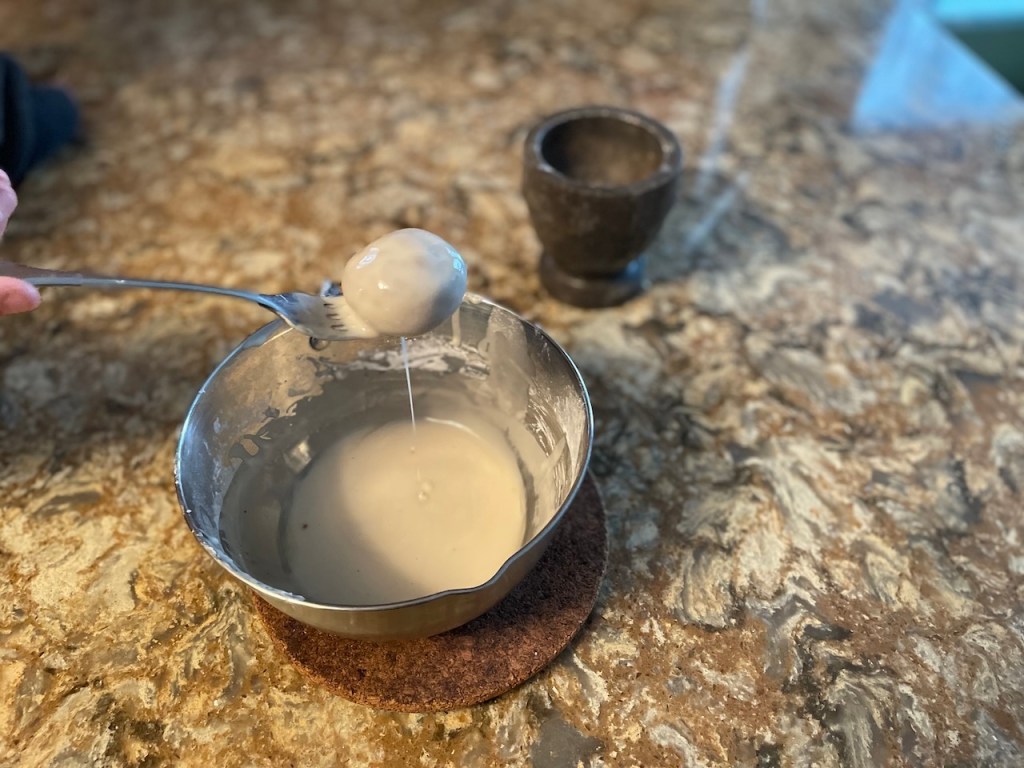
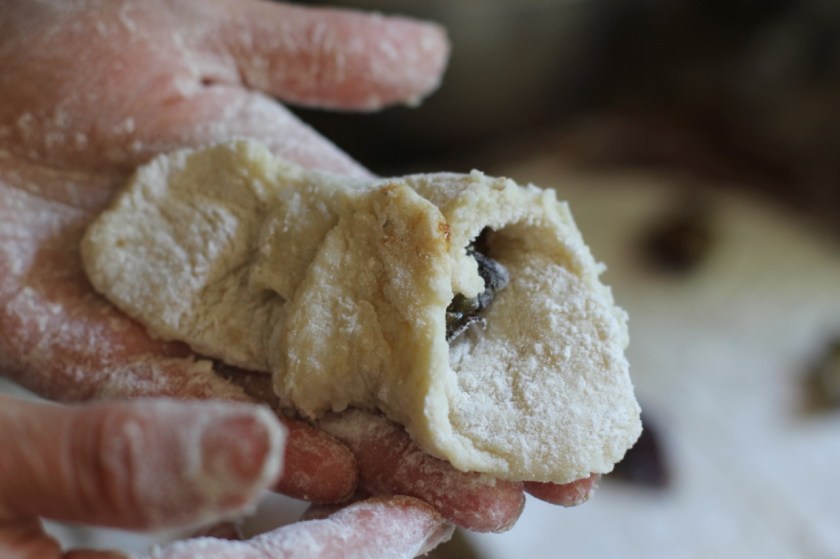
  4. Chop the nuts lightly by hand. I would not use a machine. Add the cranberries and the nuts, mix. You can add a small amount of water if the dough doesn’t stay together.
  5. Let the dough rest for an hour in a cool place.
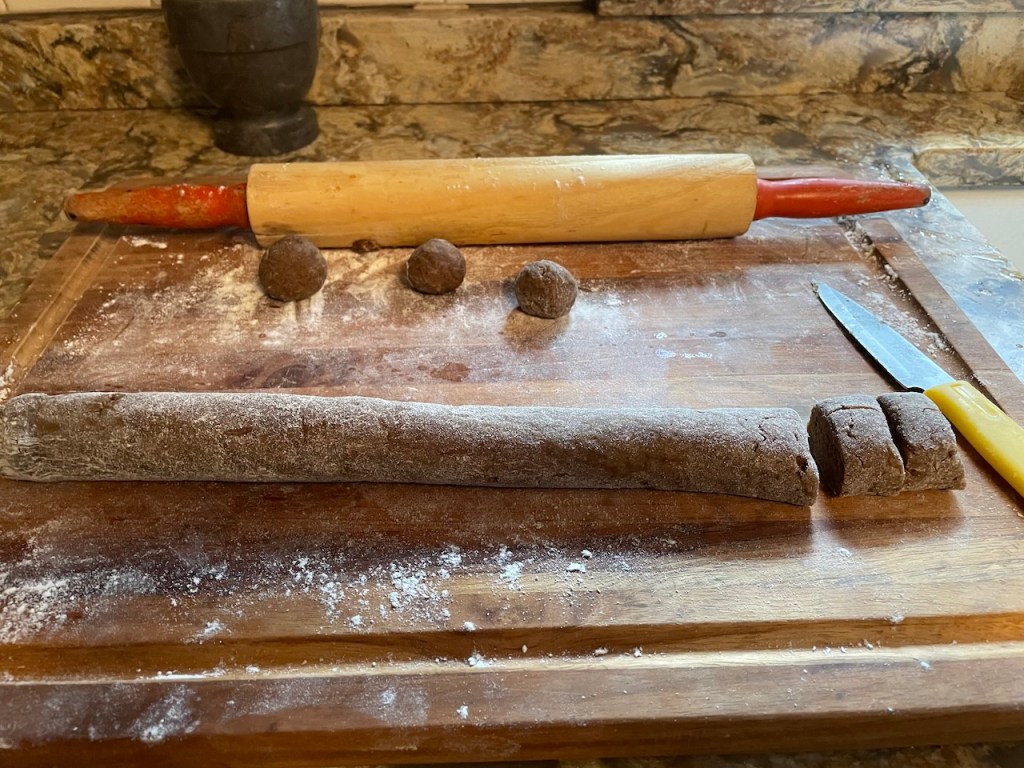
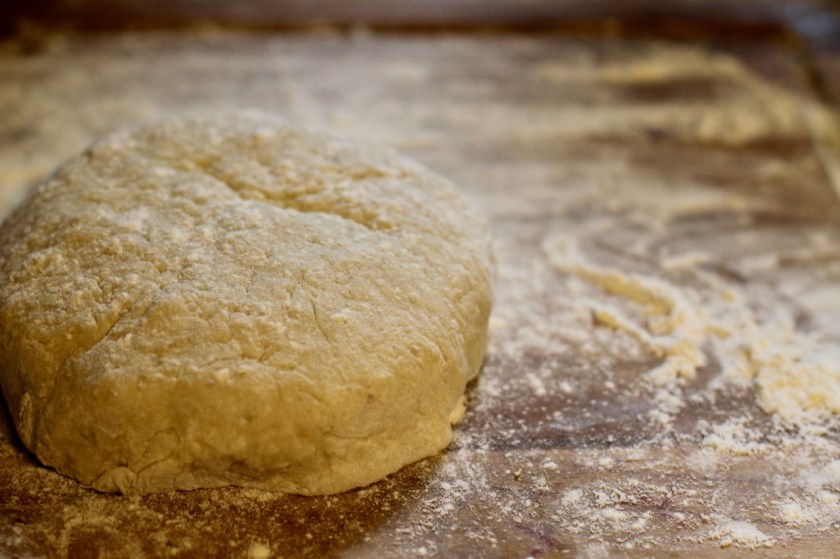
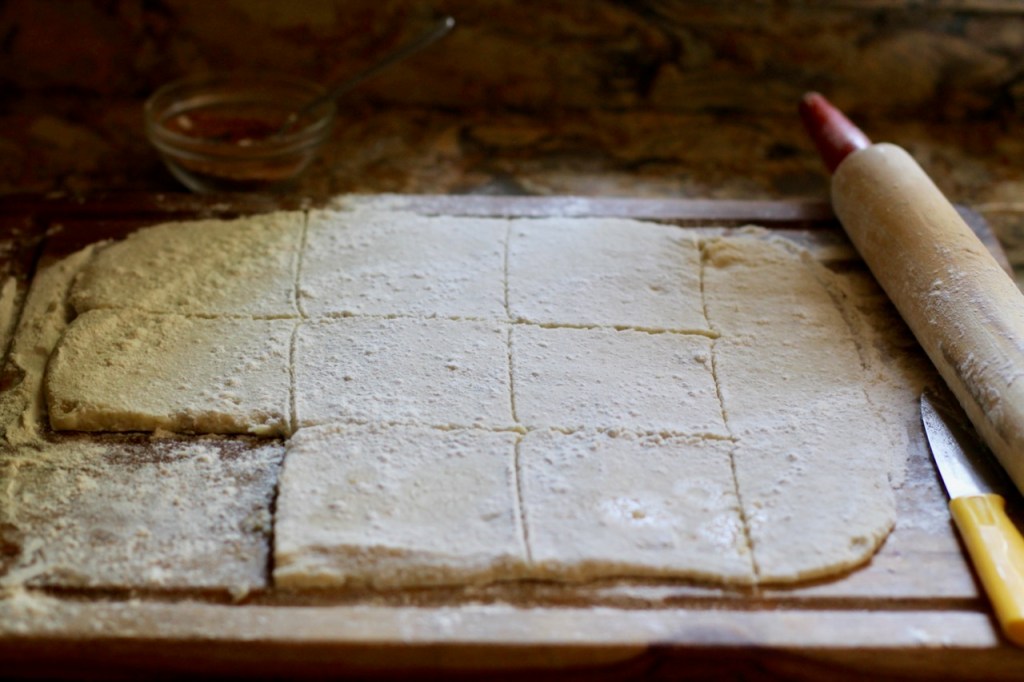
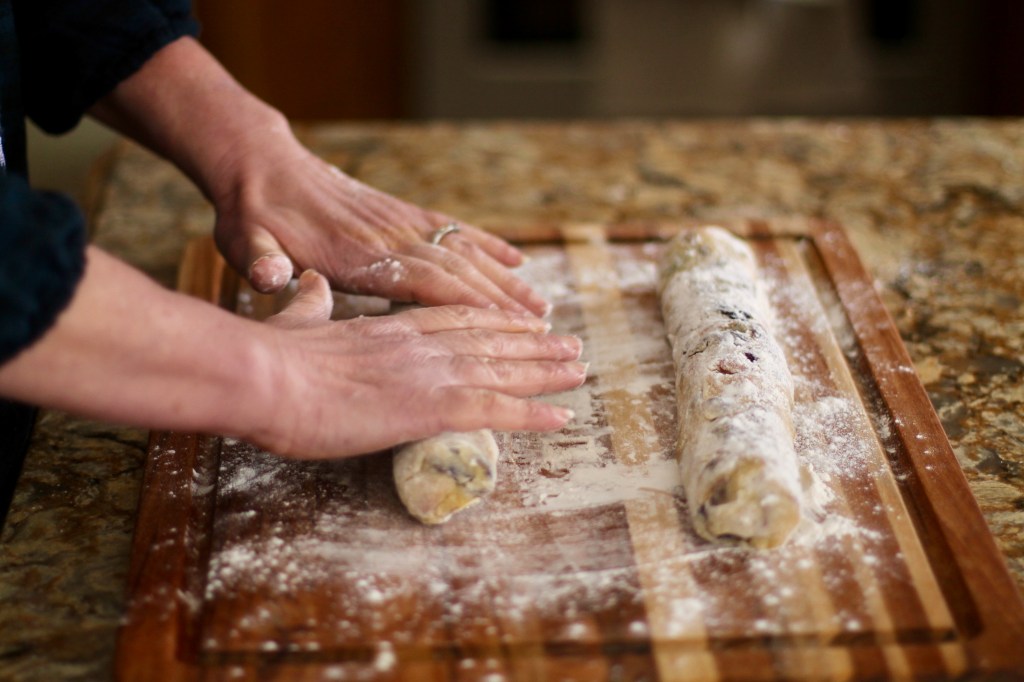
  6. Divide the dough into two equal sized portions. Lightly flour the surface of a cutting board. Using your hand, shape each piece into a 12 x 2 inch log shape. You want to roll each piece like you roll a rolling pin. Place the logs on the baking sheet.
  7. Bake for 30 minutes on the rack placed in the middle of the oven. You don’t need to worry about the color of the top as the logs will be baked again.
  8. Take the sheet out of the oven. Place the logs on a cutting board and let them cool for 30 – 60 minutes.
  9. Using a serrated knife, gently slice the logs about 1/2 inch wide. You can cut them on an angle or straight.
  10. Reduce oven temperature to 300 F. Place each cookie slice upright on the cookie sheet about 1/2 inch apart and bake them for another 20 minutes or until golden in color and crisp. (Turn the cookies over on the other side half way though, after 10 minutes).
  11. Remove and let the cookies cool on a wire rack. They will get firmer.
  12. Serve with coffee, vine or tea.
  13. Store in an air tight container. They will keep for a long time.

Enjoy!

Text and photo by Twincitiesherbs.

Pfeffernüsse (German Spice Cookies) 

Turn on your favorite holiday music, put on your apron and start baking! The recipe comes from Martha Stewart. These cookies are a big favorite in Germany and are called Pfeffernüsse, pepper nuts in English. The small, round shaped cookies are made with gingerbread spices and molasses and then are glazed on the outside. Martha also did a little twist to the original German cookie recipe and added red peppercorns. And the smell of all these spices in the kitchen …

I think the red peppercorns elevated these cookies to another level. Yes, the cookies are already well flavored with many spices but these sweet red peppercorns bring everything together. Red peppers come from a flowering plant, Schinus terebinthifolius and are not peppers but belong to the cashew family. They are readily available in specialty stores. Taste it, it has a very unique, pleasant flavor.

Why are these cookies called pepper cookies? The cookies are made with spices cinnamon, nutmeg, allspice, cloves, black pepper and they are essential part of the recipe. So make sure they are high quality and fresh. I bought the whole spices and ended up grinding them in a mortar.

The recipe asks for confectioners’ sugar to make the glaze. Make sure you use this type of sugar instead of just the regular powdered sugar. Confectioners’ sugar is lightly powdered sugar with starch added to prevent it from caking as it sits. I didn’t have any at home so I grounded granulated sugar quickly in the grinder and added cornstarch. (I added 1 tbsp cornstarch to 1 cup of ground sugar).

For glazing, try to use a taller, narrow dish to dip the cookies. You need vertical space for the glaze.

The recipe also uses alcohol called kirsch. I didn’t have any so I used Hungarian plum brandy.  You can also substitute with dry vermouth, grappa, or white (aka silver) rum. It is optional of course. Just make sure you are not using any sticky-sweet red liqueur concoctions.

You can add edible glitter if you want to make the cookies more festive. I didn’t use it as I don’t have it.

Another change I made to the recipe was letting the dough sit in the refrigerator overnight. In Martha’s recipe, the cookies are baked immediately after they are assembled. However, traditionally, the cookies are put in the refrigerator for some time. It allows the flour to fully hydrate, prevents spreading and allows the complex spice flavors to meld and deepen.

I also tried letting the cookies sit overnight on the counter and this method worked well too. I prepared the cookies, put them on the cookie sheets and baked them the next day. While the dough is traditionally refrigerated, this method worked fine too. The cookies tasted the same. The only difference is that the cookies will expand and be bigger in size.

Like any gingerbread dough, you can eat these cookies immediately but will taste even better in a week. They just need a little time to soften and the spices to settle. Otherwise these are fabulous cookies, well worth the time and effort. They taste just like the cookies from Germany.

Please read comments above.

INGREDIENTS

Cake

  • 2 1/4 cups unbleached all-purpose flour 
  • 1/4 teaspoon baking soda 
  • 3/4 teaspoon fresh ground cinnamon 
  • 1/2 teaspoon fresh ground allspice 
  • 1/4 teaspoon fresh ground cloves 
  • 1/4 teaspoon fresh ground nutmeg 
  • 1/4 teaspoon fresh ground pepper 
  • 1/2 cup (1 stick) unsalted butter, room temperature 
  • 3/4 cup firmly packed light-brown sugar 
  • 1/4 cup unsulfured molasses 
  • 1 large egg, lightly beaten 
  • 1/2 teaspoon pure vanilla extract 

Glaze

  • 3 cups confectioners’ sugar
  • 1/4 cup milk or water
  • 1 teaspoon kirsch or other cherry-flavored liqueur (dry vermouth, grappa, or white (aka silver) rum, Hungarian pálinka) – optional 

To decorate (optional)

  • Coarsely ground pink peppercorns 
  • 1 tsp edible glitter (optional)

DIRECTIONS

1. Preheat oven to 350 degrees. Grease 2 baking sheets. Take the butter out of the refrigerator.

2. In a medium bowl, sift together flour, baking soda and spices. Set aside.

3. In a medium sized bowl, cream eggs, brown sugar and molasses or until fluffy. Add in egg and vanilla, flour mixture; mix until just combined. Wrap the dough in a plastic bag and refrigerate overnight but at least for 3 hours.

4. Work in a cool space, maybe open the window. Remove the dough from the plastic wrap and immediately roll it into two strands, each 3/4 inch thick. Slice the rolls into 3/4 inch thick rounds and roll each round into a ball (each ball be about 3/4 inch large). Note: You can make them any size. Place the balls on the prepared baking sheet. Repeat process with remaining dough, spacing balls 1 1/2 inches apart. (Try to do this step as fast as possible so the dough doesn’t get too warm).

5. Baking. Bake, rotating sheets halfway through, until cookies are golden and firm to the touch with slight cracking, for about 10-15 minutes, depending on the size of the cookies. Transfer sheet to a wire rack to cool completely.

6. Glaze: Fit a rimmed baking sheet with a wire rack. In a medium bowl (tall and narrow), whisk together confectioners’ sugar, water and kirsch( if desired). Using a fork, dip each cookie in the glaze to coat. A quick dip and gentle shake off are all you need. Place on wire rack to dry. Repeat with remaining cookies.

7. To decorate (if desired): While the glaze is still wet, top cookies with a small pinch of peppercorns and the edible glitter.

8. Storage. Cookies can be stored in an airtight container at room temperature for up to 4 weeks (below 75 F).

Enjoy! Frohe Weihnachten!

Source

http://www.marthastewart.com/318226/pfeffernussen

Photos and text by Twincitiesherbs.

Christmas dark chocolate bark with nuts and dried fruits

This festive chocolate bark is great for the holidays! Give it as a gift or treat yourself! It reminds me of the trail mix that I take with me when I go hiking … just a bit fancier of course.

It is super easy to make and is delicious! For the topping, you can use any nuts and dried fruits that you like. I used pistachio nuts, walnuts, dried cranberries, dried apricots and raisins. It is your choice and the combinations are endless! Oh and the smell of the roasted nuts … priceless.

The perfect dessert … sweetened with only dried fruits and made crunchy with only nuts!

RECIPE

INGREDIENTS

  • 12 oz high quality chocolate chunks or chips (I used 70% dark chocolate)
  • handful nuts, chopped
  • handful of dried fruits, chopped
  • 1 tsp coarsely ground salt

METHOD

  1. Preheat oven to 350 F.
  2. On a baking sheet, toast the nuts in the preheated oven for about 6-9 min. Cut them into smaller pieces if you wish. Cut the dried fruits if you wish.
  3. Melt the chocolate in a double boiler or a pot with a thick bottom. Spread the chocolate evenly onto a rimmed dish with a spatula. Try to get the thickness about 1/4″. The dish should be large enough to hold the melted chocolate. I used a 8 x 11 ” casserole dish.
  4. Drop the dried fruits, toasted nuts and the salt pieces on the top.
  5. Let it cool completely for 2-4 hours or refrigerate for 15 minutes.
  6. When the chocolate is set, using your hand, break the chocolate into pieces.
  7. They can be stored in an airtight container for weeks.

Enjoy!

Photos and text by twincitiesherbs.

Ginger pear berry crisp

This is a lovely dish for the autumn! The buttery pears work nicely with the tangy berries … and this delicious sweet fruity mixture is covered with the nutty oatmeal topping. Serve it with caramel sauce to satisfy your autumn cravings. It can be a fancy breakfast or a simple, quick dessert

TIP

This is a sweet dish so ideally sugar should be used. I included a range for the sugar content. Please feel free to use as little sugar or as much sugar as you’d like. Of course, the amount will depend on your sweet tooth and how sweet your fruits are.

RECIPE

INGREDIENTS

INGREDIENTS FOR THE TOPPING

  • 1 cup old fashioned rolled oats
  • 1/2 cup white flour
  • 1 stick (8 tbsp) butter, melted 
  • 1/4 – 1/2 cup brown sugar + 2 tbsp for the top (regular sugar is fine)
  • 1/8 tsp salt
  • zest of 1 lemon (optional)
  • 1 tsp apple pie spice or 1/2 tsp cinnamon + 1/4 tsp nutmeg + 1/4 cloves+ little mace or 1 tsp cinnamon
  • 1/2 cup chopped pecans or walnuts + more for serving
  • caramel sauce for serving

INGREDIENTS FOR THE FRUITS

  • 4 ripe (about 2 cup) but firm fresh pears , cored and chopped (I used Bartlett)
  • 2 cup organic berries, fresh or frozen (I used raspberries and blackberries)
  • o – 1/2 cup of brown sugar (I didn’t use any as my fruits were sweet enough but if you have a sweet tooth or the fruits are not very sweet, feel free to add sugar)
  • 2 tbsp flour or 1 tbsp corn starch
  • 1 lemon’s juice (use the lemon from earlier)
  • 1/8 tsp salt
  • 2 tbsp grated dried orange peel (optional)
  • 1 tsp apple pie spice or 1/2 tsp cinnamon + 1/4 tsp nutmeg + 1/4 cloves+ little mace or 1 tsp cinnamon
  • 1 tbsp graded fresh ginger or 1.5 tsp dried ginger (cut and sifted)
  • 2 tbsp whiskey (optional)
METHOD

1. Preheat oven to 375 F. Have baking rack in the lower third of the oven.

2. Make the topping. Cream the melted butter with the sugar. Add oats, flour, apple pie spice, salt and lemon zest. Mix well. Fold in the nuts. Let it sit for an hour.

3. Wash, core and cut up pears into small cubes. You can peel them if the skin is tough, otherwise if they are soft no need to peel them. Set aside.

4. Assemble the fruit base. In a larger bowl, mix the chopped pears, berries, sugar, 1 tsp apple spice, salt, flour or cornstarch, orange peel, ginger and whiskey (if used) together. Spread evenly in a 2 qt size baking dish.

5. Put topping on the top of the fruit base. Sprinkle the top with some sugar (optional). I also graded a little nutmeg on the top.

6. Bake for 30 minutes or until the middle portion becomes hot.

7. Serve with caramel sauce. Add some extra nuts if you wish.

Enjoy!

Photo by Twincitiesherbs.

Hungarian sour cherry pastry / Meggyes pite

This mouth-watering pastry makes me feel like I am in a Hungarian cafe. The fluffy sour cherry filling is placed between 2 layers of the crumbly dough. I also added ginger and additional walnuts to make this tasty dessert even more exciting. The recipe is based on Hargitai György, Master chef’s mother’s recipe.

TIP

You will need a lot of sour cherries, about 1-1.6 kg (2-3.5 lbs)! The recipe asked for 1.6 kg (3.5 lbs) but I only had 1 kg (about 2 lbs) and it worked fine. Ideally, fresh sour cherries are used but honestly frozen sour cherries would work too. In fact, I bought the cherries at the farmers’ market earlier but wasn’t able to use them right away so I ended up freezing them. The frozen cherries worked well too. Just make sure they are sweet and have a nice flavorful!

RECIPE

Serves: 9 – 12 slices

INGREDIENTS
  • 4 cup (500 gr) flour, cut and sifted
  • pinch of salt
  • 15 tbsp (260 gr) cold unsalted butter
  • 2 1/2 tsp dry yeast
  • 1/2 cup milk
  • 4 large eggs, divided
  • 10 tbsp powdered or cane sugar, divided
  • peel and juice of 1 lemon
  • 1 tsp vanilla extract
  • 1-2 tbsp rum (optional)
  • 1 – 1.6 kg (2.25 – 3.5 lbs) fresh or frozen sour cherries (pitted)
  • 1 tbsp ginger
  • 1 tsp cinnamon
  • 2 tbsp bread crumbs
  • 1 cup + 2 tbsp walnuts

METHOD

Preheat oven to 350 F. Butter a baking pan (11 x 9 x 2 inches or equivalent size). Sprinkle some flour on the bottom.

Dough

  • Preparing the yeast mixture. Add lukewarm milk (92 – 98 F) to the yeast. Let it rise.
  • In a larger bowl, sift the salt in with the flour. Crumb the butter with the flour with your finger tips or you can use a food processor as well.
  • Add the prepared yeast mixture from earlier.
  • Add 3-4 tablespoon sugar, 3 egg yolks, vanilla extract and rum (optional). Mix quickly. Save the egg whites for later for the filling).
  • Refrigerate for 1 hour.
  • Meanwhile prepare the filling.

Filling

In a medium sized bowl, add ginger, cinnamon, 6 tablespoons of sugar, lemon juice and peel, 2 tablespoons of chopped walnuts and 2 tablespoons of breadcrumbs. Mix. Set aside.

Beat the the egg white saved from earlier until it is hard. Gently fold in the earlier prepared mixture.

Assembling the cake

Take the dough out of the fridge. Cut into two parts. Put 1 part back in the fridge while you work with the other.

Roll out the dough into the shape of your pan and carefully place it onto the baking pan. Place the filling on top of this dough. Sprinkle 1 cup of the walnut on the top of the filling.

Take the other part of the dough out of the fridge and roll it out into the shape of the pan. Place it on top of the filling.

Lightly whisk 1 egg and spread it on top of the assembled dough. Sprinkle a little sugar on top. Prickle the top with a fork.

Bake in the preheated oven for 40 minutes or until the top has a nice golden color top.

Take out of the oven and let the cake completely cool off. Slice the cake.

Source: Hargitai György: Édesanyám meggyes pitéje. https://www.youtube.com/watch?v=FI2pKA2Vrzg

Text and photo by twincitiesherbs.

Moist carrot cake with lemon cream cheese frosting

This is a delicious carrot cake that I made for Easter this year; however, it is not just for Easter, it can be made for any occasion! It is made with the moist, spiced carrot bread base and is wrapped by the luscious lemony cream cheese frosting. It is definitely a crowd-pleaser!

I successfully made a drastic change to the sugar content in this recipe from the usual recipes. We all agreed the cake is plenty sweet and delicious. I included a range for the sugar content so you can decide how much sugar to use in your cake. I used 1/2 cup brown sugar for the cake and 1 cup granulated sugar for the frosting. Please try and let me how you liked it!

RECIPE

Make sure all ingredients are at room temperature.

CAKE INGREDIENTS

  • 1/2 – 2 cup packed dark brown sugar or confectioners sugar
  • 4  large eggs
  • 1 cup oil with a light taste (I used coconut oil)
  • 3/4 cup smooth unsweetened apple sauce
  • 1 tsp pure vanilla extract
  • 2 and 1/2 cups all-purpose flour (sifted and leveled)
  • 2 tsp baking powder
  • 1 tsp baking soda
  • 1/2 tsp salt
  • 1 tsp apple spice or cinnamon powder
  • 2 cup grated carrots 
  • 1 cup raisins (optional)
  • 1 cup pecans, chopped (optional)
  • 4 oz fruits for decoration (I used black berries)
  • 2 cups nuts for the top (I used pistachio nuts)

FROSTING INGREDIENTS

Make sure all these ingredients are at room temperate

  • 16 oz full-fat brick cream cheese
  • 1/4 – 1/2 cup of cream
  • 4 Tbsp  unsalted butter
  • 1 – 4 cups confectioners sugar
  • 1 tsp pure vanilla extract
  • juice of 1 lemon
  • pinch of salt

INSTRUCTIONS

Making the cake

  1. Set oven to 350°F. Butter and lightly flour the cake form. You can use parchment paper instead.
  2. In a large bowl, whisk the wet ingredients (eggs, oil, applesauce, and vanilla) together until combined.
  3. In separate large bowl, whisk dry ingredients (the flour, baking powder, baking soda, salt, sugar, cinnamon) together.
  4. Mix the wet ingredients with the dry ingredients using a spoon, mix until just combined. Do not over mix!
  5. Fold in the fun ingredients (carrots, raisins and the chopped pecans).
  6. Divide the batter evenly pouring the batter into the two cake pans.
  7. Let the dough rest for 1 hour if possible.
  8. Bake for 30-35 minutes. Test the center with a toothpick. If it comes out clean, the cakes are done.
  9. The cakes must be completely cool before frosting and assembling. Remove the cakes from the forms and set them on a rack.

Making the frosting

  1. While the cake is cooling, make the cream cheese frosting. In a large bowl, beat the cream cheese and butter together with a handheld mixer.
  2. Add the sugar, vanilla extract, lemon juice, cream and a pinch of salt and continue beating the frosting until smooth. Frosting should be soft, but not runny.

Assembling the cake

  1. Place 1 cake layer onto a serving cake platter. Spread some of the cream cheese frosting evenly over the cake layer. Add the other cake layer. (Tip: Place the top cake layer upside down so you get a nice flat top that is easy to decorate). Using a spatula, spread the cream cheese frosting evenly over the top of the cake and the sides. 

Serving

  1. Decorate the top of the cake with the fruits and nuts of your choice.
  2. Refrigerate cake at least for one hour before serving the cake. This helps the cake hold its shape when cutting.
  3. Cover the leftover frosted cake tightly and store in the refrigerator for up to 5 days.

Enjoy!

Photo, text, recipe by twincitiesherbs.

Decadent Black Bean Brownies

A few years ago, I had black bean brownies at a potluck. I love brownies but they tend to be rich and heavy. I remember looking at the brownies on the table and wished I could have had one … and soon afterwards the woman who baked the brownies came to me and invited me to try it … I explained to her that I really wanted to have one but brownies were a bit rich for me. Then she assured me that these brownies were not the regular brownies but they were made with black beans. Hmm I thought this is an interesting take on brownies … I kind of hesitated but then I gave it a try… and I am so glad I did! These are absolutely delicious, decadent brownies even better than the original!

These are very tasty, chewy and chocolaty brownies, no one will guess they are made with black beans. Try to use the best quality chocolate that you can possibly get as the chocolate is still an important part of the recipe. This is definitely a very healthy alternative to the original brownie recipes.

So why use black beans? Well, they are actually sweet. They also add protein to the brownies. The protein in the black beans helps to curb the blood sugar spikes that you would see with regular desserts.

RECIPE

Yields 12 slices

Ingredients
  1. 1 cup dried black beans or 1 can (15 oz) black beans, rinsed and drained
  2. 1/2 – 1 cup sugar
  3. 1 tsp baking powder
  4. 1/4 tsp salt
  5. 1 large egg, lightly beaten
  6. 1/4 cup coconut oil or unsalted butter, melted
  7. 1/2 cup cocoa powder
  8. 1 tsp vanilla extract
  9. 1 tbsp coffee liquor
  10. 1 cup chocolate chips, divided
  11. 1/2 cup walnuts, chopped
Directions
  • Preheat the oven to 350°F (175°C). Grease an 8 x 8 x 2 inch baking pan or line it with parchment paper.
  • Clean and soak the beans for 8 hours. Remove the soaking liquid and discard. Cook the beans in fresh water for 2 hours. Strain. (Omit if using canned beans).
  • Add the black beans without its liquid to a food processor and chop until smooth. I don’t have a food processor, so I just mash the black beans with a potato masher. It works great.
  • In a bowl, mix the chopped black beans, egg, coconut oil, cocoa powder, sugar, baking powder, coffee liquor, vanilla extract and salt until the mixture is smooth and well combined.
  • Stir in the chocolate chips and the nuts. You can do 1/2 cup of chocolate chips and save the other half for the top.
  • Pour the batter into the prepared baking pan and spread it evenly.
  • You can put half the chocolate chips on the top.
  • Bake for 20 – 25 minutes or until a toothpick inserted into the center comes out clean.
  • Let the brownies cool completely in the pan before slicing.
  • Store in an air-tight container for 1 week.

enjoy!

Picture and text by twincitiesherbs.

Moist Carrot Bread with Whole Wheat Flour

This is a classic recipe for a moist carrot bread with an amazing rich texture and flavor! It is loaded with raisins and shredded carrots, infused with vanilla and warming spices and sprinkled with walnuts and sugar on top.

I use whole wheat flour instead of all purpose flour as it is better for health. Quick breads with all purpose flour are normally baked right after assembling the dough to prevent a ‘soapy’ after taste. However, the assembled dough with whole wheat flour needs to sit for 8 hours. This allows the flour to soften and prevents it from burdening our digestion. Honestly, I don’t notice this ‘soapy’ taste … the bread will be fine, just follow the recipe … trust me!

The recipe works for 1 big loaf or 2 smaller loaves as well. Just make sure you reduce the baking time. Otherwise, there are no other changes to the original recipe.

RECIPE

Ingredients

  • 1/2 lb (16 Tbsp) butter (coconut oil is fine), melted
  • 1/2 – 1 cup brown sugar + handful of white sugar for the top
  • 2 cups whole wheat flour, cut and sifted
  • 1 tsp baking powder
  • 1 tsp baking soda
  • 1 Tbsp fresh ginger, finally chopped or 1 Tbsp dried ginger
  • 2 tsp apple pie seasoning or cinnamon powder
  • 1/2 tsp salt
  • 1 cup raisins
  • 1/2 cup walnuts, chopped
  • 3 cups grated carrots
  • 3 eggs, lightly beaten

METHOD
  1. Preheat the oven to 350 F. Take butter out of the fridge.
  2. Butter a 9 x 5 x 3 inch loaf pan or two smaller ones if you decide to bake dough in two pieces.
  3. In a medium sized bowl, cream the sugar with the butter. I do this step by hand but you can use an electric mixer. Add the eggs until they are incorporated. Set aside.
  4. In a large bowl, sift together the dry ingredients.
  5. Mix the dry ingredients with the butter mixture that was done earlier. Gently fold in the shredded carrots and mix. Make sure you don’t overdo this step.
  6. Pour the mixture into the prepared pan or pans. Sprinkle sugar and chopped nuts on top of the bread evenly over the entire area.
  7. Let the mixture sit overnight covered. You can put it in the fridge just let it warm up to room temperature before baking it.
  8. Bake for 60 – 70 minutes or until a toothpick inserted in the middle comes out clean and the top is golden brown. (If you divide the mixture in two parts, cook for 55 – 60 minutes).
  9. Take the pan out of the oven and let it cool. You can slice the bread as soon as it cooled off.
  10. Store at room temperature covered with a kitchen cloth or place in an airtight container. Unsliced, it can last up to one week.

Enjoy!

Photo and text by Twincitiesherbs.

Home-made Christmas bon bons with nuts and raisins (Házi Szaloncukor)

Our grandmothers, great-grandmothers used to make delicious sweets for Christmas. I don’t have the exact recipe my great-grandmother used; however, I have this modernized version, it works as a great replacement. The three main ingredients are raisins, walnuts, and coconuts along with some other flavorings, they are made into small balls. Then, they are dipped in chocolate of your choice and voila! … this healthy sweet AKA szaloncukor is ready to be hung on your Christmas tree or if you can’t resist you can just eat is as it is!

In the old days, they used honey, nuts and dried fruits like quince, raisins and apples. They also added foraged herbs that varied from country to country and region to region and often included fennel, lavender, rose petals, juniper berries, sumac etc. Ever since the exotic spices arrived from the East, people have been using cardamom, cinnamon, nutmeg etc. I personally really like adding shredded coconuts and oranges as they are readily available and taste delicious.

RECIPE

INGREDIENTS

  • 3/4 cup raisins, chopped
  • juice if 1 orange or 1 Tbsp orange juice
  • pinch of salt, more for decorating
  • 1/4 tsp cardamom powder
  • 1 tsp vanilla extract

  • Mix the raisins, nuts and shredded coconut. Place them in a bowl.
  • Add the vanilla extract, orange peel and the juice, cinnamon, cardamom and salt. Mix.
  • Put them in the fridge for 10 – 20 min so dough is not too warm or soft.
  • Take a handful out of the mixture at a time.
  • Create the bon bons. Make either smaller balls 1 inch in diameter, or make rectangular shapes.
  • In a double boiler, start slowly melting the chocolate chips. Add the butter. Mix until you get a ‘flowy’ consistency, meaning when you lift up a ladle full of chocolate, the chocolate flows down evenly.
  • Dip each bon bon in the melted chocolate. I used a fork and let the unused chocolate fall back in the pot.
  • Place them on a wire rack and let them cool.
  • Cut out squares of paper or cloth, big enough to cover the prepared bon bons (about 15 x 1 5 cm or 5 x 5 inch). Parchment paper works great too. Place the bon bons in the middle of this squared shaped paper or cloth and wrap the ends around. Twist the ends tightly to create the classic szaloncukor shape. Please see my picture for clarification.

Merry Christmas! Boldog Karácsonyt!

Photo and text by twincitiesherbs.com.

Festive Cheese Cake

Not sure what to serve for the holidays? This recipe is a smaller version of the well-known cheese cake. Impress your guests with this delicious and easy to make cake! It is a crustless cake with a creamy body infused with almond extract. I also added raisins to add some texture. You can decorate it with anything you desire. I used lingonberry jam and roasted slivered almonds. Enjoy!

Recipe

INGREDIENTS

  • 1 cup ricotta cheese
  • 1/4-1/2 cup sugar
  • 1/2 cup all purpose flour or almond flour
  • 1 egg, lightly beaten
  • 1 tsp almond or vanilla extract
  • 1/4 cup milk
  • handful of raisins
  • 1/2 tsp baking soda
  • pinch of salt
  • oil for baking the almond slivers
  • 1 cup slivered almonds for the top
  • 20 oz lingonberry jam for the top

DIRECTIONS

  • Preheat oven to 350 F / 180 C.
  • Line a 7 inch round cake pan with parchment paper. If you are careful, you can butter the cake pan and then carefully take the slices out when ready.
  • Mix the wet ingredients: egg, ricotta cheese, almond extract and milk.
  • Sift the dry ingredients: flour, baking soda, sugar and salt.
  • Gently combine the wet and dry ingredients.
  • Fold in the raisins.
  • Pour batter into the prepared cake pan. Smooth the top with a spatula. You can gently tap the form on hard surface so the top gets leveled. Let the mixture sit for 1 hour. Set aside.
  • Meanwhile bake the slivered almonds: Apply oil to a cookie sheet and place the almond slivers on it. Bake in a preheated oven at 300 F for 10 – 15 minutes until golden brown. Set aside.
  • Bake the cake mixture in a pre-heated oven for 30-35 min or until the edges are slightly golden and an inserted knife edge comes out clean. Let cool.
  • Spread jam of your choice and sprinkle roasted almond slivers on the top.
  • Slice and serve warm or at room temperature.

Enjoy! Happy holiday!

Photo and text by twincitiesherbs.com.